If you are on a private well, the problem is rarely the same as a city water outage. When a well pump runs but you get weak or no water, the pump is telling you something. The trick is figuring out whether you are dealing with a pressure control problem, a clogged restriction, a leak, or a well that is struggling to produce.
I have been that guy standing in the utility room at 10 pm listening to a pump hum and watching a gauge that refuses to budge. This page walks you through the checks that actually matter for wells, in a safe, beginner-friendly order.
Quick safety and what you should not do
- Electricity and water mix badly. If you remove any covers on a pressure switch or open a control box, shut off the breaker first.
- Do not keep the pump running dry. If you suspect the well is out of water or the pump is not moving water, prolonged run time can overheat and damage the pump.
- Avoid “cranking” pressure settings unless you understand the system. Too-high cut-out pressure can trip breakers, burst weak plumbing, or cook the pump.
If you smell electrical burning, see melted wire insulation, or the breaker will not stay on, stop and call a well professional or electrician.
First, confirm it is actually your well system
This guide assumes you have a private well and a pressure tank. If you are on municipal water, weak or no water is usually a main shutoff, meter valve, utility work, or a pressure regulator issue. A private well setup is different: the pump, pressure switch, tank, and check valves do the “utility work” for your house.
Do these fast checks before you dig into the well gear:
- Test a hose bib outside and one indoor faucet. If only one fixture is weak, you might have a localized clog at an aerator or a supply stop under a sink.
- Check the main shutoff valves are fully open (near the pressure tank and anywhere the plumbing branches into filters or a softener). A half-closed ball valve can mimic a failing pump.
- Check any whole-house filters or softener bypass if you have them. A plugged filter can mimic a dying pump.
Know what system you have (quick ID)
Most homes have a standard setup with a pressure switch and a pressure tank (common 30/50 or 40/60 settings). Some homes have a constant-pressure system instead, using a VFD drive, pressure transducer, or a valve that holds pressure steady. The basic ideas still apply, but the control parts and symptoms can differ.
- Standard system clue: You see a small gray pressure switch with a cover and a mechanical gauge near the tank.
- Constant-pressure clue: You see a control box with digital readouts, a pressure transducer, or a labeled drive (VFD). Some setups also use a constant pressure valve (CSV).
If you have constant pressure gear and the troubleshooting starts to feel “electronic,” it is usually worth calling a pro earlier.
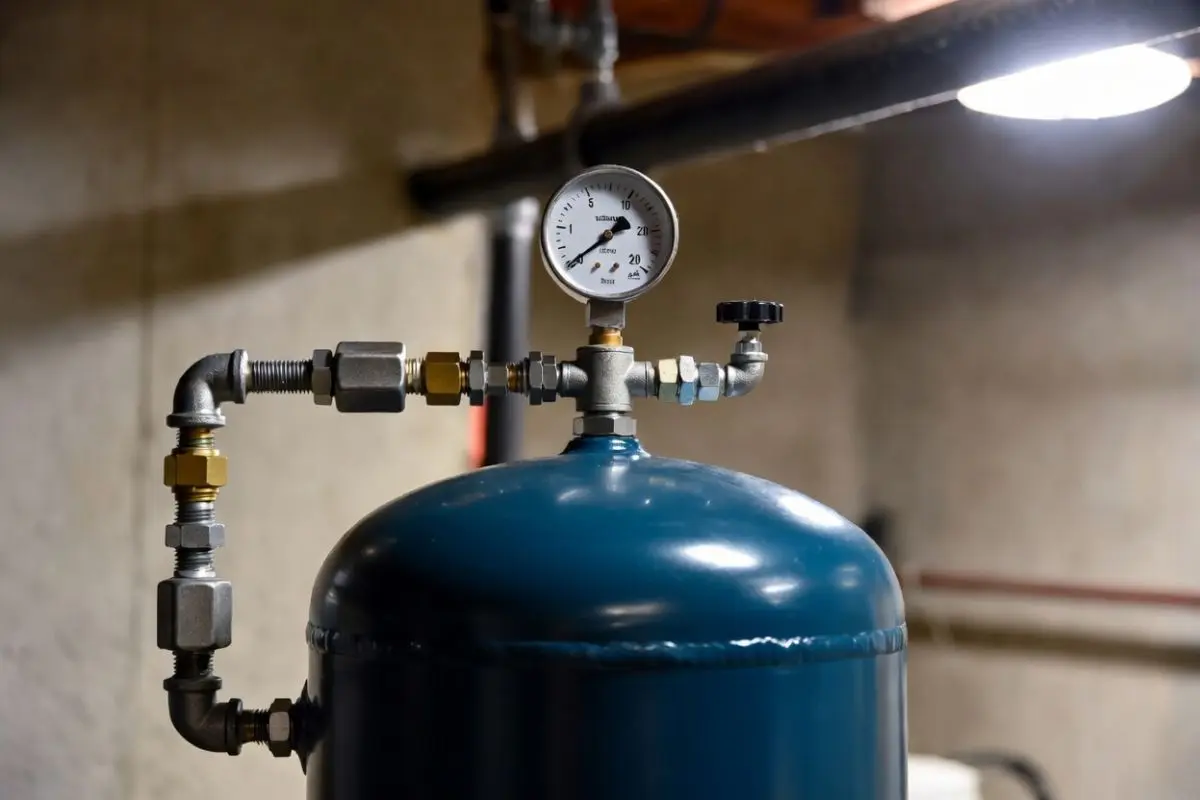
Read the pressure gauge like a clue
Most well systems have a pressure gauge near the pressure tank. That gauge tells you what the system is doing right now, as long as it is working. Turn on a faucet so water is “demanding” pressure while you watch the gauge.
Quick sanity check: If the gauge never moves, reads something odd (like negative or a number that never changes), or looks rusted and ancient, it could be stuck. A bad gauge can send you down the wrong path.
Common gauge behaviors and what they usually mean
- Gauge sits at 0 to 5 psi and pump runs continuously: The pump is not building pressure. Common causes include a leak on the well side, a failed foot valve or check valve, no prime (jet pumps), a broken pipe, or a pump that is running but not actually pumping.
- Gauge climbs a little, then stalls low (for example 10 to 20 psi) and the pump keeps running: Often a restriction (clogged cartridge filter, clogged screen, plugged iron filter, or a clogged pressure switch port), a failing pump, or the well is running low and the pump is pulling air.
- Gauge rises normally to cut-out (often 50 or 60 psi), but water at faucets is still weak: That points away from the well and toward something after the tank, like a clogged filter, a partially closed valve, or plumbing scale buildup. If you happen to have a pressure reducing valve (PRV), a failing PRV can also restrict flow, but many well systems do not have one.
- Gauge bounces rapidly and the pump short cycles: Usually a waterlogged pressure tank or incorrect tank air charge. It can also be caused by a clogged pressure switch nipple/port, a sticking pressure switch, or (on constant-pressure systems) a failing pressure transducer or control issue.
Typical switch settings: Many homes run 30/50 or 40/60 (cut-in/cut-out). Your exact numbers can vary, but those ranges help you interpret the gauge.
Check the pressure switch behavior
The pressure switch is the traffic cop. It turns the pump on at cut-in and off at cut-out.
How to observe it (no special tools)
- Find the pressure gauge and note the current reading.
- Open a nearby faucet and watch the gauge fall.
- Listen and watch for the pump to kick on at cut-in.
- Keep the faucet running and watch whether pressure climbs to cut-out.
Do not miss this common culprit: the switch nipple
On many systems, the pressure switch “reads” pressure through a tiny port or a short 1/4-inch pipe called a nipple. Sediment can clog it. When that happens, the switch may not sense the real system pressure, so the pump can run too long, short cycle, or never kick on when it should.
This is a high-payoff fix, but it can involve opening the switch and working near wiring. If you are not comfortable, put it on your list for the well tech.
If the pump never kicks on
That is a different failure mode than “pump runs but no water,” but it is worth mentioning. Check the breaker, the pressure switch contacts, and any control box (common with 3-wire submersible pumps). If you are not comfortable around live voltage, stop here and call a pro.
If the pump kicks on but never reaches cut-out
This is the most common scenario when people say the pump “just keeps running.” The system cannot build pressure fast enough to reach the shutoff point. Your next steps are to look for:
- Restrictions like clogged cartridge filters, spin-down screens, iron filters, or a clogged pressure switch port/nipple
- Air leaks or water leaks on the suction side (jet pumps) or in the line from the well
- A failing pump, worn impellers, or a partially blocked intake
- A well that is not producing enough water for the current demand
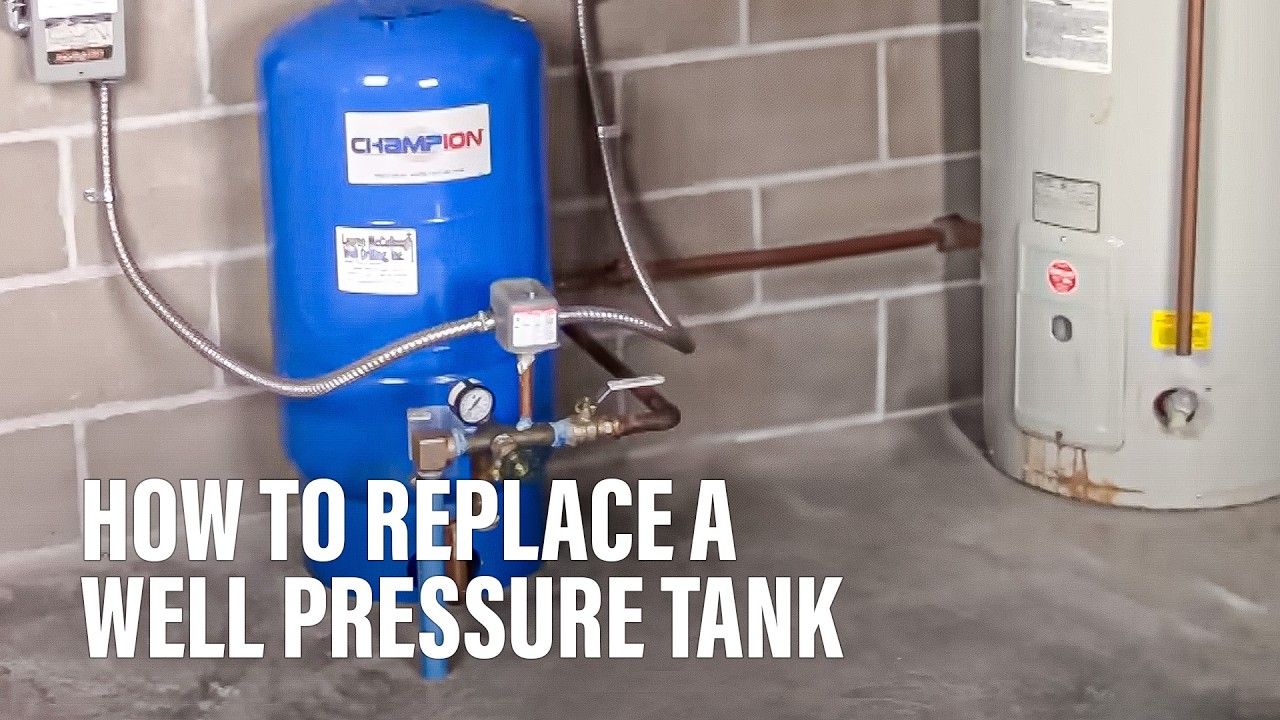
Pressure tank basics: air charge and symptoms
A pressure tank stores water under pressure so the pump does not need to run every time you rinse a toothbrush. When the tank air charge is off or the bladder fails, the system can act weird: short cycling, pressure swings, and sometimes “it runs but I still have lousy water.”
Signs of a waterlogged tank
- Pump turns on and off rapidly while a faucet is running
- Pressure jumps up and down instead of rising smoothly
- The tank sounds “solid” when tapped (no hollow sound near the top on many tanks)
How to check and set tank air charge (quick version)
- Turn off power to the pump at the breaker.
- Drain pressure by opening a faucet until the gauge reads 0. (You want the tank fully depressurized for an accurate air reading.)
- Use a tire gauge on the tank’s air valve (Schrader valve).
- Set the tank air pressure to 2 psi below the cut-in pressure. Example: for a 40/60 switch, set tank to 38 psi.
Publication-safe note: 2 psi below cut-in is the standard rule for bladder tanks, but some manufacturers specify slightly different values. If your tank has a label, follow it.
If water comes out of the air valve, the bladder is ruptured and the tank needs replacement.
Clogs and restrictions that cause big problems
On well water, sediment is a repeat offender. A pump can run fine and still deliver weak flow if something is clogged downstream.
Start with the easy screens
- Faucet aerators: Unscrew and rinse. Sediment can choke a faucet down to a trickle.
- Shower heads: Same story, especially after a well has been disturbed or a tank has been serviced.
- Toilet fill valves: They have tiny passages that plug easily. Weak refill can look like “no water” to that bathroom.
Then check whole-house components
- Whole-house sediment filter: A loaded cartridge can starve the whole home. If you have a bypass, try bypassing briefly to see if pressure returns.
- Water softener: A softener stuck mid-cycle or clogged with iron can restrict flow. Put it in bypass to test.
- Spin-down filter screen: Flush and clean the screen.
If pressure at the tank gauge looks normal but the house is weak, restrictions like these jump to the top of the suspect list.
Foot valve and check valve symptoms
A check valve keeps water from draining backward when the pump shuts off. A foot valve is a check valve located at the end of the suction line in some setups, especially older jet pump systems.
Classic symptoms (and what else can mimic them)
- Pressure bleeds off quickly when no water is being used
- Loss of prime on a jet pump, especially after sitting overnight
- Long time to regain pressure after the pump turns on
- Air spurts at faucets when the pump starts, especially if the suction side is pulling air
These symptoms can also come from a leaking fixture (running toilet), a leak after the tank, or a treatment device bleeding pressure. If you are seeing pressure loss, use the isolation test below before you blame the well.
On a submersible pump system, the primary check valve is often at the pump or in-line. On a jet pump, a bad foot valve can cause the pump to run and run because it cannot keep water in the line.
Leak clues: are you losing water before it reaches the house?

If the pump runs but pressure will not build, think like a detective: the water is either not being moved, or it is being moved and immediately escaping somewhere.
Signs of a leak in the line from the well to the house
- Soft or soggy ground along the line route, especially in dry weather
- Unexplained muddy areas or a small “sink” developing
- Pump runs more than usual even when you are not using water
- Pressure drops steadily to cut-in with all fixtures off
A simple isolation test (if you have a shutoff after the tank)
- Turn off all water inside the house.
- Close the main valve that feeds the house after the pressure tank.
- Watch the pressure gauge for 10 to 20 minutes.
If pressure still drops with the house isolated, the issue is likely between the tank and the well equipment, or in the well itself. If pressure holds, the leak or restriction is likely in the house plumbing or treatment equipment.
No-water triage (what to do right now)
When you have no water, you need a plan that protects the pump and gets your household functioning.
- Shut off the pump if the gauge is not rising and the pump is running constantly. This prevents overheating.
- Do not “machine-gun” the breaker trying to force the system back to life. If the well is low or the pump is struggling, repeated restarts can be hard on the motor and controls.
- Check and change the filter cartridge if you have one and it has been a while. A clogged filter is a surprisingly common “no water” culprit.
- Run one faucet only while testing. Multiple open fixtures can mask what the pump is doing.
- Listen for air at faucets. Spitting and surging can point to a low well or suction leak.
- Conserve water if you suspect the well is low. Shut the pump off, give the well time to recover (often 30 to 90 minutes as a simple first try), then test again with a single faucet.
- Have a backup water plan: fill jugs from a neighbor, keep a few gallons for toilets, and skip laundry and long showers until the system is stable.
When it is time to call a well professional
There is plenty you can diagnose from the tank and gauge, but some problems require pulling a pump or testing the well yield. Call a well pro if you hit any of these:
- Pump runs continuously and the gauge will not climb above a low number
- You suspect the well is running dry or you are pulling air repeatedly
- Breaker trips, wiring looks overheated, or the control box is buzzing or burning
- You suspect a broken underground line from the well to the house
- Pressure switch is chattering, arcing, or you see scorched contacts
- You have a constant-pressure system (VFD/transducer) and the issue looks like a control or sensor problem
- Your system is old enough that “guessing” could cost more than a service call
A good well contractor can measure drawdown, confirm pump amperage, test pressure switch operation (including that tiny switch nipple), and determine whether the issue is mechanical (pump and valves), hydraulic (leaks and restrictions), or supply (well recovery).
Fast reference: common scenarios
- Pump runs, gauge stays near zero: not moving water, major leak, lost prime (jet pump), failed check or foot valve, or a pump issue
- Pump runs, gauge stuck low: restriction (filters, screens, clogged switch port), failing pump, low-producing well, air being pulled in
- Gauge reaches normal pressure but faucets are weak: clogged filter, softener restriction, partially closed valve, localized aerator clog, scale in plumbing
- Short cycling: tank air charge or bladder failure, clogged switch nipple/port, sticking switch, or constant-pressure sensor/control problems
If you want to be extra prepared for the service call, take a quick video of the pressure gauge while a faucet is running. That one clip can save a lot of guesswork.
About Marcus Vance
Content Creator @ Grit & Home
Marcus Vance is a lifelong DIY enthusiast and self-taught home renovator who has spent the last decade transforming a dilapidated 1970s ranch into his family's dream home. He specializes in budget-friendly carpentry, room-by-room renovations, and demystifying power tools for beginners. Through his writing, Marcus shares practical tutorials and hard-learned lessons to help homeowners tackle their own projects with confidence.