The simple goal of fertilizing
Fertilizer is not lawn paint. It is food. Your grass uses it to build roots, recover from stress, and thicken up so weeds have less room to move in. When you fertilize at the right time, you get a greener lawn with less effort. When you fertilize at the wrong time, you can waste money, feed weeds, or scorch the grass.
If you only remember one thing from this page, make it this: feed the roots when the grass is actively growing. For most lawns, that means a bigger emphasis on fall (especially cool-season lawns) and a lighter touch in spring.
Know your grass type first
Fertilizer timing is mostly about cool-season vs warm-season grass. If you are not sure what you have, take a close look at your lawn in midsummer.
- Cool-season grasses (Kentucky bluegrass, fescue, ryegrass): grow most vigorously in spring and fall, struggle in summer heat. Common in the North and parts of the transition zone.
- Warm-season grasses (Bermuda, zoysia, St. Augustine, centipede): grow most vigorously in summer, go dormant and brown in winter. Common in the South and also very common in many parts of the transition zone.
Quick clue: If your lawn tends to look its best in cooler shoulder seasons (like September to October), you may have cool-season grass. If it tends to look best in peak summer (like July), you may have warm-season grass. Irrigation, shade, overseeding, and disease can flip this, so use it as a hint, not a rule.
When to fertilize
Calendar seasons are a helpful starting point, but your lawn cares more about growth than dates. If you want a simple extra cue:
- Cool-season lawns: fertilize when steady growth returns and you are mowing regularly.
- Warm-season lawns: wait until after full green-up and steady growth (often when soil temps are roughly 65°F and rising).
Early spring: go light
Spring is when a lot of homeowners overdo it. Grass naturally greens up as temperatures rise. A heavy spring fertilizer can push top growth at the expense of roots, and that can make summer stress worse.
- Cool-season lawns: 1 light application after the lawn is actively growing and you have mowed 1 to 2 times. This is often mid to late spring.
- Warm-season lawns: wait until the lawn is fully green and growing steadily. Fertilizing too early can feed weeds more than grass.
My tip: I used to fertilize the first warm weekend of the year because I was excited. I got a fast green-up and a fast mowing problem. Now I wait until I have actually had to mow, which is a good sign the grass is ready to use the nutrients.
Late spring to early summer: only if needed
If your lawn is thin, pale, or you are on sandy soil, a second application can help. If your lawn is already thick and green, skip it.
- Do not fertilize cool-season grass heavily going into the hottest part of summer.
- Warm-season lawns often benefit from a main feeding in late spring and again in mid-summer, depending on local recommendations and watering.
Fall: best value for cool-season lawns
For cool-season grass, fall feeding is where lawns are made. Cooler air temps and warm soil create prime root-growing conditions. Fertilizer in fall helps grass store energy, repair from summer stress, and come back stronger in spring.
- Cool-season lawns: 1 to 2 applications in early fall and late fall. Many homeowners see the biggest improvement from these two.
- Warm-season lawns: fertilize in early fall only if your grass is still actively growing. Do not push growth right before dormancy.
Winter: usually a no
In most areas, winter fertilizing is wasted because grass is dormant. The exception is some warm-climate programs, but for the average homeowner the money is better spent on fall.
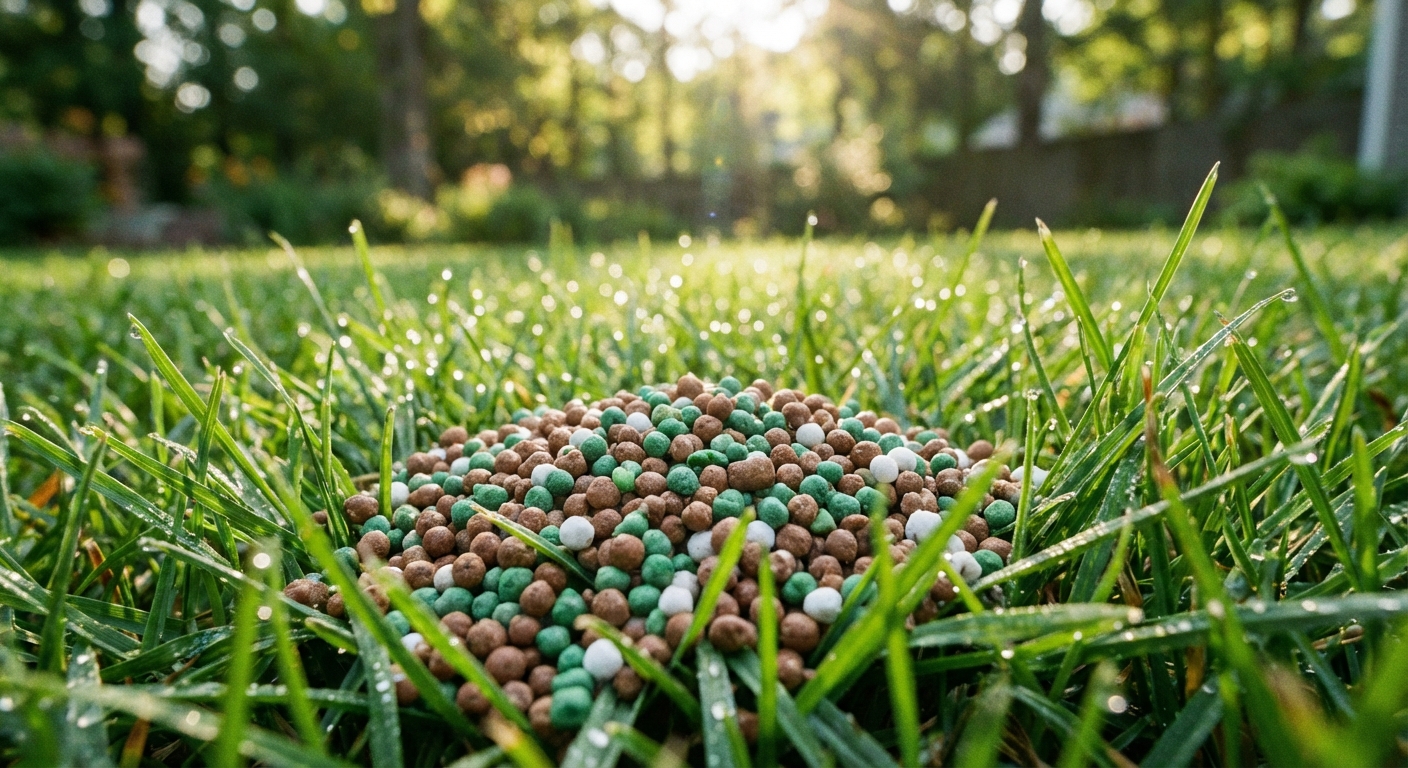
How to choose fertilizer
Start with the N-P-K numbers
Those three numbers on the bag, like 24-0-6, stand for:
- N (Nitrogen): green growth and overall vigor
- P (Phosphorus): root development (often not needed unless a soil test says so)
- K (Potassium): stress tolerance, drought and disease resistance
For most established lawns, you are usually shopping for a product that is nitrogen-forward with some potassium, and little to no phosphorus unless your soil is deficient.
One more beginner move: check the bag for the coverage line (for example, covers 5,000 sq. ft.). If you already measured your lawn, you will know exactly how many bags to buy and you will be less tempted to over-apply just to “use it up.”
Phosphorus note: some states and counties restrict phosphorus lawn fertilizer unless a soil test calls for it, so it is another reason to avoid P by default.
Granular vs liquid
- Granular fertilizer: best for most homeowners. It is affordable, easy to apply with a spreader, and many formulas are slow-release for steady feeding.
- Liquid fertilizer: fast response and good for quick corrections or small areas. It is easier to over-apply if you are not careful, and coverage depends on sprayer calibration.
My default for a typical yard: granular, slow-release, applied with a spreader. It is the least fussy path to an even, consistent result.
Slow-release vs quick-release nitrogen
Nitrogen can be delivered fast (quick-release) or gradually (slow-release).
- Quick-release: fast green-up, higher burn risk, can fade sooner.
- Slow-release: steadier growth, less surge mowing, lower burn risk, usually the best choice for beginners.
Look for words like slow-release, controlled-release, polymer-coated urea, or water-insoluble nitrogen on the label.
Do you need a soil test?
If you want to stop guessing, a soil test is the cheapest upgrade you can make. Many county extension offices offer them, and they will tell you if you actually need phosphorus or lime. If you have been fertilizing for years and the lawn is still struggling, test before you throw more product at it.
How much is too much?
If you want a simple guardrail, think in terms of total nitrogen per year, then split it into a few feedings. Typical extension recommendations often land around:
- Cool-season lawns: roughly 2 to 4 lb of nitrogen per 1,000 sq. ft. per year
- Warm-season lawns: roughly 2 to 5 lb of nitrogen per 1,000 sq. ft. per year (varies a lot by species and region)
Your local extension schedule and your soil test should win, but this at least helps you avoid “one big heavy bag” as a strategy.
New seed or new sod?
Newly seeded or sodded lawns are their own category. Many people use a starter fertilizer at establishment and then transition to a normal schedule after the grass is rooted and being mowed regularly. If you are establishing a lawn, follow the product label and local extension guidance for your grass type.
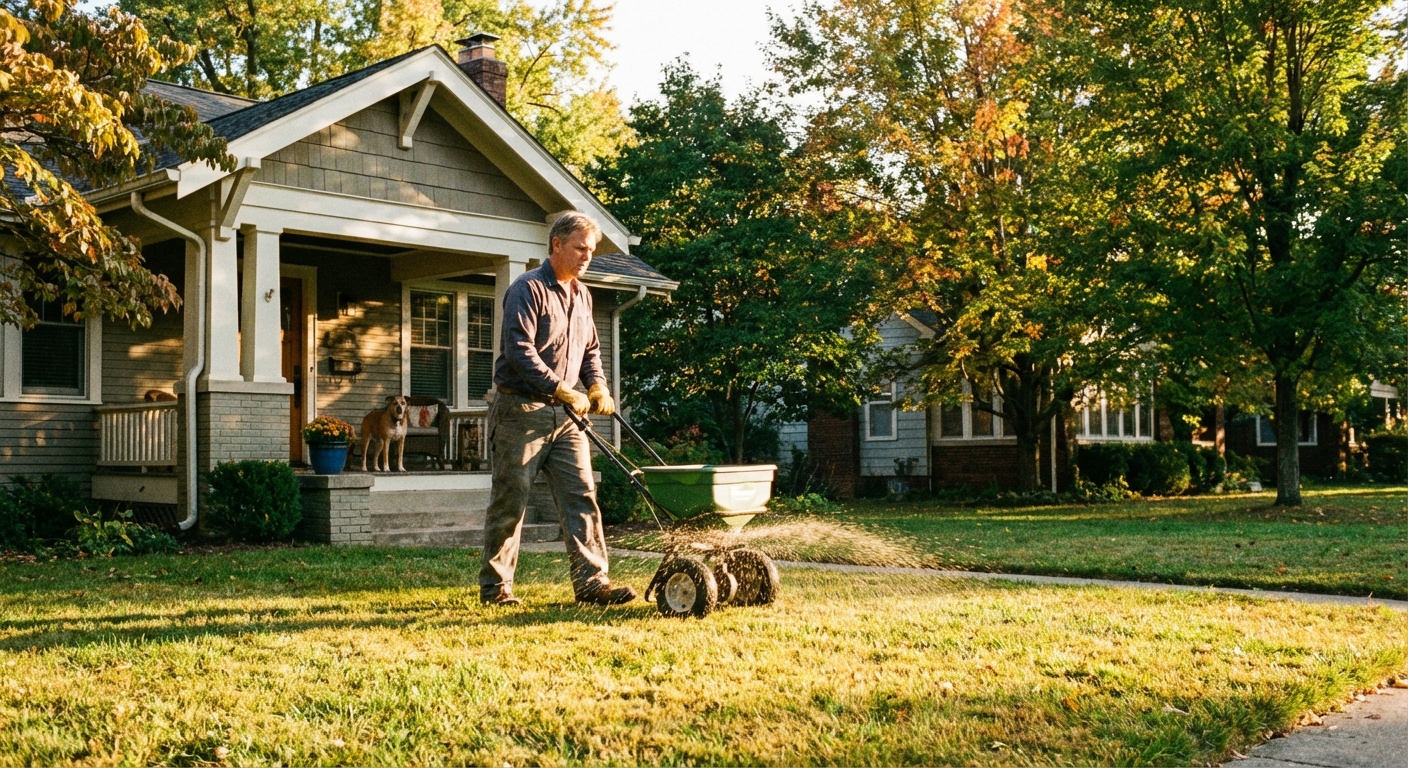
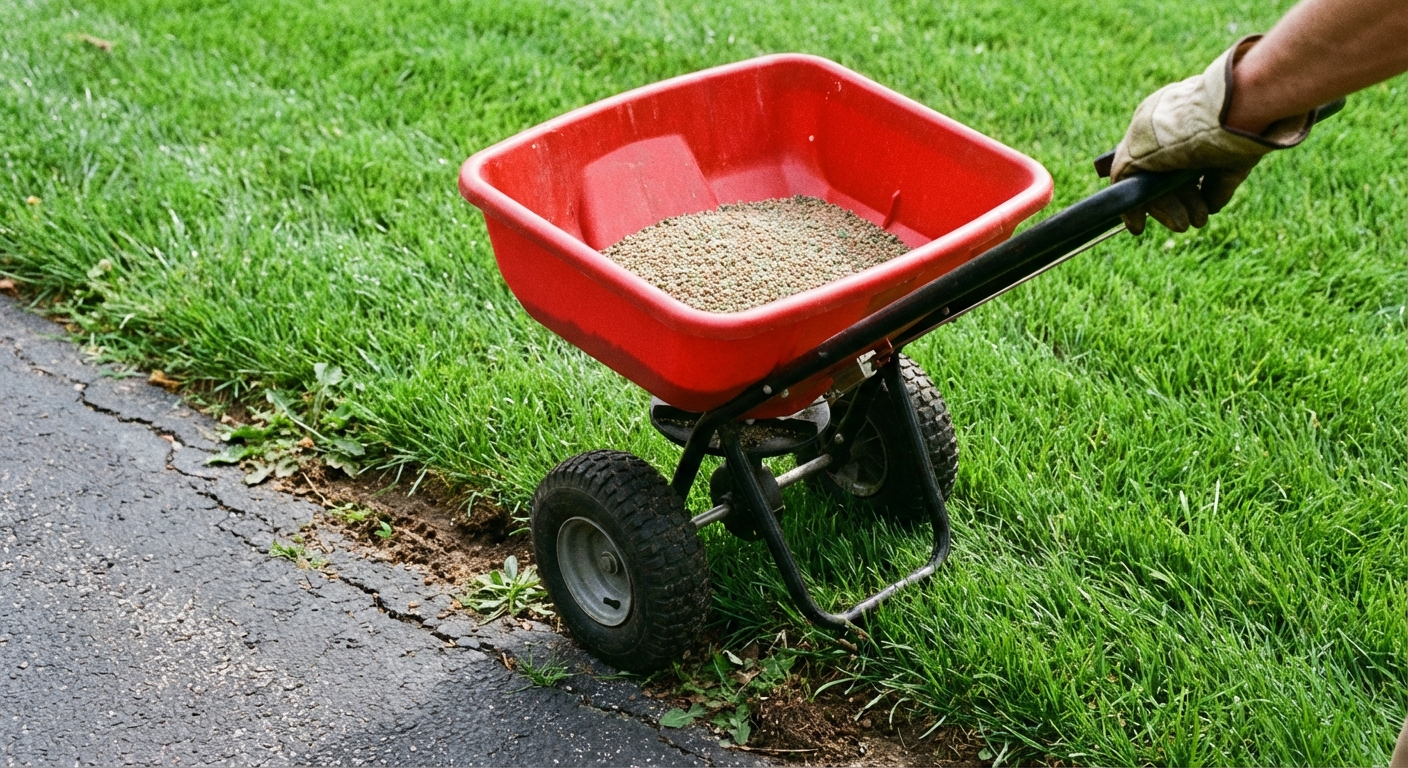
How to apply evenly
Pick your spreader
- Broadcast spreader: throws product in a wide pattern. Fast for large lawns. Slightly trickier near edges, driveways, and flower beds.
- Drop spreader: drops product straight down between the wheels. Great for precise edges and narrow strips. Slower, and you can get striping if you miss a pass.
My step-by-step method
- Read the label first. Use the spreader setting listed on the bag as a starting point.
- Measure your lawn area. Even a rough square-foot estimate helps you avoid running out early or dumping extra at the end.
- Calibrate by splitting the application. Put down half the product in one direction and the other half perpendicular. This evens out light and heavy spots.
- Edge carefully. Along driveways and sidewalks, keep the spreader throw aimed inward. Fertilizer on pavement can wash into storm drains.
- Keep a steady pace. Most striping comes from speeding up and slowing down.
- Blow or sweep hard surfaces. Get stray granules back onto the grass.
- Water it in if the label says to. Many granular fertilizers need about 1/4 to 1/2 inch of water to move nutrients into the soil and off the leaf blades, but the label is the authority.
One safety and environmental note: avoid applying right before a heavy downpour, and keep granules out of gutters, ditches, and waterways.
Liquid fertilizer basics
- Use a sprayer with a consistent fan pattern.
- Walk at a steady pace and overlap slightly.
- Mix exactly per label. Stronger is not better.
- Apply when wind is calm to avoid drift onto beds and sidewalks.
Common mistakes
1) Burning the lawn
Fertilizer burn usually happens when too much quick-release nitrogen hits dry grass, or when product gets dumped in one spot. Burn shows up as yellowing or brown, crispy patches.
- Stick with slow-release if you are new.
- Do not fertilize during heat waves.
- Water in when recommended.
- If you spill, scoop up what you can and dilute the rest with water.
2) Fertilizing at the wrong time
- Feeding cool-season grass heavy in summer can invite disease and stress.
- Feeding warm-season grass too early often feeds weeds first.
3) Ignoring mowing and watering
Fertilizer cannot make up for scalping your lawn or letting it go bone dry. For most lawns:
- Mow high: taller grass shades soil and helps crowd out weeds.
- Water deep and infrequent: aim for about 1 inch per week total, including rain, adjusted for your climate, watering restrictions, and soil type (sandy soil dries faster than clay).
4) Using weed and feed by default
Weed-and-feed products can work, but they are easy to mistime because the best day to fertilize is not always the best day to kill weeds. Here is a practical example of why it gets tricky: many granular weed-and-feed products need to be applied to wet grass so the herbicide sticks to weed leaves, while standard fertilizer is typically best applied to dry grass for more even spreading and less product sticking to the blades.
If weeds are your main problem, you often get better results by treating weeds separately and fertilizing on your grass schedule.
5) Forgetting the edges
Most lawns look thin along sidewalks and driveways because the spread pattern does not reach the edge. Make an intentional edge pass, but keep product off the concrete.
A simple schedule
Use this as a starting point, then adjust based on your grass type, soil test results, and how your lawn responds.
Cool-season lawn
- Spring: 1 light feeding after 1 to 2 mows
- Early fall: 1 feeding
- Late fall: 1 feeding (often the most important one)
Warm-season lawn
- Late spring: main feeding once fully green
- Mid-summer: optional feeding if growth and color are lagging
- Early fall: optional light feeding while still actively growing
When in doubt: do less. You can always fertilize again later. Fixing a burned lawn is a longer, more expensive lesson.
FAQ
Should I fertilize before or after rain?
Light rain can help water in granular fertilizer, but heavy rain can wash it away. I prefer fertilizing when I can control the water, either right before a gentle forecast or right before I run sprinklers for the recommended amount.
Can I fertilize right after mowing?
Yes, and it is often convenient. Just avoid fertilizing stressed grass that is extremely dry or heat-stressed. Make sure you are not leaving heavy clumps of clippings that could block granules from reaching the soil.
How long before kids or pets can go on the lawn?
Follow the label, always. As a general rule, once granular fertilizer is watered in and the grass is dry again, it is usually fine. But the product label is the authority.
Do I need to fertilize if I mulch clippings?
Mulching clippings helps recycle nutrients, especially nitrogen, and it can let you fertilize less. Most lawns still benefit from at least a fall feeding, but you may be able to reduce the total amount.
Final advice
If you want the biggest improvement with the least risk, focus on one good fall fertilizer application (especially for cool-season lawns), apply it evenly, and water it in. Once that habit is solid, you can fine-tune spring feeding and experiment with a second fall application if your lawn is hungry.
A greener lawn is not magic. It is timing, consistency, and just enough patience to let the grass do its thing.
About Marcus Vance
Content Creator @ Grit & Home
Marcus Vance is a lifelong DIY enthusiast and self-taught home renovator who has spent the last decade transforming a dilapidated 1970s ranch into his family's dream home. He specializes in budget-friendly carpentry, room-by-room renovations, and demystifying power tools for beginners. Through his writing, Marcus shares practical tutorials and hard-learned lessons to help homeowners tackle their own projects with confidence.