If your window air conditioner is leaking water inside, you are not alone. A little water is normal in a window unit, but it is supposed to collect in the rear base and drain to the outside. When the balance is off, that water finds the easiest path, which is often your sill, trim, and drywall.
Good news: most indoor leaks come down to installation angle, airflow problems, a clogged drain path, or an internal seal that is not doing its job. Below is how I troubleshoot it in my own house, plus the fixes that do not require a service call.

Safety first (and where the water is coming from)
Before you start opening panels or inspecting anything, take two minutes to keep this from turning into an electrical or mold problem.
- Unplug the unit before removing the front panel or reaching near the fan.
- Protect the floor with towels and a shallow pan. Water stains happen fast on hardwood and laminate.
- Confirm it is not rain: Leaks that happen only during storms can be a bad window seal or missing side panels, not the AC itself.
- Check the manual first: Drain behavior varies by model. Some units intentionally hold water in the outdoor pan (a “slinger” design), and some have factory drain plugs that should not be removed. Do not drill random holes.
Quick clues
- Water only when running on humid days: likely drain, tilt, seal, or airflow issue.
- Ice on the front grille or weak airflow: likely frozen evaporator coil thawing.
- Water appears immediately after install: likely improper tilt, missing side curtains, or gaps at the window.
How a window AC drains
A window unit pulls humidity out of the indoor air. That moisture condenses on the cold evaporator coil and drips into the base pan. From there, it should flow to the rear (outdoor) side and either drain out a small port or get picked up by a slinger ring and tossed onto the outdoor condenser coil to improve efficiency.
If the unit is level or tipped inward, if the drain path is clogged, if internal foam seals are missing, or if ice is melting faster than the pan can handle, water can overflow toward the room.
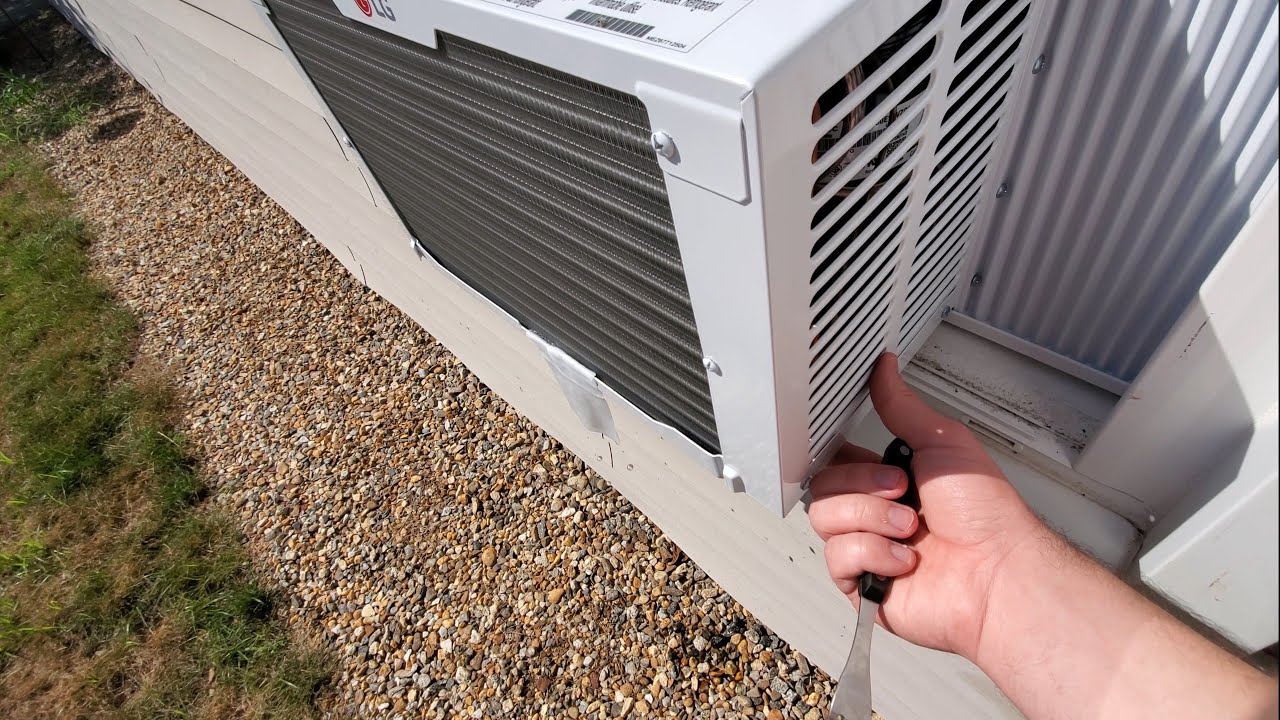
Cause 1: Wrong tilt or install
This is the most common one I see, especially after someone pulls the unit for the winter and reinstalls it in a hurry. A window AC needs a slight tilt downward toward the outside so gravity works for you.
Signs
- Water runs toward the indoor grille or drips from the front corners.
- Leak starts shortly after a new install or reinstallation.
- The unit looks level when you eyeball it.
DIY fix: Set the tilt
- Unplug the AC.
- Check the bracket or support. Many units need a support bracket outside. If the rear is sagging or the whole unit is pitched wrong, the drain path will not work.
- Use a small level on the top of the unit (or the metal chassis if accessible). You want the outdoor side slightly lower than the indoor side.
- Aim for a small drop. Typically it is about 1/4 to 1/2 inch from indoors to outdoors across the depth of the unit, but follow your manual if it specifies something different.
- Adjust at the window: tighten the side rails, adjust the bracket, or add a thin shim under the interior edge of the unit’s mounting rail if needed.
- Install side curtains correctly and seal air gaps around side panels and the top sash. Air leaks can create extra condensation and can also let rain in.
My thrifty mistake: I once “fixed” a leak with more foam weatherstripping, only to realize the unit was tipped slightly inward. The foam hid the symptom for a week, then the water found a new path and soaked the trim. Set the angle first, then seal.
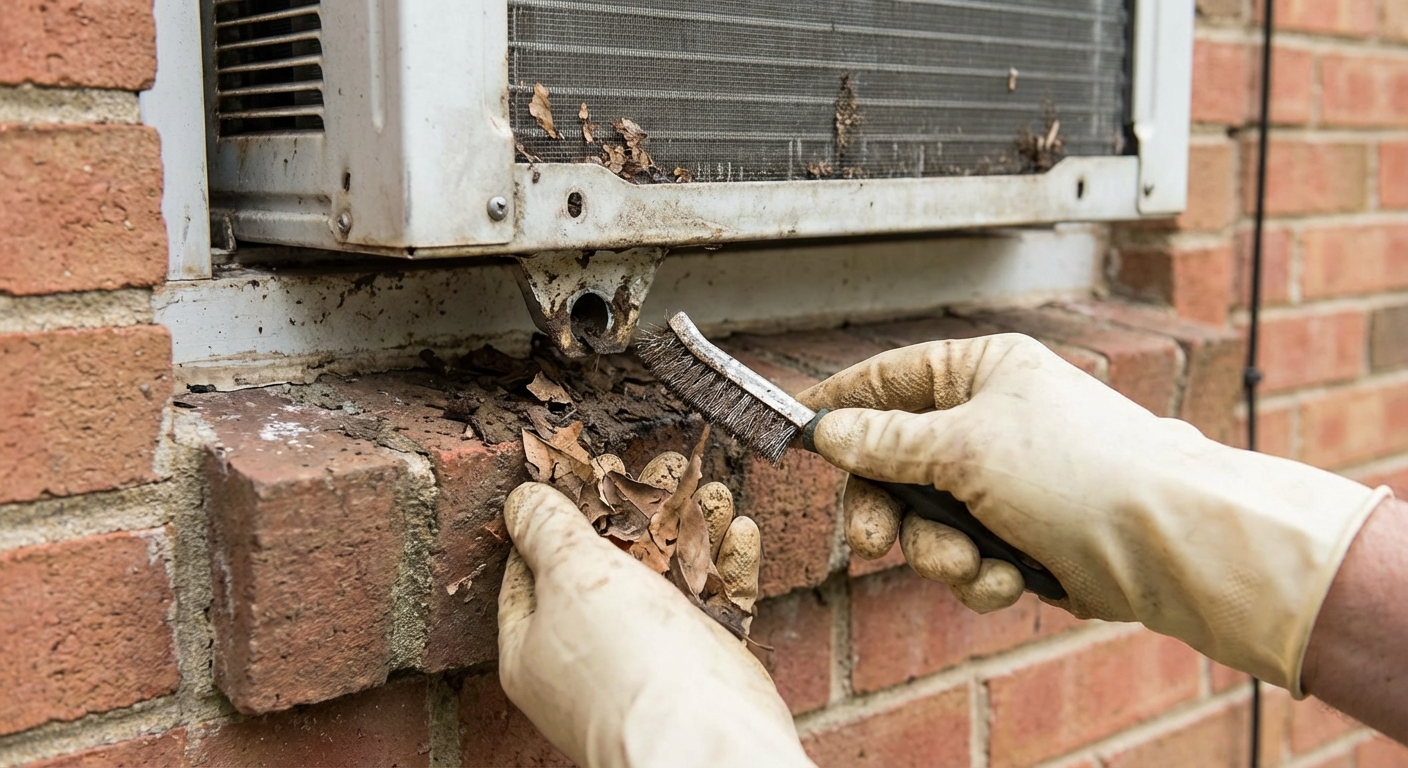
Cause 2: Clogged drain path
Dust, algae, and outdoor debris can clog the drain outlet or channel. When the pan cannot drain the way it was designed to, it fills and eventually overflows toward the inside, especially if the unit is even a little off-level.
Signs
- Leak slowly gets worse over days or weeks.
- You hear more sloshing than usual when the unit cycles.
- Visible grime buildup in the base or along the lower edges.
DIY fix: Clear it safely
- Unplug the unit.
- Remove the front grille and filter (usually snaps in or uses a couple screws).
- Inspect the bottom pan area with a flashlight. If you see standing water and sludge, you likely have a blockage.
- Find the drain exit on the outdoor side near the bottom. Some models have a small hole, slot, or channel, while others drain through a molded path.
- Check the manual before touching any drain plug. Some plugs are factory-set for a reason. Do not remove a plug unless the manufacturer instructs it.
- Clear debris gently using a zip tie, pipe cleaner, or a small piece of wire. Do not jam anything deep enough to puncture foam or fins.
- Flush the channel with a small amount of warm water poured into the pan area, then watch outside for flow.
- Clean the pan with a rag and mild soap if you can reach it. A little white vinegar diluted with water can help discourage algae.
Note: Some window units are designed to hold some water in the rear to improve efficiency. You are not trying to make it bone-dry. You are trying to make sure it does not overflow indoors.
Cause 3: Dirty filter and low airflow
A clogged filter restricts airflow across the evaporator coil. Less warm air moving across a cold coil can lead to coil icing. Then, when the compressor cycles off, the ice melts and dumps a lot of water at once.
Signs
- Weak airflow from the front.
- Musty smell.
- Unit runs constantly but the room cools slowly.
- Water leak appears after long run times.
DIY fix: Clean or replace the filter
- Unplug the unit.
- Slide out the filter from behind the front grille.
- If reusable: rinse with warm water, use a small amount of dish soap, then rinse thoroughly.
- Let it dry completely before reinstalling. A wet filter can cause odor and clumping dust.
- If disposable: replace with the manufacturer’s recommended size and type.
- Vacuum the front intake area with a brush attachment while you are there.
Rule of thumb: In heavy summer use, I check window unit filters every 2 to 4 weeks. Homes with pets or nearby construction may need more frequent cleanings.
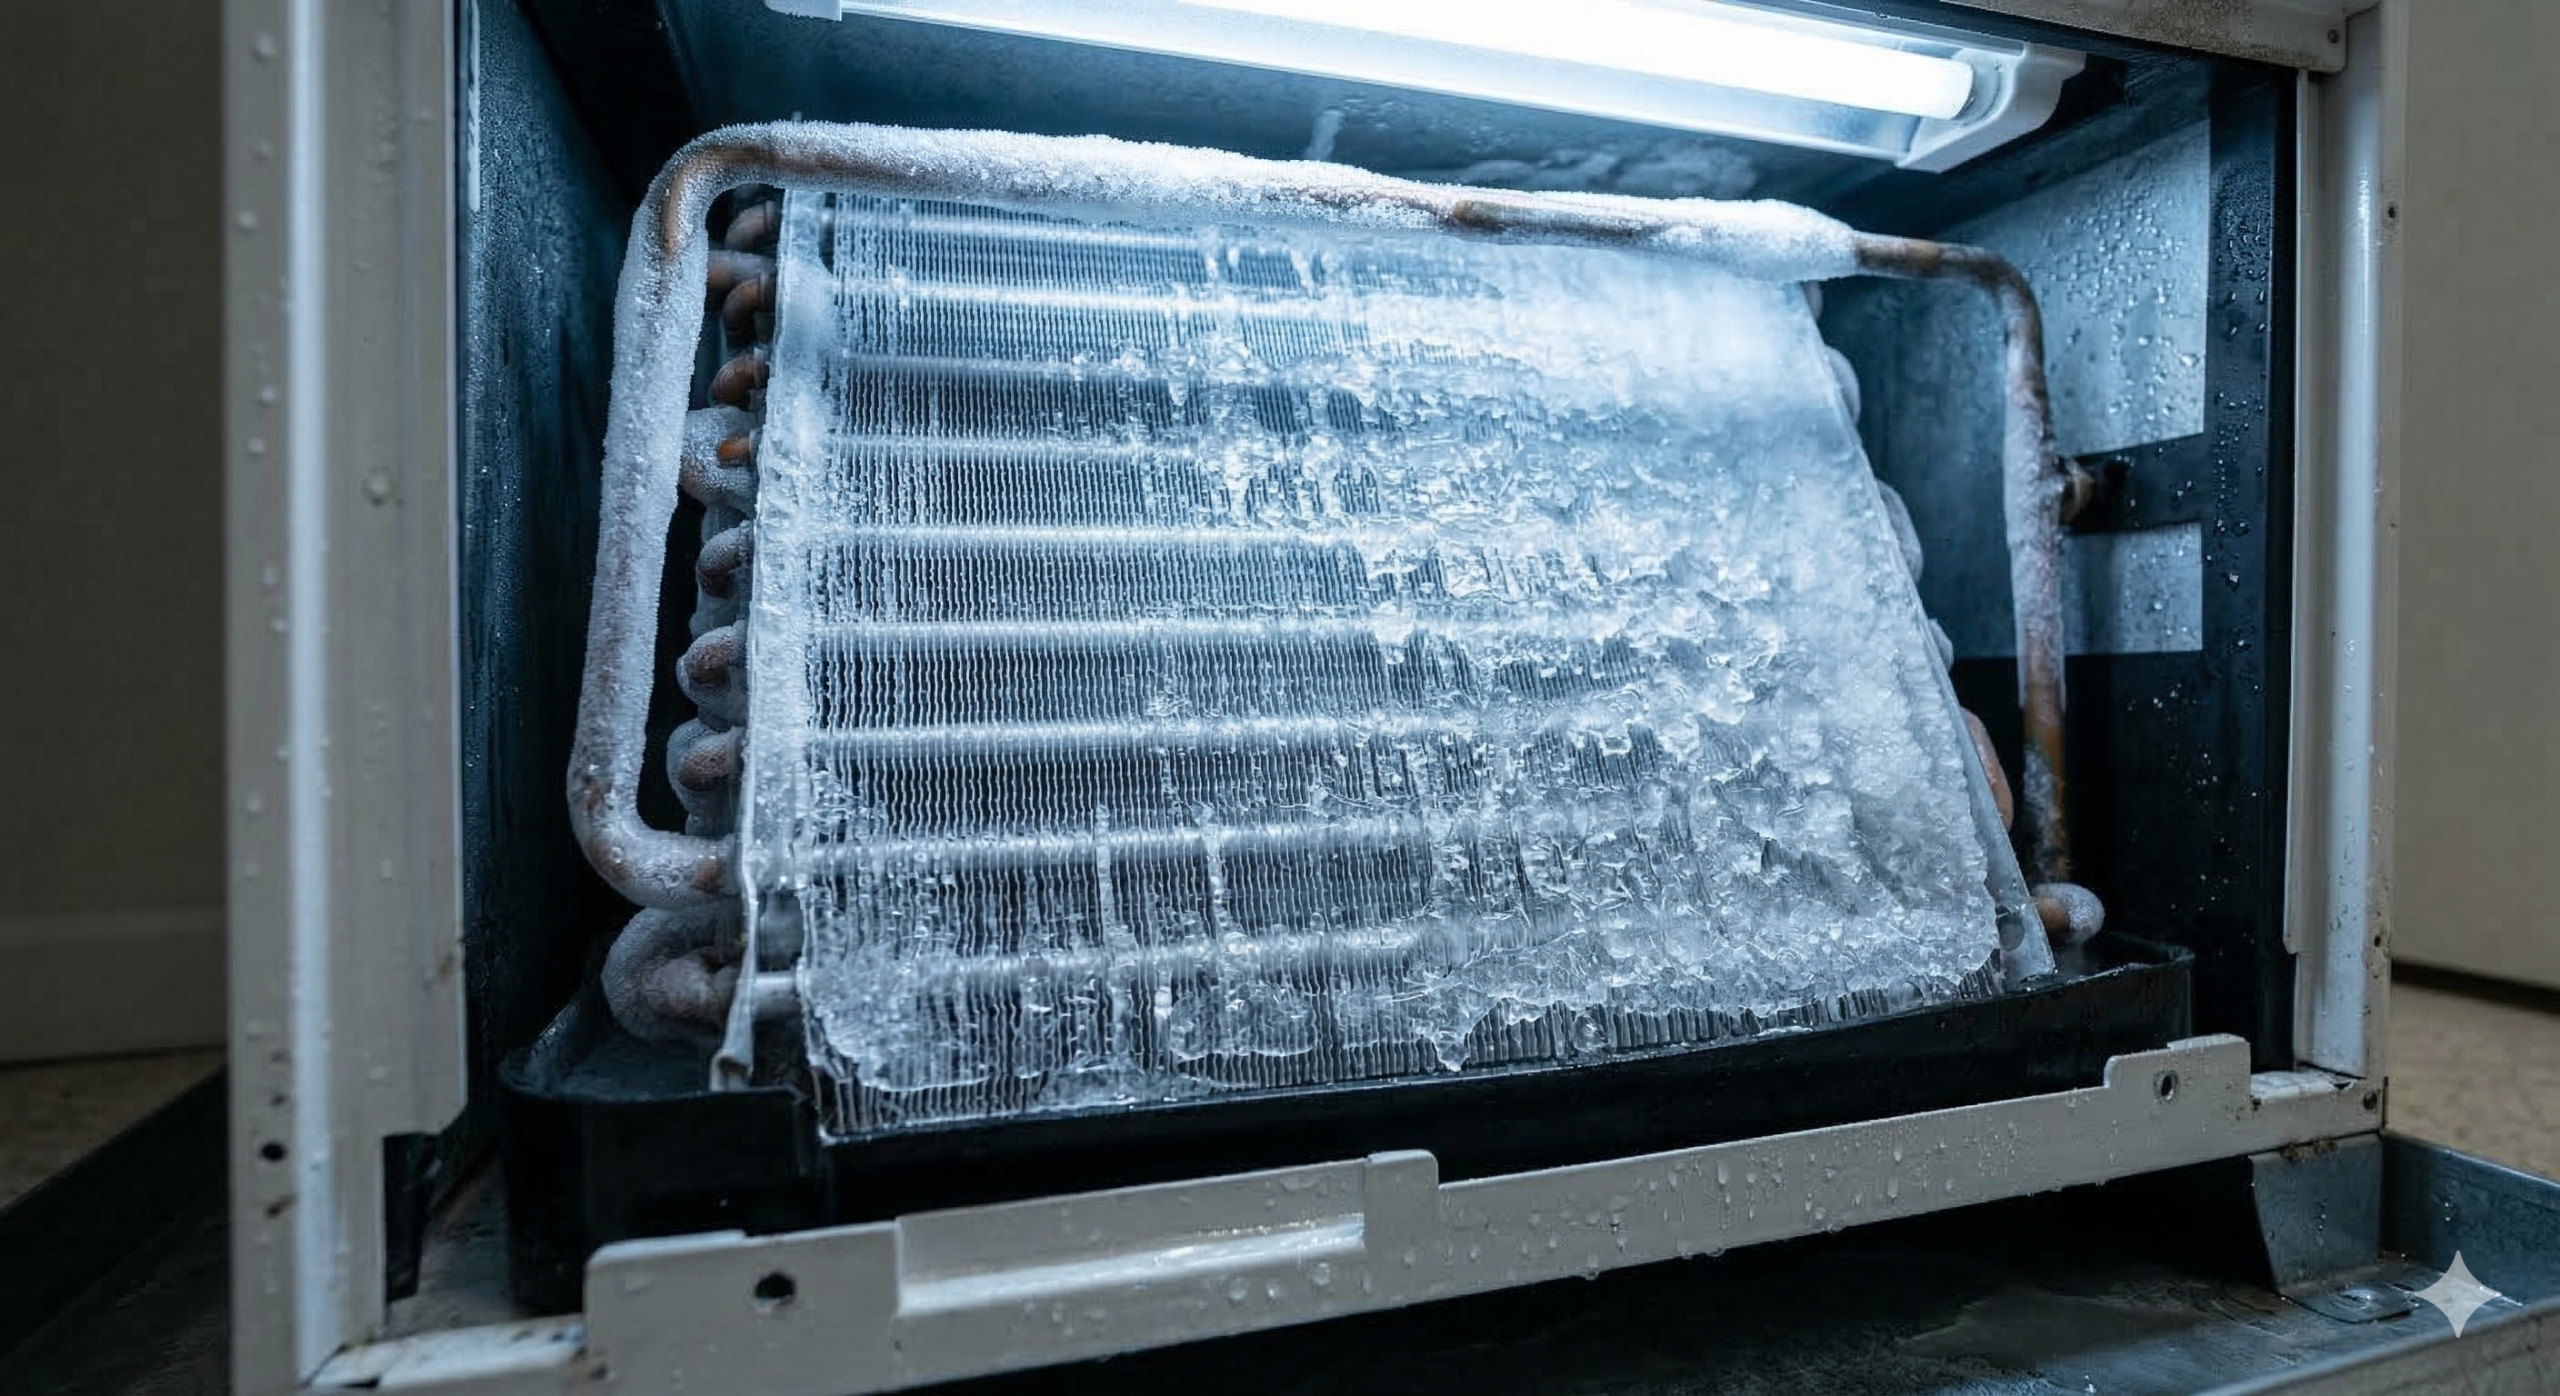
Cause 4: Frozen coil thawing
This is the “it only leaks after it has been running forever” scenario. The coil freezes, then eventually thaws. The pan and drain are sized for normal condensation, not a sudden ice melt.
Why coils freeze
- Dirty filter or coil restricting airflow.
- Fan not running properly (bad capacitor, failing motor, obstruction).
- Running cooling when it is cool out: If outdoor temps are around 60 to 65°F (16 to 18°C) or lower, or the room is already cool and there is not much heat load, some window units can ice up more easily.
- Low refrigerant from a leak. This is not a DIY recharge situation for most homeowners.
DIY fix: Thaw and restore airflow
- Turn the unit off and unplug it.
- Let it thaw. The fastest safe method is to run fan-only mode with the compressor off (plug in only for this if the unit requires power for fan-only). Otherwise, leave it off for a few hours.
- Do not chip ice with a tool. The fins and coil tubes damage easily.
- Clean the filter (see above).
- Clean the evaporator face if accessible: use a soft brush and a vacuum. If it is caked with dust, use a no-rinse evaporator coil cleaner labeled for HVAC use and follow the directions.
- Check the fan airflow: when running, airflow should feel steady and strong. If the fan is weak, noisy, or intermittent, you may have a motor issue.
When to call a pro
- Coils keep freezing even with a clean filter and clean coil.
- You suspect low refrigerant (often paired with poor cooling and recurring ice).
- Fan motor is failing and you are not comfortable sourcing parts.
Refrigerant note: In the U.S., sealed-system refrigerant work typically requires EPA-certified handling. Practically speaking, many homeowners replace the unit instead of repairing a refrigerant leak.
Cause 5: Missing foam seal or air divider
Window ACs rely on foam gaskets and dividers to keep indoor (cold, wet) air where it belongs and outdoor (hot) air where it belongs. If a foam strip is missing, misaligned, or rotted, condensate can get blown or pulled in the wrong direction and end up indoors even if the drain is fine.
Signs
- Leak seems more like splashing or misting than a steady drip.
- You feel odd warm air mixing near the front or side of the unit.
- The unit was recently removed, serviced, or the chassis was slid in and out of a sleeve.
DIY fix: Inspect and reseat seals
- Unplug the unit.
- Remove the front grille and look for obvious missing foam strips or gaps around the divider between sections.
- If your model has a slide-out chassis, confirm it is seated fully and squarely in the sleeve. If it is shoved too far forward or back, internal drainage and airflow can get weird.
- Replace damaged foam with closed-cell foam weatherstrip of similar thickness, but do not block designed drain channels or airflow paths.
Cause 6: Cracked or rusted pan
If your unit is older, the base pan can rust through or crack. When that happens, water may drip in places it never used to, including toward the inside. This is more common on budget models that have lived through many humid seasons, salty coastal air, or frequent standing water in the pan.
Signs
- Leak continues even after correct tilt and a cleared drain.
- Visible rust flakes, pinholes, or hairline cracks in the base.
- Water appears to drip from a specific seam or corner.
DIY fix: Inspect and patch (or replace)
- Unplug the AC.
- Be realistic about weight and safety. Window units are heavy and awkward. If you remove it, use two people when possible and make sure there is exterior support (bracket, helper, or safe landing spot). Do not risk a drop.
- Check the pan with a flashlight, especially corners and seams.
- Small pinholes: clean and dry the area, then apply a waterproof epoxy or a sealant rated for metal and moisture. Let it cure fully before reinstalling.
- Large rust-through areas or multiple cracks: replacement is usually the smarter move. A failing pan often means other components are near the end of their life, too.
Budget reality check: If your unit is 8 to 12+ years old and leaking from rust, putting money into it can be a false economy. A newer unit often pays you back in efficiency and fewer headaches.
Bonus cause: Oversized AC or settings
Sometimes the “problem” is not a broken part. If the unit is too large for the room, it can cool the air so quickly that it short cycles and does not run long enough to manage moisture smoothly. Pair that with a very low thermostat setting or a low fan speed, and you can see icing and messy melt cycles.
Try this first
- Set the temperature a bit higher (even 2 to 3 degrees can help).
- Use a higher fan setting to keep airflow steady.
- Use “Dry” or dehumidify mode if your unit has it.
Fast troubleshooting order
If you just want my quick checklist, here is the order I use because it starts with the most common and least expensive fixes.
- 1) Confirm the tilt is slightly down to the outside (follow the manual’s spec if listed).
- 2) Clean the filter and check airflow.
- 3) Clear the drain outlet and remove sludge from the pan (and do not remove plugs unless the manual tells you to).
- 4) Look for freezing and thaw the unit safely.
- 5) Check foam seals and confirm the chassis is seated correctly (if applicable).
- 6) Inspect the drain pan for cracks or rust.
What not to do
- Do not drill random drain holes in the case or pan. You can hit coils, wiring, or defeat a slinger design.
- Do not remove a factory drain plug unless your manual says to.
- Do not pressure-wash coils. Bent fins and water in the wrong places create new problems.
- Do not run without the filter. It invites coil dirt and icing.
Prevent leaks
- Clean the filter regularly during summer.
- Check the unit after the first hot, humid week. That is when small drainage problems show up.
- Keep the outdoor side clear of leaves and cottonwood fluff so water can drain freely.
- Support the unit properly with a bracket if the window opening flexes or the unit feels bouncy.
- Seal the window to prevent wind-driven rain from sneaking in around the panels.
When it is urgent
Most window AC leaks are annoying, not catastrophic. But stop and escalate if:
- Water is dripping onto an outlet, power strip, or extension cord.
- You see bubbling paint, soft drywall, or staining below the window.
- You smell a strong musty odor, which can mean moisture has been sitting longer than you think.
If you dry the area, correct the tilt, clear the drain, and it still leaks, it may be time to replace the unit or have it evaluated for internal damage.
About Marcus Vance
Content Creator @ Grit & Home
Marcus Vance is a lifelong DIY enthusiast and self-taught home renovator who has spent the last decade transforming a dilapidated 1970s ranch into his family's dream home. He specializes in budget-friendly carpentry, room-by-room renovations, and demystifying power tools for beginners. Through his writing, Marcus shares practical tutorials and hard-learned lessons to help homeowners tackle their own projects with confidence.