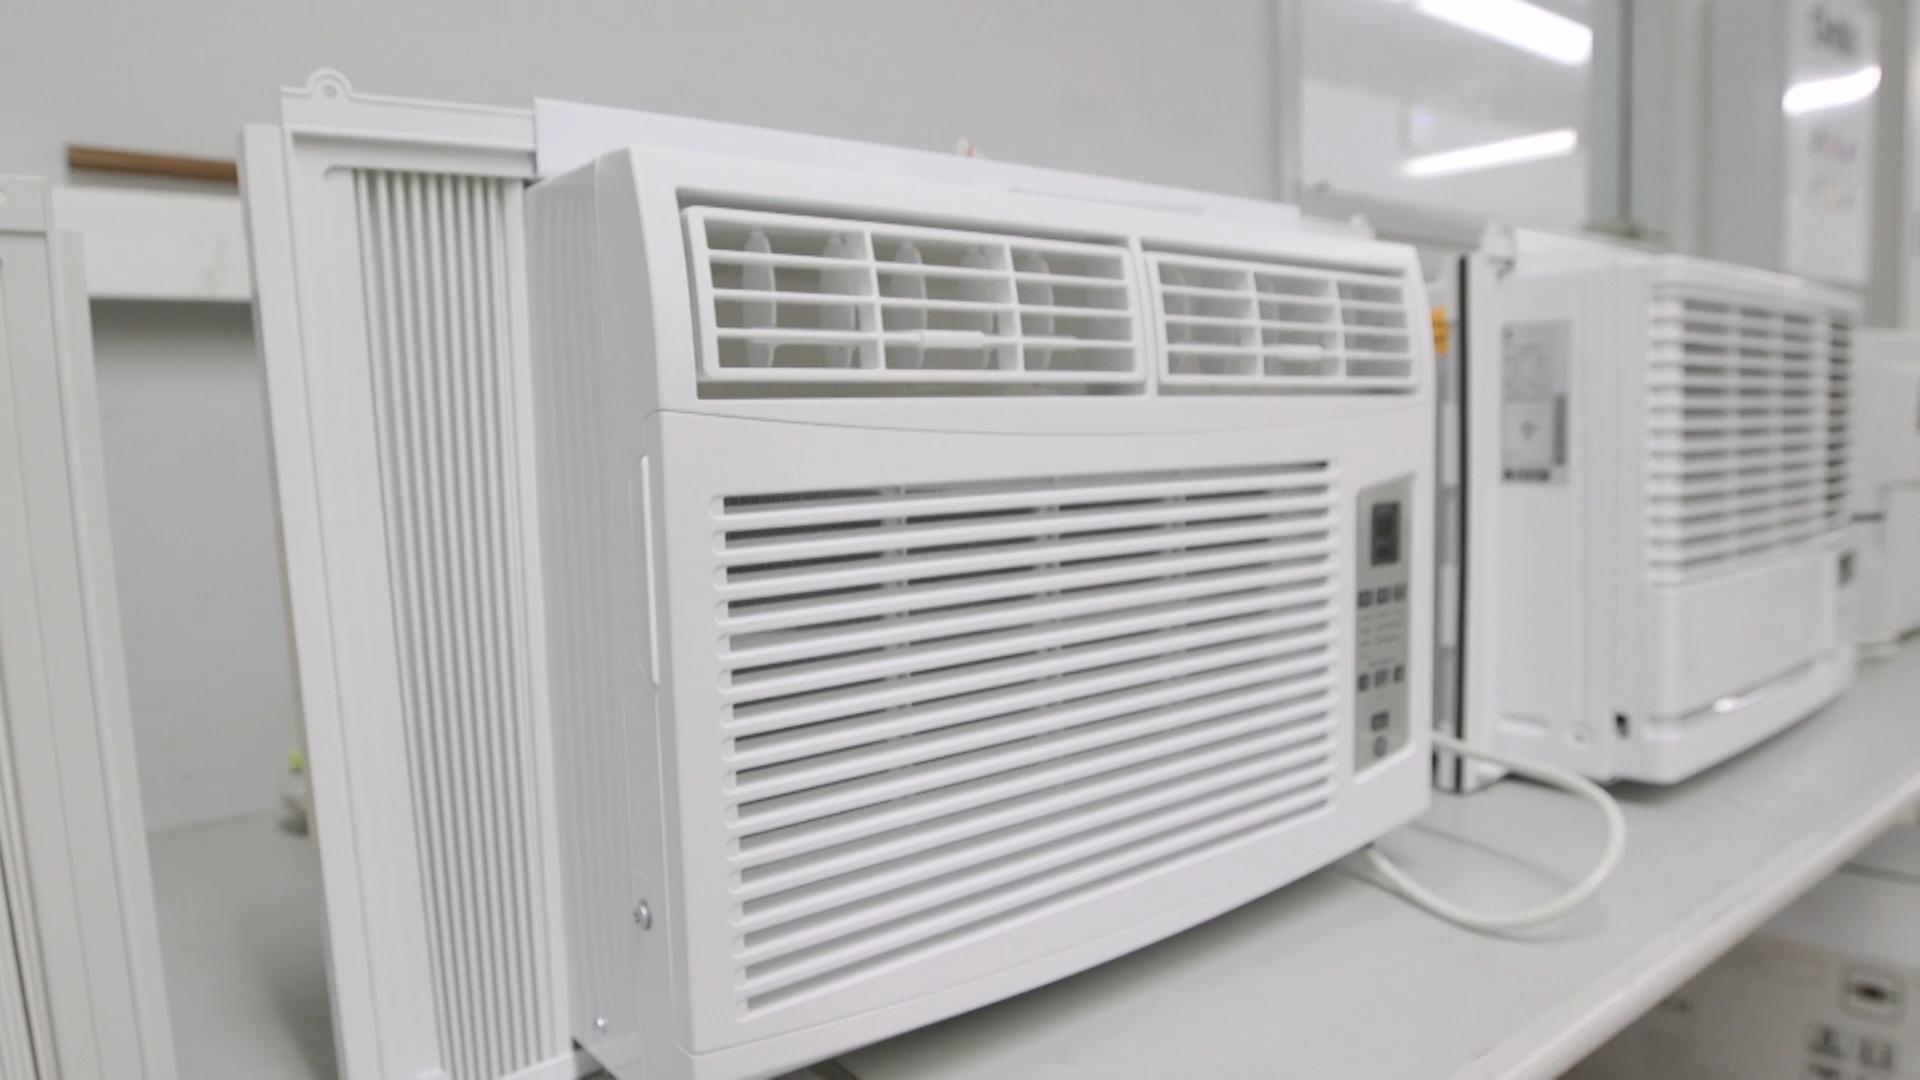
A window AC that suddenly starts rattling, buzzing, or vibrating like it’s trying to shake itself out of the window usually has a simple cause. Most of the time it’s a loose screw, a vibrating panel, or the unit sitting slightly out of level. The trick is knowing what’s safe to tighten and cushion, and what noises are warning signs.
I’ve lived through the full spectrum in my own 1970s ranch, from “one loose screw” fixes to the dreaded “motor bearings are going” hum. Use the checklist below to diagnose the noise without throwing parts at it.
Safety first
- Unplug the unit before removing the front grille, cleaning, or reaching inside.
- Do not open the sealed refrigerant system. If a fix requires cutting lines or accessing refrigerant, that is a pro job.
- Keep fingers and tools away from moving parts. Never reach through a grille or near a fan opening while it’s running.
- Watch the fins. They are sharp and bend easily.
- If the unit is loose in the window, support it from below before you start pushing and pulling on it.
Find where the noise comes from
Quick shortcut: stand inside and listen, then step outside and listen. Indoor-side noises tend to be blower, grille, and cabinet. Outdoor-side noises tend to be the prop fan, shroud, and compressor. That does not solve it by itself, but it narrows the search fast.
Match the sound to the cause
Different sounds point to different parts. Match what you hear to the likely suspects.
- Fast rattling or chattering: loose cabinet screws, vibrating panels, loose window frame, or side accordion panels.
- Buzzing that changes with fan speed: fan blade hitting something, debris in the indoor blower wheel, bent shroud, or a loose grille.
- Deep vibration or low hum: unit not supported well, cabinet not seated in the window kit, or compressor vibration transferring into the window frame.
- High-pitched squeal or grinding: failing fan motor bearings, or a fan rubbing a shroud (depending on model).
- Click then loud buzz then silence: compressor struggling to start. Common causes include a failing start device (relay/capacitor), low line voltage, voltage drop from an extension cord, or a compressor that is binding. Do not keep cycling it, you can cook the compressor or trip the overload.
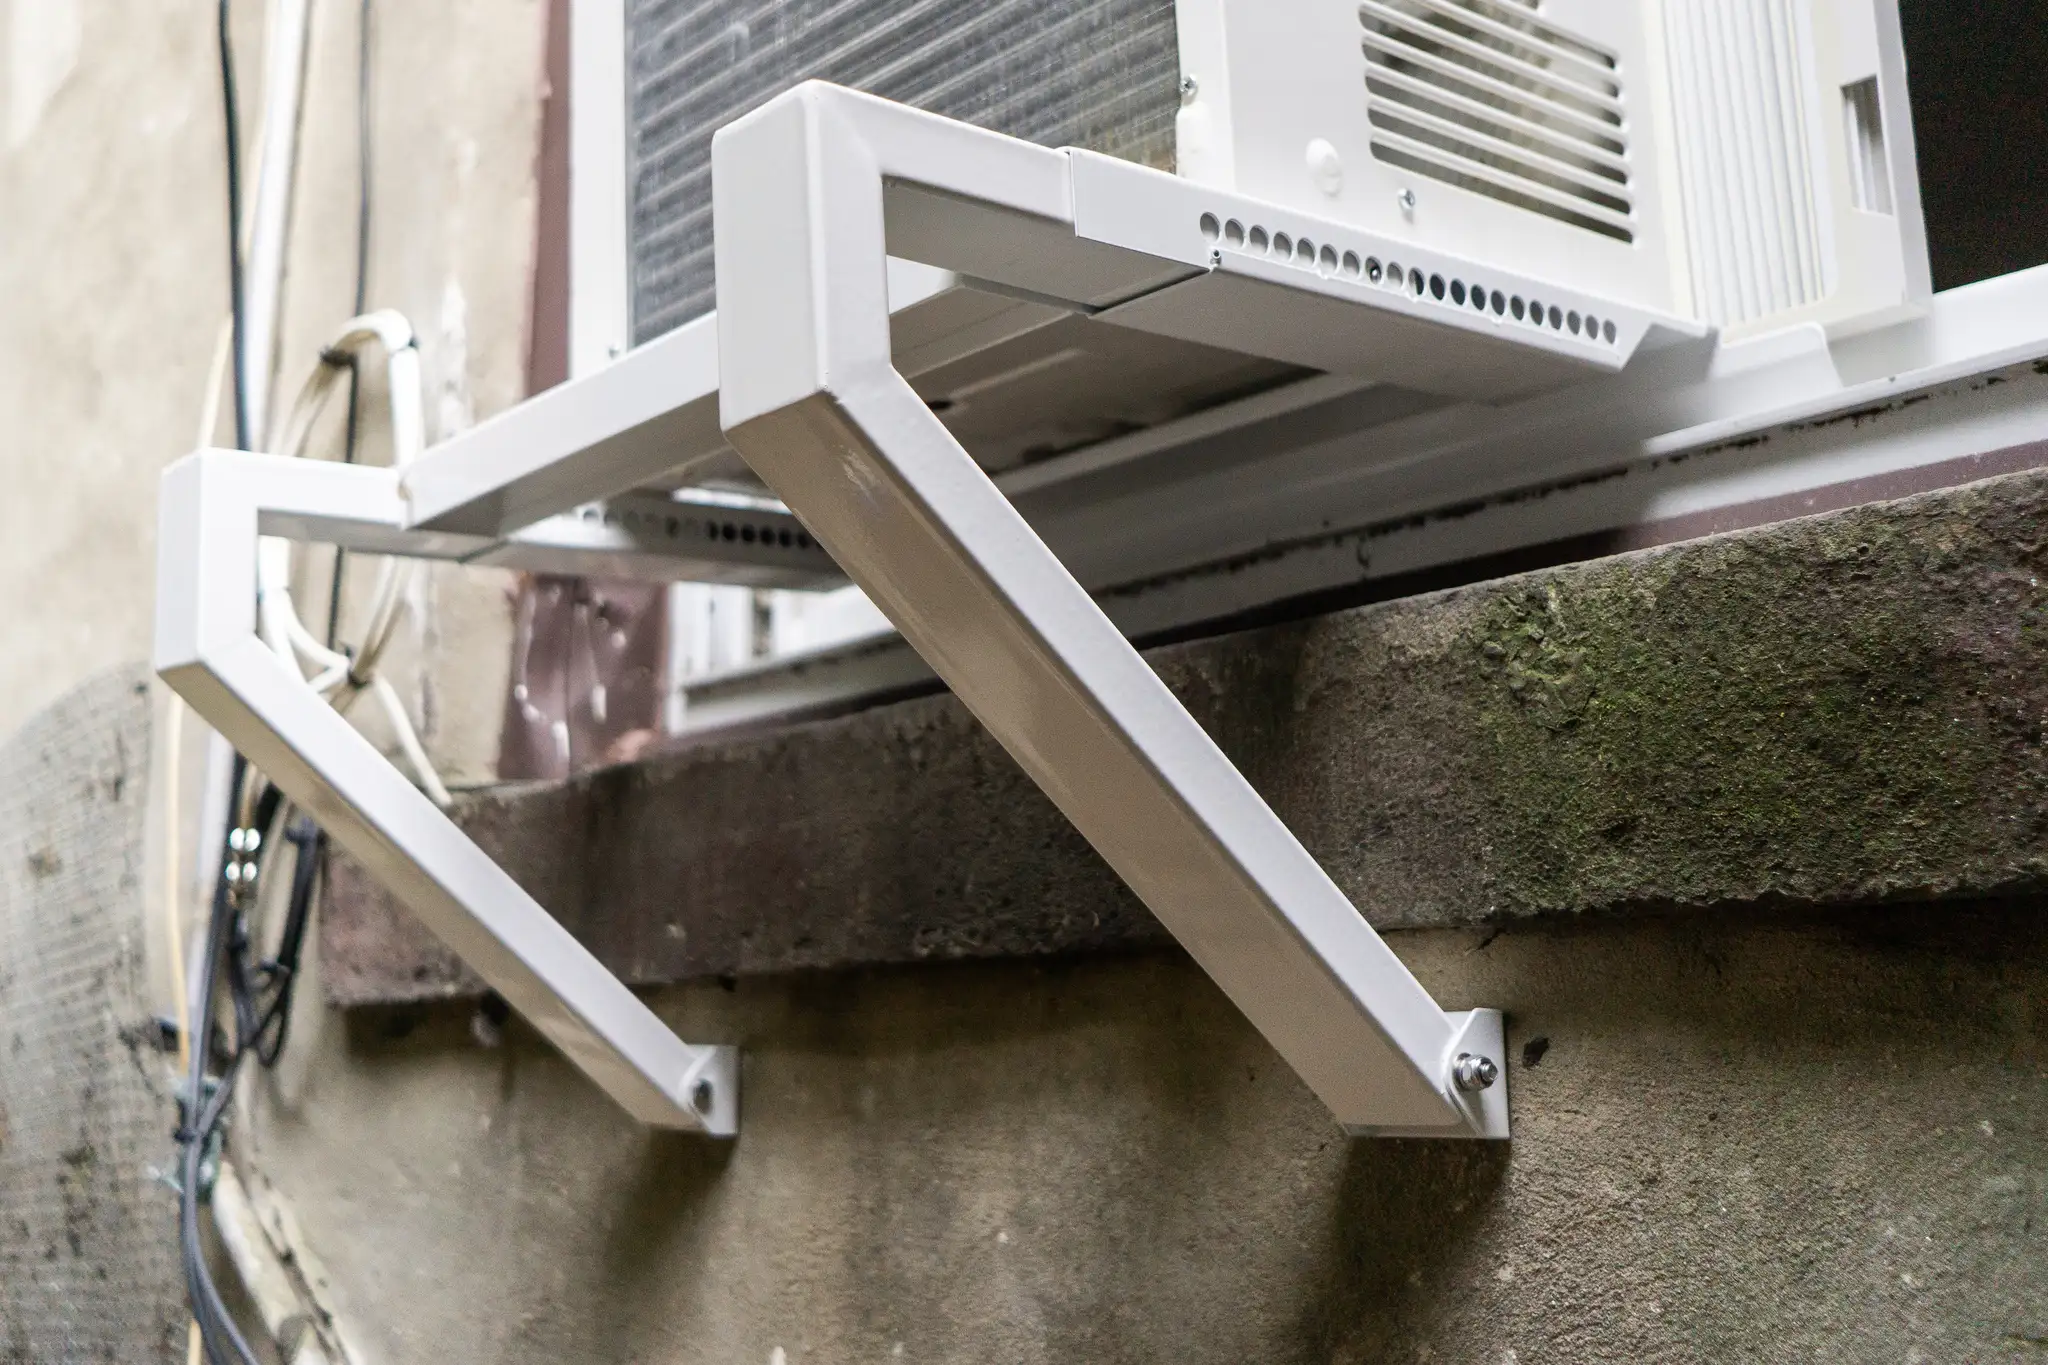
Step 1: Check level and support
This is the least glamorous fix and the one that solves a surprising number of “my AC is rattling” complaints. If the unit is twisted in the window, everything vibrates.
What to look for
- Follow the install manual. Many window units want a slight outward tilt so condensation drains outside, but some models specify level installation or only a very small tilt.
- If the unit is sagging, the case can rack and cause the fan to rub or the cabinet to buzz.
- Window frames can act like a drum. Even a healthy AC can sound awful if it is hard-coupled to loose trim.
Fix it
- Add a support bracket if the unit is heavy or the window is older and flexy. Many kits bolt to the exterior wall and take the weight off the sash.
- Use a thin foam support pad where the AC meets the window sill and side channels. This reduces vibration transfer. Keep it thin enough that you do not defeat whatever drain angle your model requires.
- Shim carefully if needed. A small exterior shim under the outdoor edge can correct a twist without blocking drainage.
Step 2: Tighten screws and quiet panels
Window ACs live a rough life: constant vibration, thermal expansion, and the occasional bump when the window gets opened. Screws back out. Thin sheet metal resonates.
What to do
- With the unit unplugged, remove the front grille (usually snaps or a couple of screws).
- Check and snug accessible screws: front frame screws, side panel screws, top cover screws.
- To pinpoint a vibrating panel, you can run the unit and press lightly on the outer cabinet only (never through vents or near the fan path). If the sound changes when you press a spot, that panel is your noisemaker.
Budget-friendly vibration fixes
- Foam weatherstrip between a vibrating panel seam can stop buzzing.
- Rubber washers under a screw head can reduce metal-on-metal chatter.
- Felt pads where the chassis touches the outer case (on some models) can reduce resonance, but only add material where it cannot contact the fan or block airflow.
My mistake to save you time: I once cranked down a thin sheet metal screw until it stripped. Snug is good. If a screw won’t tighten, move up to the next size or use a thread-forming screw rated for sheet metal.
Step 3: Check fans for rubbing or debris
If the noise speeds up and slows down with the fan, treat it like a “something is touching something” problem until proven otherwise. This is one of the most common sources of buzzing, ticking, and rattling.
Common culprits
- A leaf, twig, or seed stuck near the outdoor prop fan.
- A zip tie, wire, or insulation touching a fan shroud.
- A bent fan blade or loose hub causing wobble.
- A dirty indoor blower wheel, which throws the wheel out of balance and creates vibration.
Fix it
- With power unplugged, use a flashlight and gently spin the outdoor prop fan (rear) and the indoor blower wheel (front) by hand if accessible. They should rotate without scraping. A little motor drag can be normal, but roughness, grinding, or obvious rubbing is not.
- Remove any debris you can reach without bending parts.
- Clean the blower area if it is packed with dust. Even a gentle vacuum and a soft brush can make a noticeable difference in noise.
Step 4: Filter, grille, and airflow
This one is easy to overlook because it feels “maintenance-y,” not “rattle-y.” But low airflow can make the unit louder, make the fan work harder, and in some cases lead to icing that creates its own weird sounds.
- Clean the filter and make sure it is seated correctly. A loose filter or grille can buzz.
- Check the front grille for broken tabs or a corner that does not snap in tight.
- If the unit sounds harsher than usual and cooling is worse, check for dust matting on the indoor coil behind the filter (clean gently, do not mash fins).
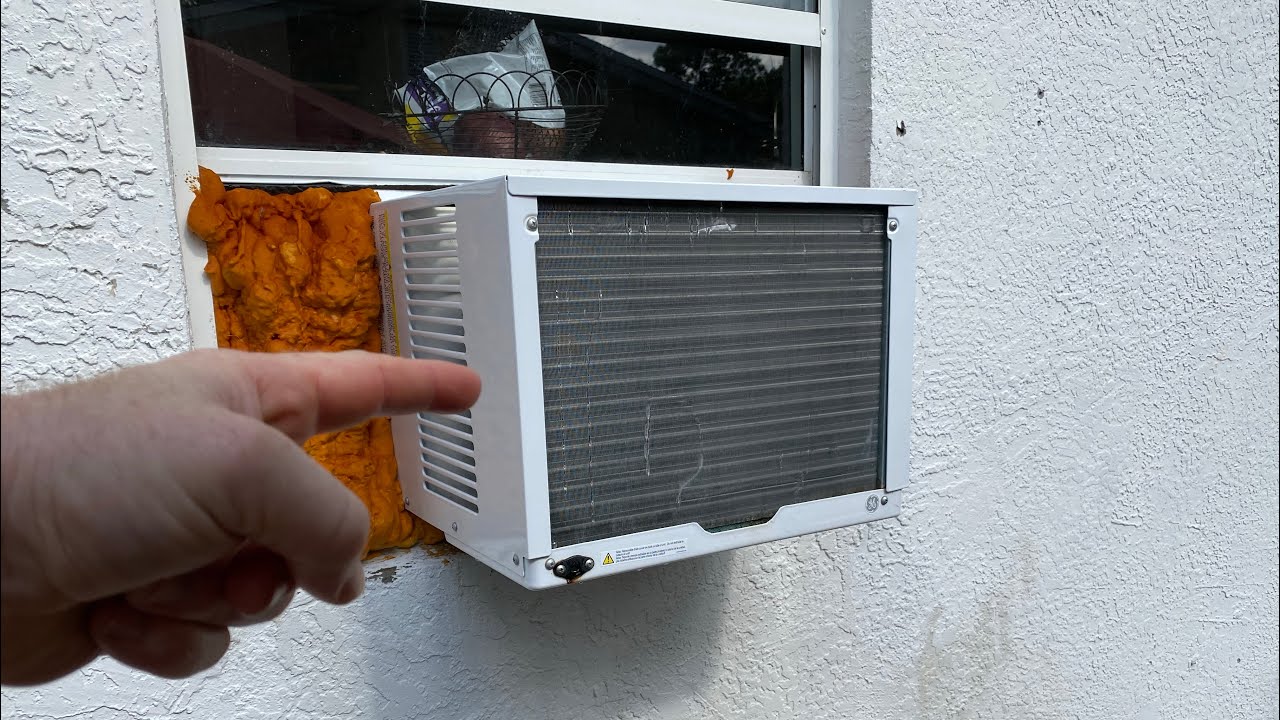
Step 5: Fins and shrouds
Bent fins usually do not create a loud rattle by themselves. The more common issue is indirect: restricted airflow can increase noise and vibration, and a bent guard or shroud can occasionally get close enough to buzz or rub.
What to check
- Outdoor coil fins crushed from a bump or high-pressure water. Avoid pressure washing. It can flatten fins fast.
- Indoor evaporator fins bent near the front where the grille snaps in.
- Any metal shroud around the fan that is slightly bent inward.
Fix it
- Use a fin comb sized for your coil, or very gently straighten with a thin tool if only a few fins are bent. Go slow and do not tear the fin material.
- If a shroud is bent and rubbing, carefully bend it back just enough to restore clearance.
Tip: Your goal is airflow and clearance, not perfect factory-straight fins.
Step 6: Ice and frost noises
If you see ice on the front coil, or you hear ticking, crackling, or thumping that seems to come and go as the unit cycles, ice can be part of the story. You can also get gurgling as pressures equalize, which can be normal. A fan hitting ice is not.
What to do
- Turn off cooling and let it thaw. Run fan-only if your model allows it.
- Clean the filter and make sure the indoor airflow path is not blocked by curtains or furniture.
- If icing keeps coming back, you may have an airflow problem (dirty coil, weak fan) or a refrigerant issue. Refrigerant problems are not DIY.
Step 7: Compressor vibration
The compressor is the heaviest, most vibration-prone part of a window AC. Some vibration and a low hum when it starts is normal. The problem is when that vibration gets amplified by loose mounts or a shaky install.
What’s normal
- A brief increase in hum when the compressor kicks on.
- A steady low rumble that does not change much over time.
What’s not normal
- A loud clank when the compressor starts or stops.
- A vibration that gets worse week by week.
- A buzz that makes the window frame shake noticeably.
Fixes you can try
- Re-check level and support. This is big for compressor vibration.
- Make sure the unit is firmly seated in the window kit and that the sash is tight.
- If your model allows access, inspect for rubber isolators or grommets at compressor mounting points. If a mount is cracked or missing, it is usually a parts replacement situation.
Bearing noise vs normal
This is the line homeowners want clarity on. Here’s a practical way to think about it.
Signs of failing fan motor bearings
- Squealing, screeching, or grinding that persists while the fan is running.
- Noise that is worst at startup and then mellows, or the opposite, it gets louder as it warms up.
- The fan feels rough when spun by hand with the power unplugged, not smooth and free.
- New vibration after you have already tightened panels and cleared debris.
Signs it may be normal
- A gentle airflow “whoosh” and a steady hum.
- A short buzz when the compressor starts, then it settles.
- No scraping sounds and no worsening trend over time.
One important note: many window AC fan motors use sealed bearings. That means “oil it” is usually not a real fix unless your manual explicitly calls for lubrication. If you strongly suspect bearings, you are typically choosing between replacing the fan motor (if parts are available and the unit is worth it) or replacing the AC, especially for older units. A failing bearing tends to get louder, not better.
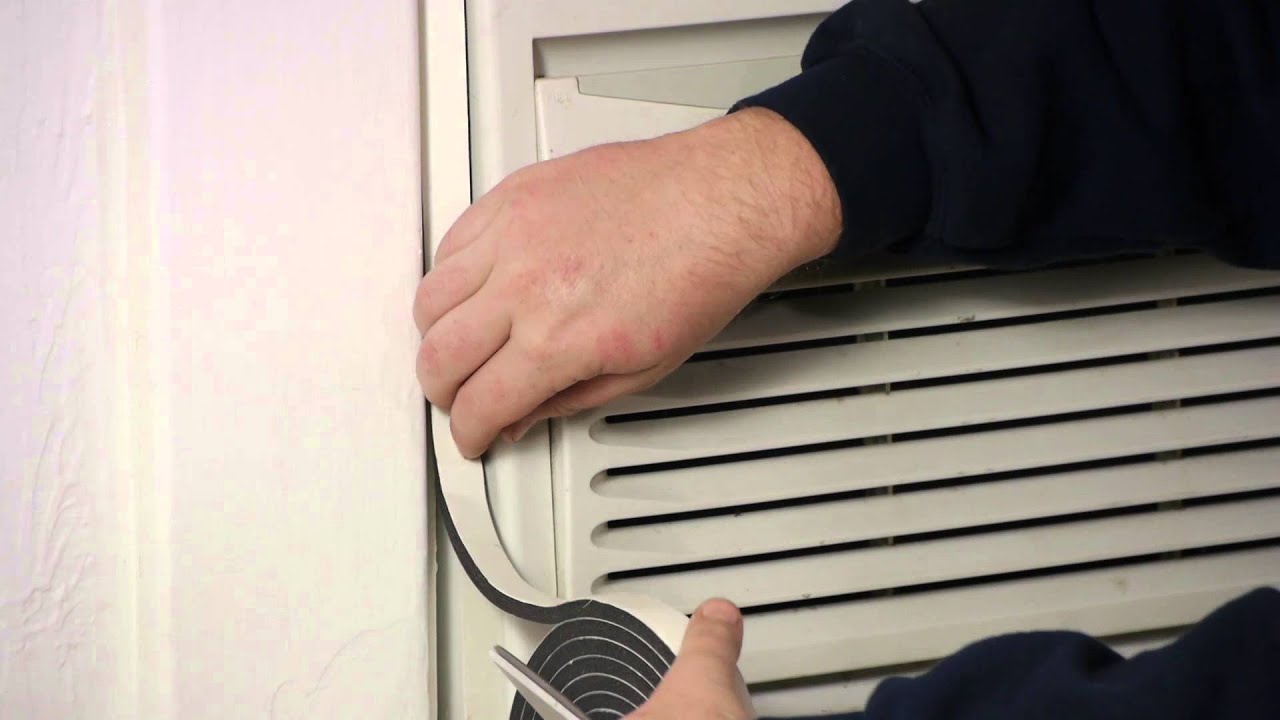
Quick fixes for vibration transfer
Sometimes the AC is fine, but your window and trim are acting like a speaker box. Softening the contact points can make a huge difference.
- Foam weatherstrip between the side accordion panels and the window jamb reduces rattles in a loose-fit window.
- Thin rubber or foam pads under the base where it sits on the sill helps with buzzing, as long as you do not defeat your unit’s required drain angle.
- Secure the window sash with the included brackets, or add a simple sash lock so the window cannot vibrate up and down.
Troubleshooting checklist
- Rattle on high fan only: check outdoor prop fan clearance, indoor blower wheel balance, debris, loose grille.
- Buzzing from the case: tighten screws, add foam at vibrating seams, secure window kit and sash.
- Deep vibration when compressor runs: re-check install angle per manual, add support bracket, add thin pad at sill contact points.
- Squeal or grind: likely motor bearings or fan rub. Plan for motor replacement or unit replacement.
- Click then loud buzz then trips: stop running it. Check for extension cord use, weak outlet, or other voltage issues, then call for service if it persists.
- Airflow suddenly louder, weak cooling, or ice: clean filter and coils, thaw if iced. If it returns, escalate.
Electrical notes
- Avoid extension cords. Voltage drop can make a compressor buzz, struggle to start, and overheat.
- Make sure the plug is fully seated in a good outlet. If the plug or cord feels hot, or the unit trips the breaker, stop and get it checked.
When to call a pro or replace
I’m all for fixing things, but window ACs are a cost-benefit decision. Get help or consider replacement if you see any of the following:
- The unit is tripping the breaker or the cord or plug feels hot.
- You hear metal grinding that does not change after clearing obstructions and tightening panels.
- The compressor makes a loud buzz and fails to start repeatedly.
- The unit keeps icing up even after filter and airflow checks.
- The unit is older and parts are expensive or hard to find. Sometimes the quietest fix is a new, efficient unit with a solid bracket and fresh foam seals.
If you want one simple rule: tighten, confirm the install angle per the manual, clear obstructions, and cushion contact points. If the noise remains sharp, grinding, or getting worse, it’s time to escalate.
About Marcus Vance
Content Creator @ Grit & Home
Marcus Vance is a lifelong DIY enthusiast and self-taught home renovator who has spent the last decade transforming a dilapidated 1970s ranch into his family's dream home. He specializes in budget-friendly carpentry, room-by-room renovations, and demystifying power tools for beginners. Through his writing, Marcus shares practical tutorials and hard-learned lessons to help homeowners tackle their own projects with confidence.