
🚨 In a DIY emergency or rush?
Skip the details and jump straight to our 30-second cheat sheet for the most crucial info.
I used to trust the little numbered dial inside the fridge like it was a thermostat. Then I bought a $10 fridge thermometer and learned a humbling truth: that dial is more of a suggestion. If your milk is warm but the back wall is freezing, the number on the knob does not matter much.
Here are the normal targets, plus a simple way to confirm the actual temperature your food is living at.
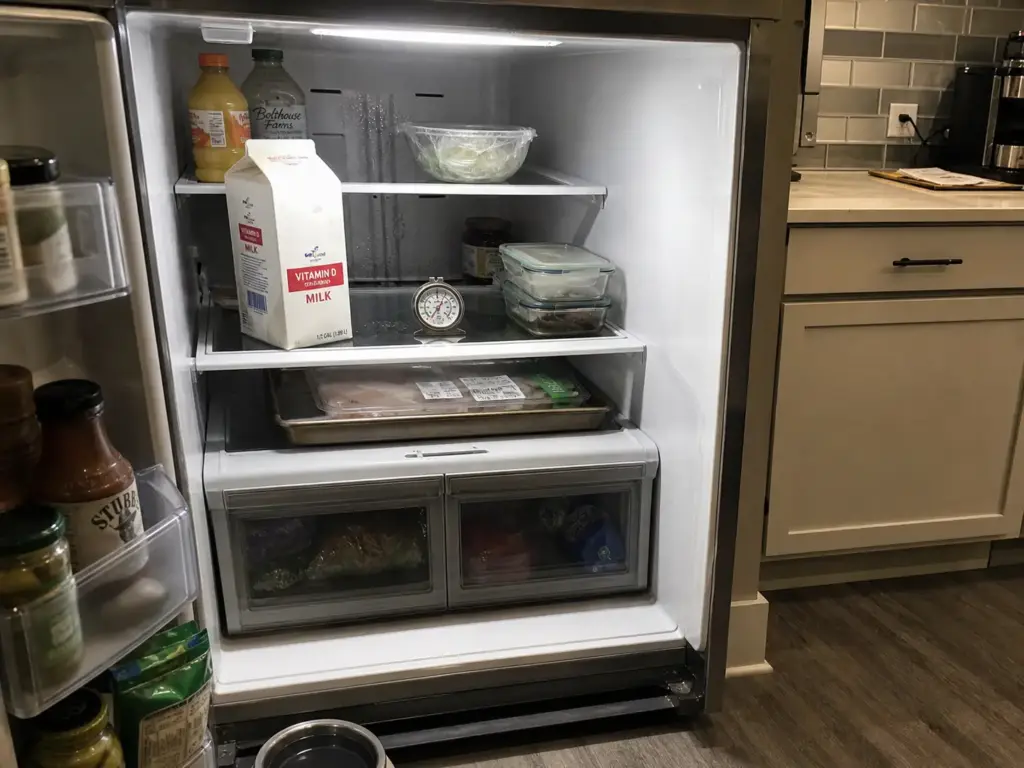
Normal temperature settings (the targets)
If you want a simple, safe baseline for most homes, start here:
- Refrigerator: aim for 37 to 39°F (3 to 4°C)
- Freezer: 0°F (-18°C)
The key safety line for the fridge is simple: keep it at 40°F (4°C) or below. Above that, bacteria can multiply faster, especially if the fridge is warm for hours at a time.
For the freezer, 0°F is the standard for long-term storage times and best texture. Warmer than that can still keep food frozen, but quality drops faster.
If your fridge has a vague scale like 1 through 9, do not sweat the “perfect” number. Set it to the middle, then confirm the real temperature with a thermometer and adjust from there. Also, on some models the control is really adjusting airflow more than “temperature,” which is another reason the dial and your food can disagree.
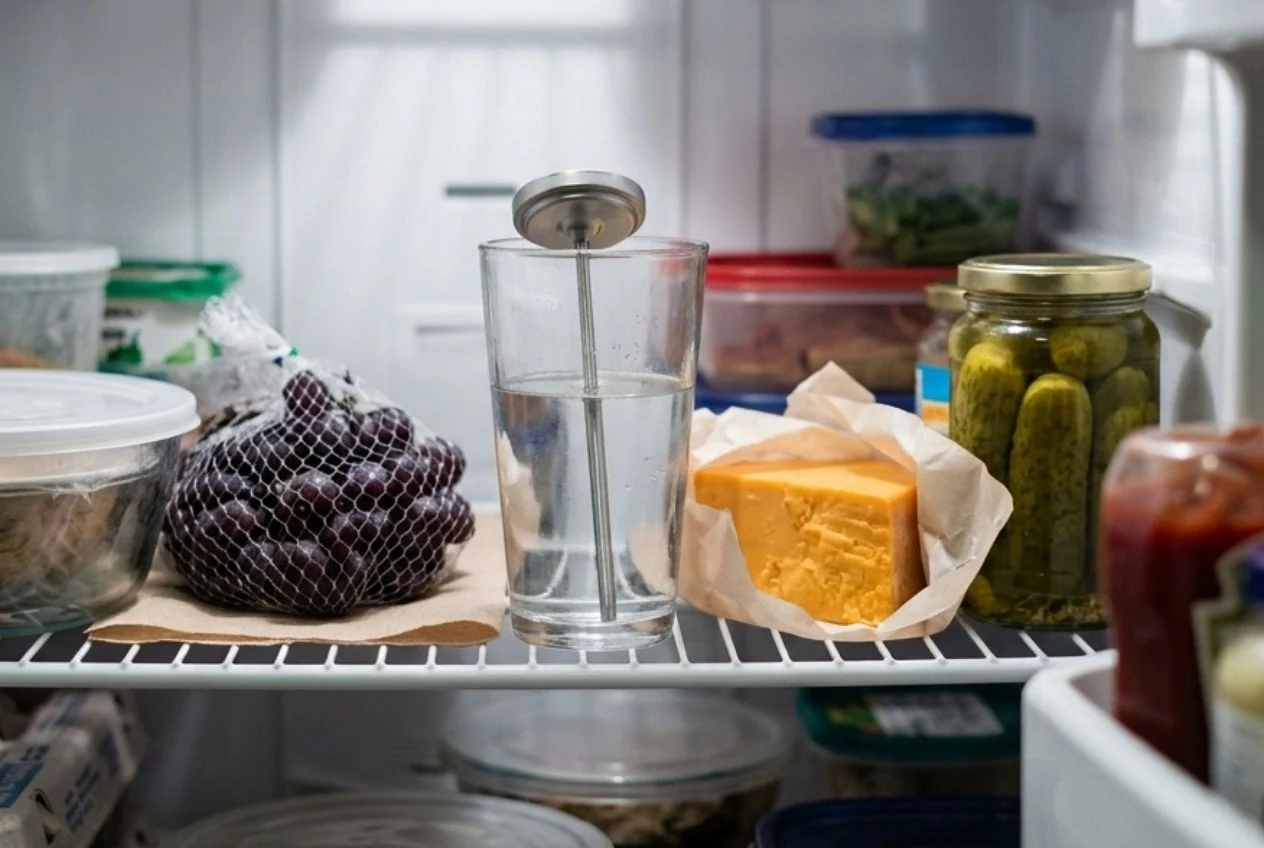
How to confirm fridge temperature with a thermometer (the glass-of-water method)
This is my go-to check because it mimics the temperature of food, not the quick swings of air when the compressor kicks on or you open the door.
What you need
- A basic refrigerator thermometer (dial or digital)
- A drinking glass
- Water
Step-by-step
- Fill a glass with water and place it on the middle shelf, near the center (not touching the back wall).
- Put the thermometer in the water (or clip it so the probe sits in the water).
- Close the door and leave it alone overnight (6 to 12 hours).
- Read the temperature before the door has been opened much.
Your goal: roughly 37 to 39°F, and always 40°F or below. If you are consistently above 40°F, turn the setting colder and re-check.
One more real-world note: once you find your sweet spot, it is not a bad idea to leave a thermometer on the middle shelf (not in the door) so you can spot trouble early after a power outage or a big grocery run.
How to confirm freezer temperature (between frozen packages)
Freezers are similar: air temperature swings a lot, so you want the thermometer reading to reflect the “thermal mass” of frozen food.
Step-by-step
- Place the thermometer between two already-frozen items like bags of vegetables or boxed meals.
- Put it in the center of the freezer, not in the door, not against the back wall, and not right next to the fan outlet if you can help it.
- Leave it for 8 to 12 hours with minimal door opening.
- Check the reading.
Your goal: about 0°F. If you are sitting at 5°F to 10°F, food will stay frozen, but it will not hold quality as long. For long-term storage times and best texture, adjust toward 0°F and re-check.
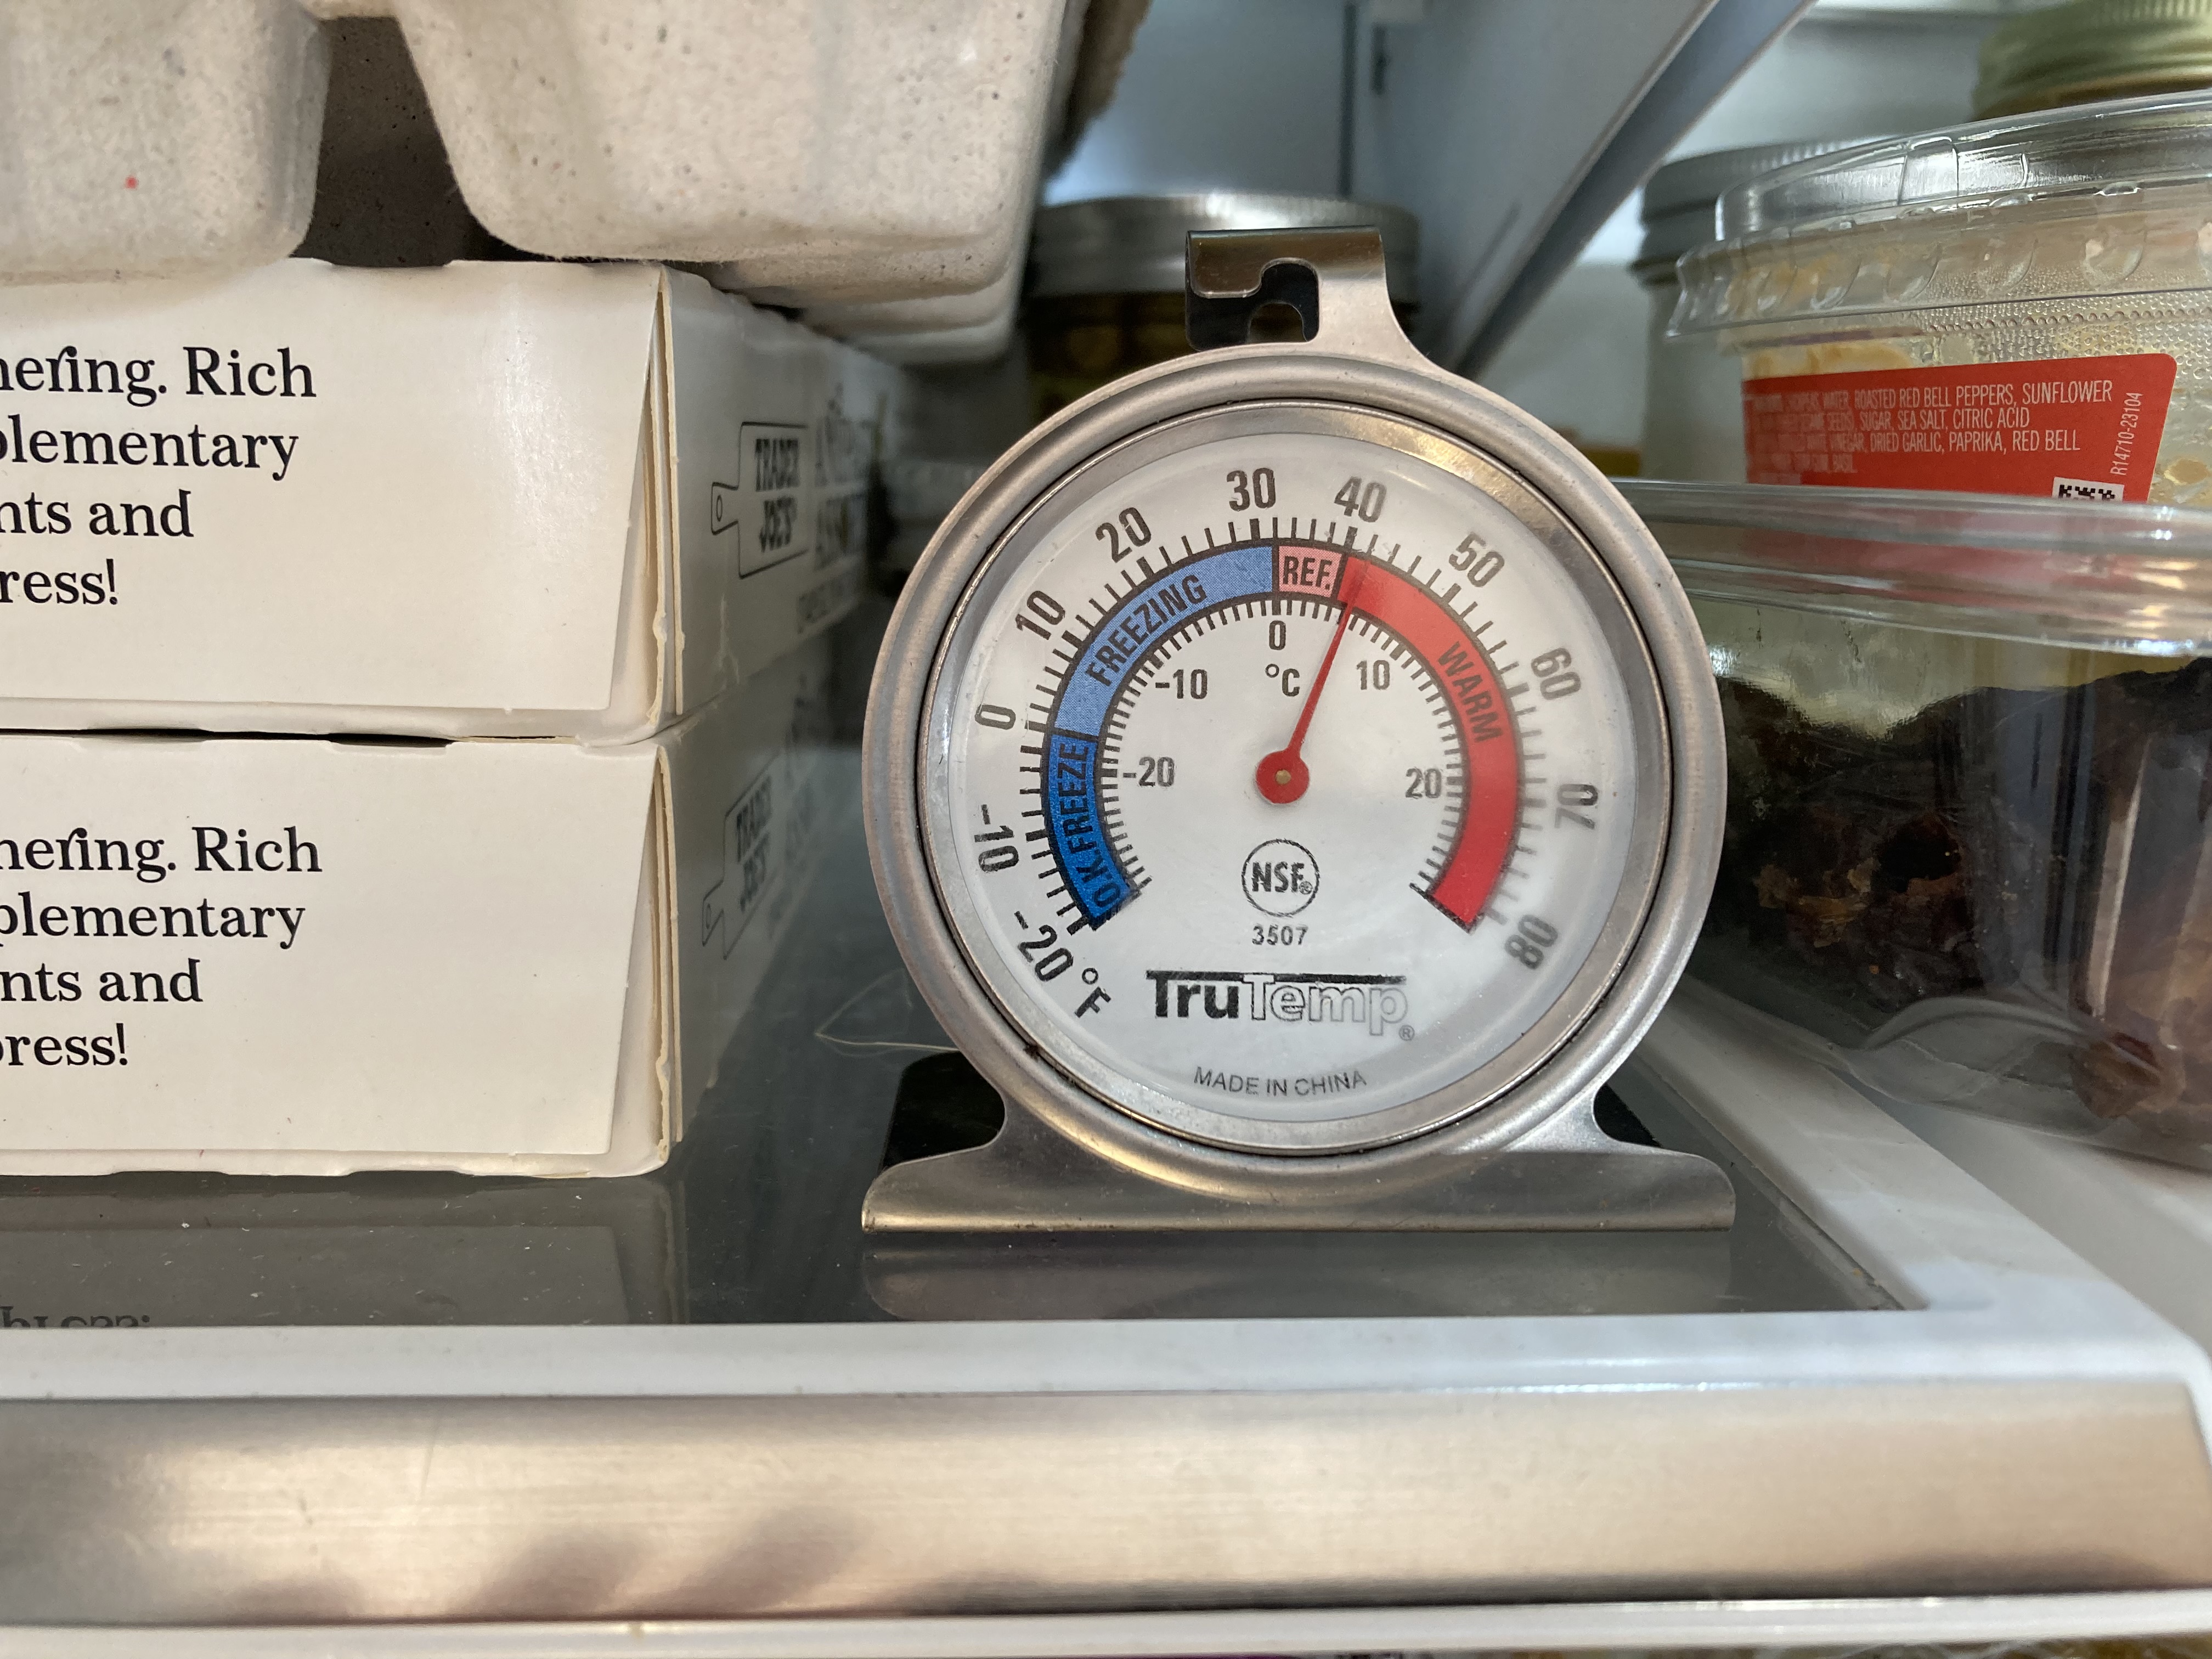
Why the dial can disagree with the food
Most refrigerator controls are not measuring the temperature of your milk carton. They are reacting to air temperature in a spot inside the cabinet, and that air is influenced by airflow, loading, and the room around the fridge. Here are the biggest reasons I see a mismatch.
A crowded fridge or freezer
Cold air has to move. When shelves are packed tight, you can get:
- Warm pockets where air cannot circulate
- Too-cold zones right near vents or the back wall
Fix: Leave a little breathing room around the back wall and around any visible vents. If you can, keep the middle shelf area fairly open so cold air can mix.
Blocked vents (the sneaky one)
Many top-freezer and side-by-side units move freezer air into the fridge through vents. If a pizza box, cereal box, or a stack of meal-prep containers blocks that vent, the fridge can warm up even if the freezer seems fine.
Fix: Find the vent openings in both compartments and keep them clear. This matters even more right after a big grocery run.
Door loading tips
The door is the warmest real estate in most fridges. It is also the area that gets blasted with room air every time you open it.
- Best for the door: condiments, pickles, juice, butter
- Better on a shelf: milk, eggs, raw meat, leftovers
If you keep milk in the door and it is never quite cold enough, the fix is often as simple as moving it to the back half of the middle shelf and verifying temperature with the glass-of-water test.
Cabinet and garage location issues
Where the refrigerator lives changes how hard it has to work, and sometimes it changes how it behaves.
Tight cabinets and poor airflow around the fridge
If the fridge is boxed in tight, it cannot dump heat efficiently. That can mean longer run times and more uneven temperatures.
Fix: Make sure there is clearance around the fridge, especially behind it and above it, per the manufacturer’s guidelines. Even a little extra breathing room helps.
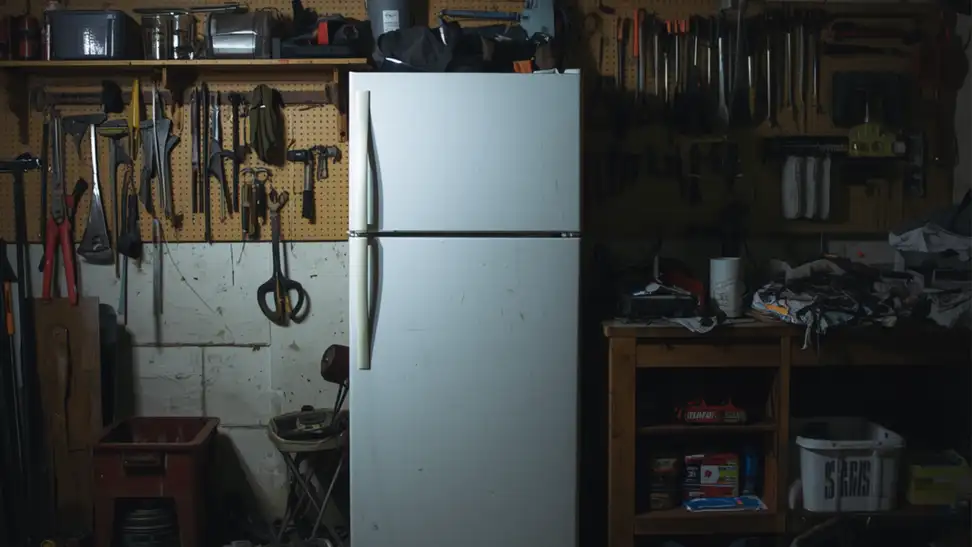
Garage fridges (hot summers, cold winters)
A fridge in a garage can struggle in both directions:
- In hot weather: the fridge may run constantly and still not hold safe temperatures reliably.
- In cold weather: some units do not run enough because the surrounding air is already cold, which can lead to a freezer that warms up.
Some newer models are marketed as garage-ready and are designed for wider ambient temperature ranges. Many standard fridges are not.
Fix: If you rely on a garage fridge year-round, confirm temperatures with a thermometer in both compartments during seasonal extremes. The dial setting that worked in spring might be wrong in July or January.
How to adjust without overcorrecting
Small changes and patience win here. Refrigerators respond slowly, especially when they are full.
- Adjust the control one small click or one step at a time.
- Wait 24 hours before you judge the change.
- Re-check using the same thermometer method so you are comparing apples to apples.
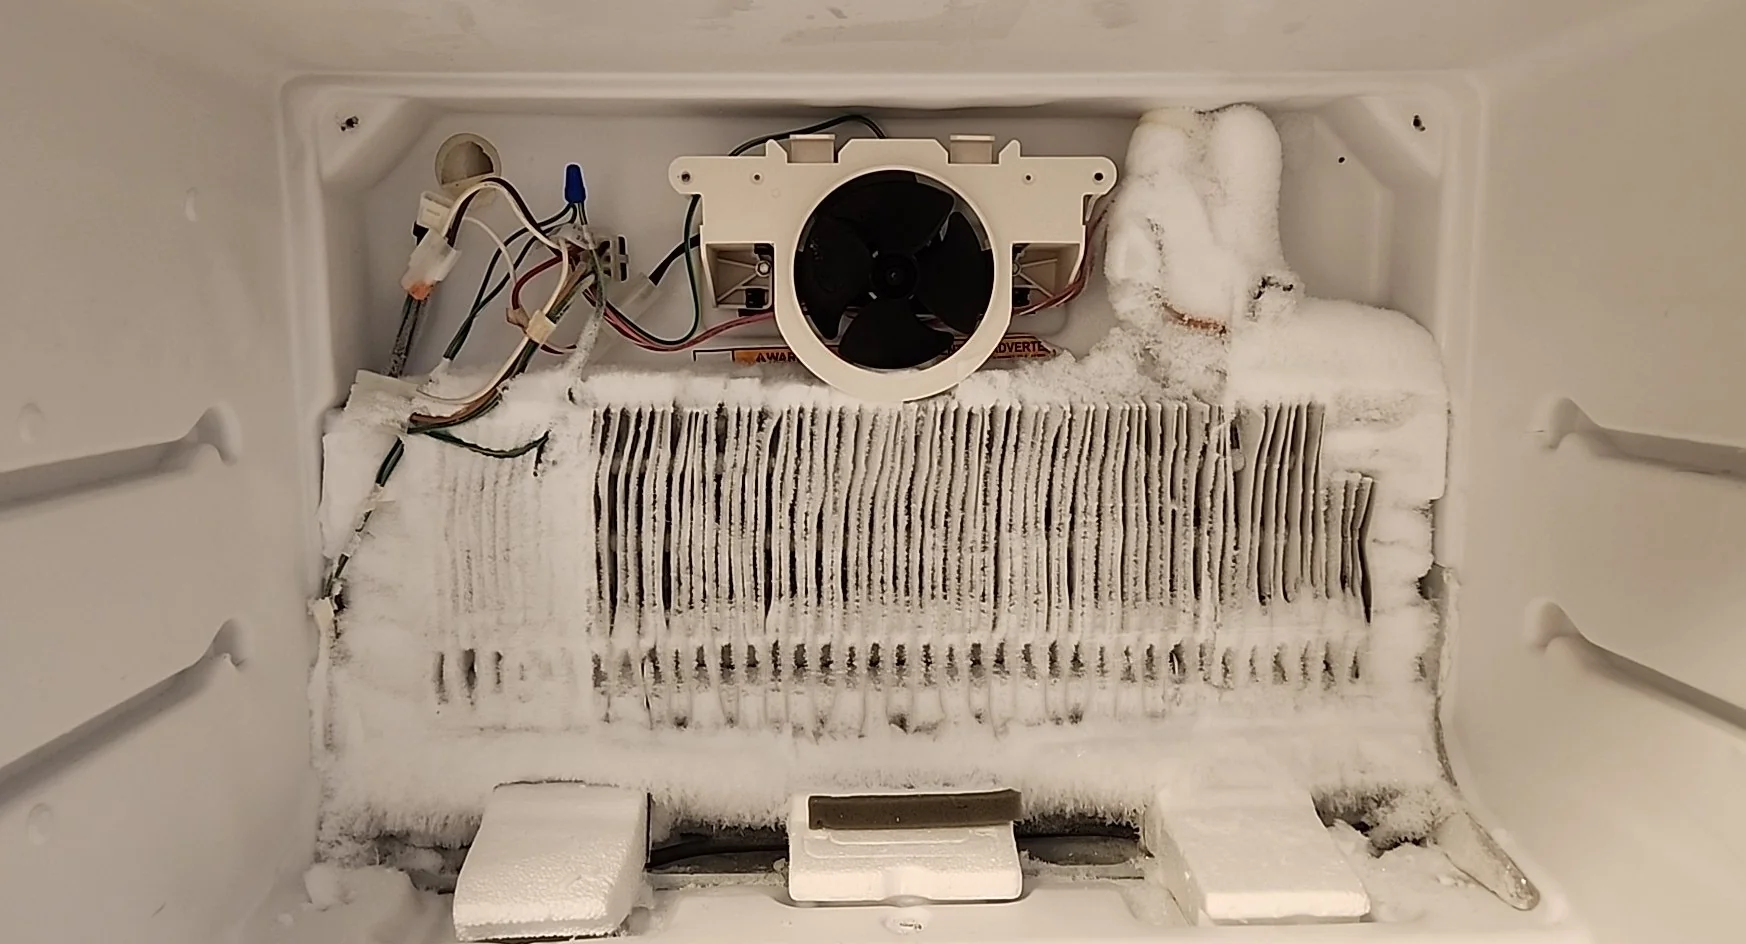
If you cannot get the fridge to stay at 40°F or below or the freezer to reach 0°F after a couple of careful adjustments, it is time to look beyond the dial. The most common culprits are dirty condenser coils, a door gasket that is not sealing, frost buildup blocking airflow, or a failing fan.
Quick FAQ
Is 34°F too cold for a refrigerator?
It can be. Some fridges will start freezing delicate items near the back wall or near vents when set that low, especially produce and drinks. For most homes, 37 to 39°F is a safer target that still keeps food cold.
Is 5°F OK for a freezer?
It will keep food frozen, but long-term quality is better at 0°F. If you are consistently at 5°F, try adjusting slightly colder and re-check with the thermometer between frozen packages.
Where is the coldest spot in a refrigerator?
Usually the back of the lower shelves or anywhere right in the path of an air vent. That is why the glass-of-water method on the middle shelf is a better “average food temp” check.
How often should I check fridge and freezer temps?
I check after major changes: a move, a power outage, a deep clean, a big grocery load-up, or when seasons change if the fridge lives in a garage. Otherwise, once in a while is enough if everything feels normal.
The 30-Second Cheat Sheet
Essential takeaways for: Best Refrigerator and Freezer Temperature Settings
Best setpoints
- Refrigerator: Aim for 37 to 39°F (3 to 4°C), and keep it 40°F (4°C) or below
- Freezer: 0°F (-18°C) for best long-term storage
How to verify the real temperature
- Fridge: Put a thermometer in a glass of water on the middle shelf. Wait overnight (6 to 12 hours) and read it with the door closed as much as possible.
- Freezer: Place a thermometer between two frozen packages in the center of the freezer. Wait 8 to 12 hours.
Why the dial and the food might not match
- Overcrowding: blocks airflow and creates warm or extra-cold pockets.
- Blocked vents: stops cold air from reaching the right spots.
- Door loading: the door is warm, do not store milk or eggs there if temps are inconsistent.
- Garage or tight cabinets: room temperature swings and poor clearance can throw off performance.
Adjustment rule
- Change the setting one step at a time, then wait 24 hours before re-checking.
💡 Tip: Scroll up to read the full article for detailed, step-by-step instructions.
⬆️ Back to top
About Grit
Content Creator @ Grit & Home
Grit is Grit & Home’s little blue clay courier, delivering big questions about the place you call home. Expect practical ideas, a raised eyebrow, and a satchel full of curiosity.