
🚨 In a DIY emergency or rush?
Skip the details and jump straight to our 30-second cheat sheet for the most crucial info.
Small courier. Big home questions.
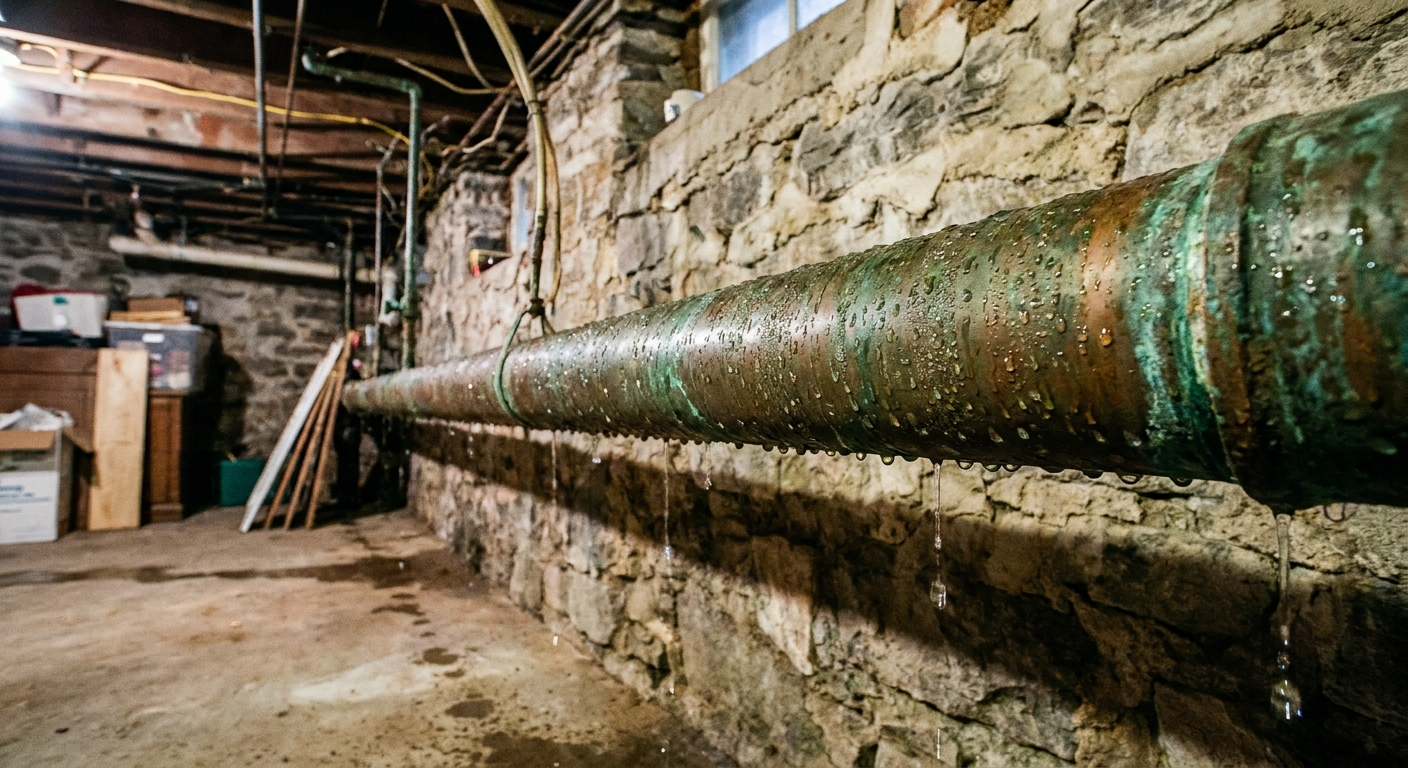
If you have ever walked into a basement or crawl space and heard a tiny plink only to find your cold water line wearing a jacket of water droplets, welcome to the glamorous world of pipe sweat. In summer, cold supply pipes can turn into a personal weather system, dripping onto joists, insulation, and sometimes that one sad ceiling tile that never asked for this.
The good news: sweating pipes are usually a humidity problem, not a plumbing failure. The better news: you can stop it with a few targeted moves.
Why cold water pipes sweat
Condensation happens when warm, humid air touches a surface that is cold enough to be below the air’s dew point. Your cold water line is basically a long, skinny glass of ice water running through your house.
In summer, this gets worse because:
- Cold water is often much cooler than indoor air. In many homes, the supply temperature stays low enough to chill the pipe well below the dew point of humid air.
- Indoor air is wetter. Outdoor humidity sneaks in through open doors, leaky rim joists, vents, and unsealed crawl spaces.
- Basements and crawl spaces run cooler. That makes surfaces more likely to sit below the dew point of the surrounding air.
Result: beads on the pipe, then drips, then stains, then confusion about whether you have a leak.
Condensation or leak?
Before you insulate anything, confirm what you are dealing with. Condensation and a slow leak can look similar when you are crouched beside a pipe with a flashlight and mild dread.
Signs it is condensation
- Droplets form evenly along a length of cold pipe, especially on humid days.
- The pipe sweats more when cold water is running (shower, laundry, hose, dishwasher).
- The dripping slows down when the air dries out (AC runs longer, a dehumidifier runs, weather changes).
- Fittings look dry or only get wet because water is running down from above.
Signs it might be a leak
- Water appears when no fixtures have been used for hours, and the pipe does not feel especially cold.
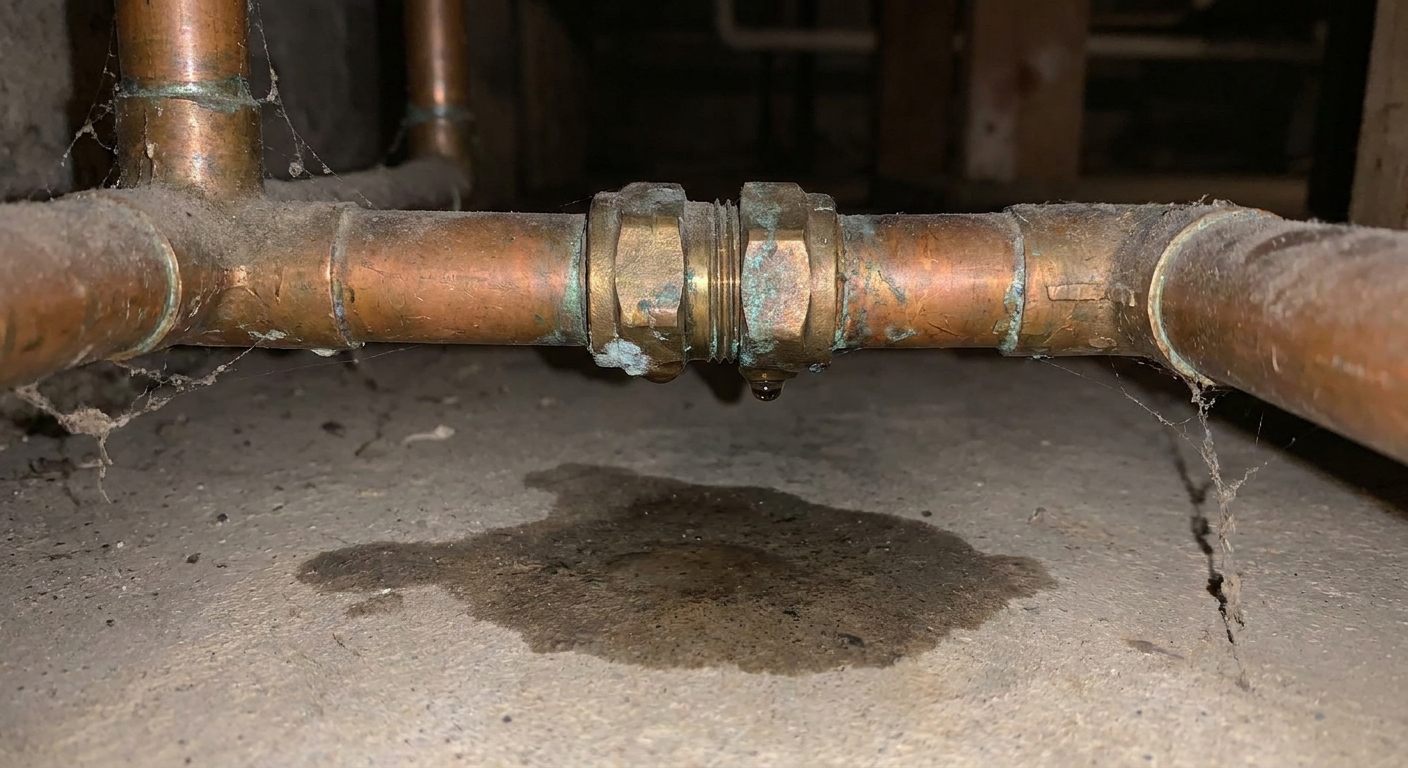
- The wettest spot is a joint, shutoff valve, or connector, not the pipe body.
- You see corrosion, mineral buildup, green crust on copper, or rust staining at a fitting.
- There is a steady trickle, spray, or a single point that stays wet even when surrounding pipe is dry.
Two simple tests
- The wipe test: Dry the pipe completely with a towel. Watch for where water reappears first. If it returns as foggy beads across the pipe surface, that points to condensation. If it returns at one fitting, that points to a leak.
- The paper towel wrap: Wrap a dry paper towel around a suspicious joint and another around a straight section of pipe. Check in 10 to 30 minutes. A leak usually soaks from one point. Condensation tends to dampen a broader area.
If you suspect a leak at a shutoff valve, supply connector, or fitting, that is a good moment to call a plumber if you are not comfortable tightening, replacing, or soldering parts.
Why it can stain ceilings
Condensation seems harmless because it is “just water in the air.” But over time, dripping can:
- Soak fiberglass insulation and reduce its effectiveness.
- Stain drywall and ceilings below, especially around pipe penetrations.
- Encourage mold on wood or paper-faced materials when dampness lingers.
- Rot framing in persistent, hidden drip zones.
If you are seeing stains under a bathroom, kitchen, or laundry area, do not assume it is a drain leak. A sweating cold supply line can drip just enough to leave a telltale ring.
Fix 1: Insulate the pipe
Pipe insulation works because it keeps humid air from directly contacting the cold surface. Think of it as giving the pipe a weatherproof coat so it cannot “rain” into your basement.
What to use
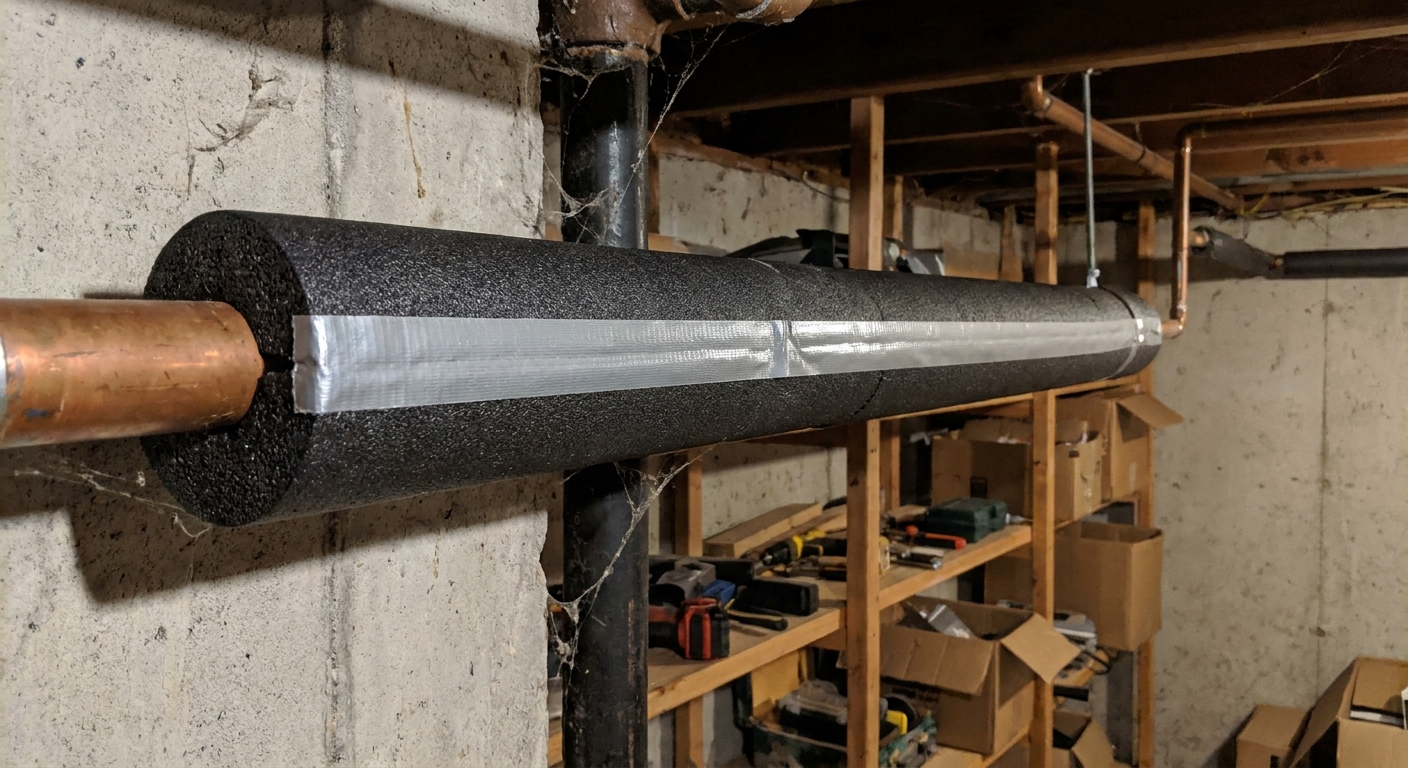
- Closed-cell foam pipe sleeves (pre-slit tubes) are the go-to for most basements and crawl spaces.
- Foam insulation tape helps wrap fittings, valves, and odd shapes where sleeves cannot sit tight.
- Do not rely on fiberglass pipe wrap alone in sweaty areas unless it includes a sealed vapor barrier. Fiberglass can absorb moisture and stay damp if not properly sealed.
Size and coverage tips
- Match the sleeve to the nominal pipe size. Many homes have 1/2 inch or 3/4 inch copper, but measure or read markings if present.
- In very humid spaces, thicker foam helps. If your basement feels like a terrarium, stepping up insulation thickness can make a noticeable difference.
- Start where the water enters. Insulate the first several feet of cold pipe after the main comes in, plus any exposed runs that pass through warmer, humid parts of the home.
How to install it so it actually stops drips
- Start with a dry pipe. Wipe it down so you are not trapping water underneath.
- Seal the seam. Use the sleeve’s adhesive strip if it has one, plus insulation tape on the seam in high-humidity areas.
- Cover elbows and tees. Cut sleeves cleanly and butt them tightly. Use tape to seal gaps. Any exposed cold metal can still sweat and drip.
- Do not compress the foam. Tight zip ties can pinch insulation and create cold bridges.
Most “I insulated it and it still sweats” stories come down to gaps at fittings, unsealed seams, or missing sections near valves.
One safety note: If you are insulating near a heat source or equipment with clearance requirements, use materials appropriate for the location and follow local code and manufacturer instructions.
Fix 2: Lower humidity
Insulation is the front line. Humidity control is the reinforcements.
Pick a sensible range
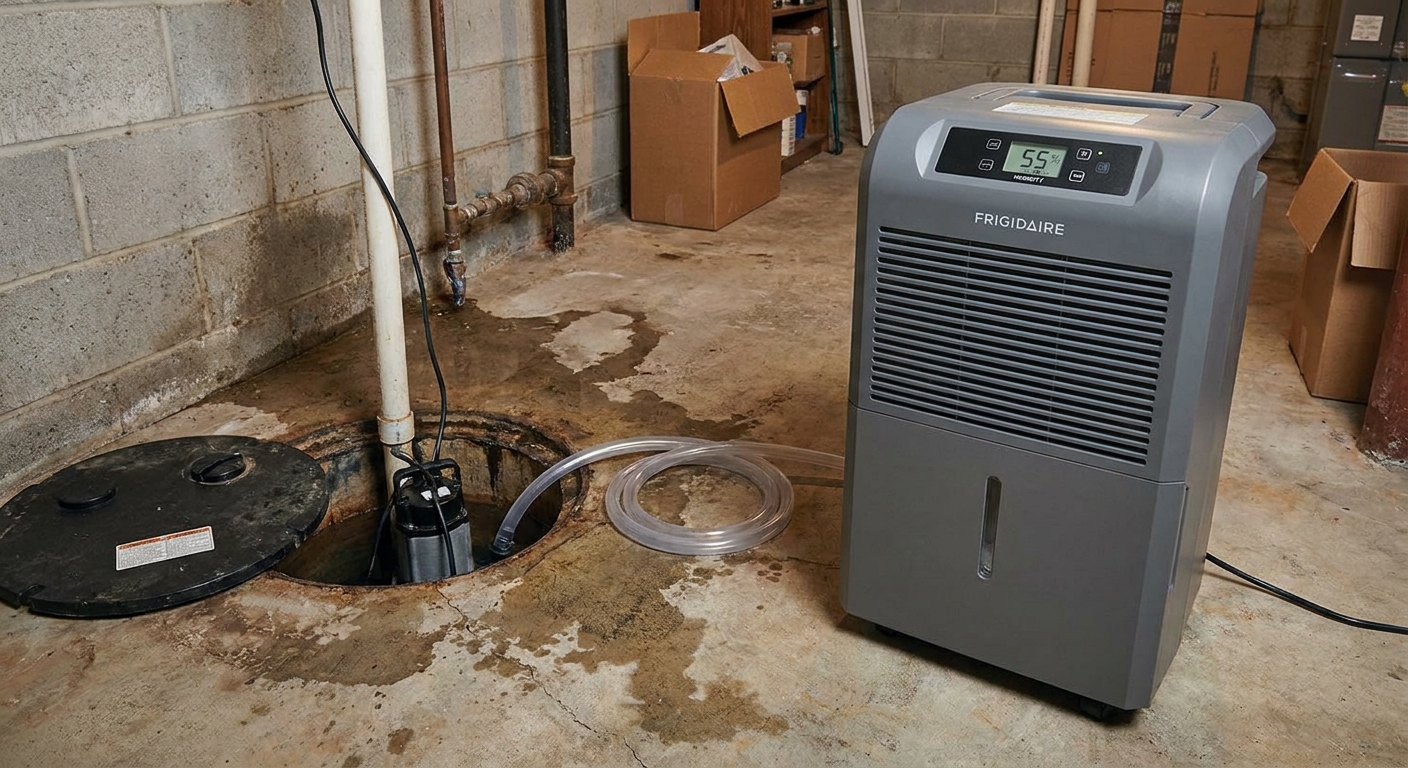
Many homes do well around 40% to 55% relative humidity indoors in summer. Basements and crawl spaces often need to be on the lower end to prevent condensation on cool surfaces.
Basement moves that help quickly
- Run a dehumidifier and make sure it drains reliably (bucket, pump, or gravity drain).
- Close basement windows on humid days. Bringing in “fresh air” can import moisture.
- Seal obvious air leaks at rim joists, sill plates, and pipe penetrations to reduce humid air infiltration.
- Check other moisture sources. A missing sump cover, wet floor cracks, or an AC condensate line that is not draining properly can keep humidity elevated and make pipe sweat look worse.
Crawl space realities
In crawl spaces, sweating pipes often show up alongside damp soil, open vents, and missing vapor barriers. Helpful steps include:
- Ground vapor barrier (sealed seams, edges secured).
- Address bulk water first (gutters, grading, downspout extensions).
- Consider crawl space dehumidification if humidity stays high.
Other things that make it worse
Cold air blowing on the pipe
Cold supply air from a register or nearby duct can keep the pipe colder and increase condensation risk by boosting heat transfer. Insulate the pipe and, if practical, redirect airflow so the pipe is not in the direct blast zone.
Metal hangers and straps
Sometimes condensation forms heavily at hangers because the metal conducts temperature and creates cold spots. Foam sleeves plus careful sealing around hangers can help.
Humid utility zones
Laundry rooms, utility closets, and near-dryer zones can be humid. Fix dryer vent issues, confirm bath fans vent outdoors, and control moisture at the source.
What not to do
- Do not wrap pipes with a towel and call it solved. Towels stay wet, keep wood damp, and invite musty smells.
- Do not ignore a suspicious joint. If the wettest point is a fitting, treat it like a possible leak until proven otherwise.
- Do not insulate over active leaking water. You can hide the problem and make damage worse.
When to call a pro
Call a plumber or HVAC pro if:
- You cannot tell if it is condensation or a leak, and water is damaging ceilings or walls.
- You see corrosion, cracked fittings, or a shutoff valve that will not fully close.
- The sweating is extreme even after full insulation coverage and humidity control.
- You suspect your basement or crawl space has broader moisture issues like persistent puddling, mold, or rotting wood.
FAQ
Can sweating pipes cause mold?
Yes. Condensation can repeatedly wet wood, drywall paper, and insulation. Mold risk climbs when materials stay damp and airflow is limited.
Why is only the cold water pipe sweating?
Condensation needs a cold surface. Hot pipes are usually warmer than the air, so moisture does not condense on them.
My pipes sweat only when someone showers. Is that normal?
It is common. Showering runs cold water and can spike humidity at the same time. Insulating the cold line and improving bathroom exhaust can reduce the swing.
Should I insulate PEX pipes too?
PEX can still sweat. It often appears to sweat less than copper, but in humid spaces it can still drip. Insulation and humidity control still apply.
The 30-Second Cheat Sheet
Essential takeaways for: Cold Water Pipes Sweating and Dripping? How to Stop It
Most likely cause
Condensation. Warm, humid air hits a cold water pipe and water droplets form, then drip.
Fast check: condensation vs leak
- Condensation: beads along the pipe surface, worse when cold water runs, better when air is drier.
- Leak: water starts at one fitting or valve, corrosion or mineral crust at a joint, wet even when the pipe is not especially cold.
Quick start
- Confirm it is sweat, not a leak. Dry the pipe and watch where moisture returns.
- Insulate the cold pipe fully. Closed-cell foam sleeves, then seal seams and gaps.
- Lower humidity. Dehumidifier, air-sealing, and crawl space moisture control.
Best fix (do this first)
Insulate the cold pipe with closed-cell foam sleeves and seal seams and gaps, especially at elbows, tees, and valves.
Second fix (makes the first stick)
Lower humidity in the basement or crawl space. Aim roughly 40% to 55% RH in summer, often lower in damp basements.
Do not do this
- Do not wrap pipes in towels.
- Do not insulate over a suspected leaking fitting.
- Do not leave small exposed metal sections. They can still sweat and drip.
Call a pro if
- The wettest spot is a joint or shutoff valve.
- You see corrosion, cracks, or active dripping that does not match humidity changes.
- Ceilings or walls are staining and you cannot confirm the source.
💡 Tip: Scroll up to read the full article for detailed, step-by-step instructions.
⬆️ Back to top
About Grit
Content Creator @ Grit & Home
Grit is Grit & Home’s little blue clay courier, delivering big questions about the place you call home. Expect practical ideas, a raised eyebrow, and a satchel full of curiosity.