
🚨 In a DIY emergency or rush?
Skip the details and jump straight to our 30-second cheat sheet for the most crucial info.
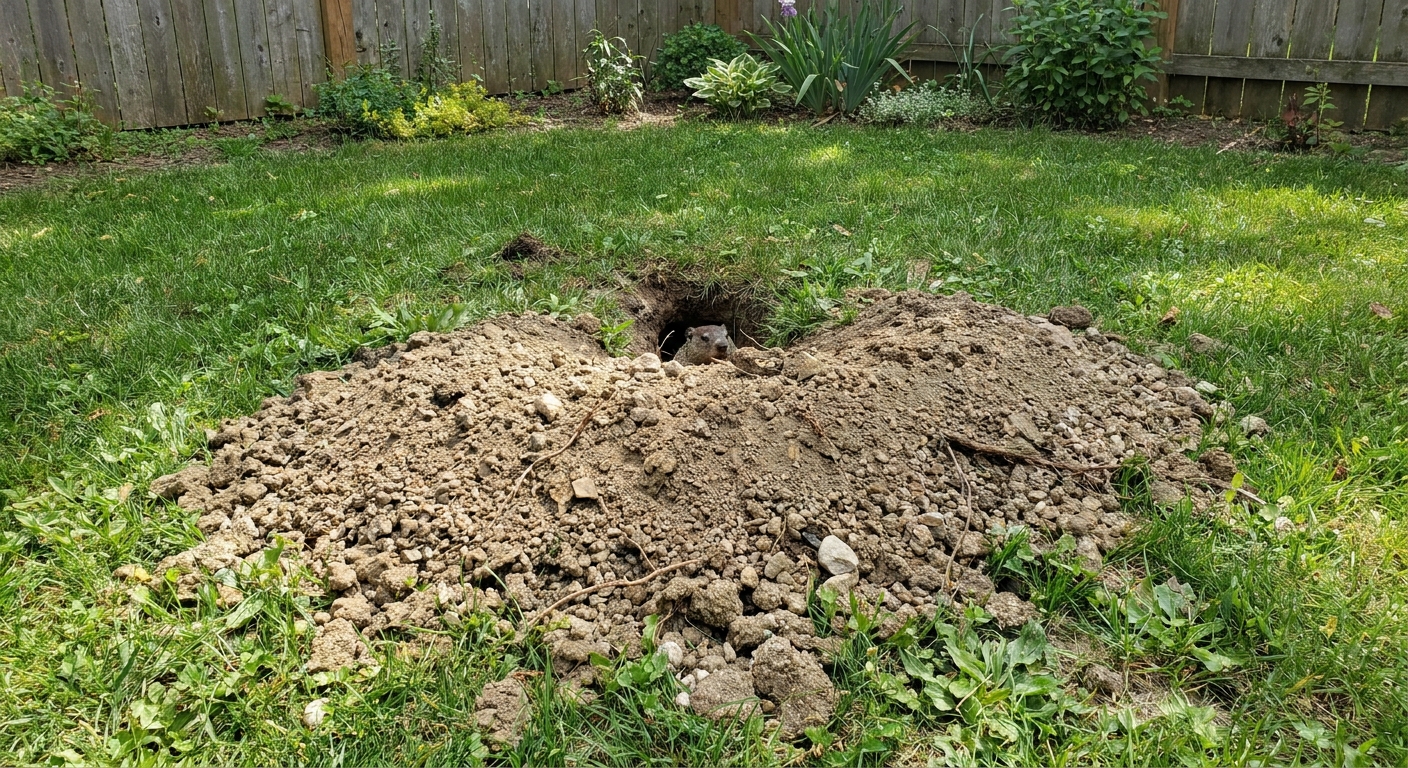
I learned the hard way that a groundhog burrow is not “just a hole.” On my place, an old entrance looked harmless until the soil started settling next to a walkway. That is the problem with abandoned burrows. The visible opening is usually only the front door to a whole underground system, and if you backfill it wrong, it can sink later, get reused, or both.
This guide is about filling a vacant groundhog burrow so it is less likely to collapse, wash out, or invite a new tenant. I am not covering trapping, removal, or fencing here. This is strictly the aftercare once you are confident the animal is gone.
Before you start
Why burrows sink later
Groundhog burrows can be bigger than most people expect. Entrance holes are commonly around 10 to 12 inches across, and tunnels are often in that same ballpark, depending on the animal and the soil. When those tunnels are left hollow, the roof can slump over time. Add a few good rains, mower traffic, or freeze thaw cycles, and you can end up with:
- Sudden sinkholes in the lawn
- Soft spots that feel spongy underfoot
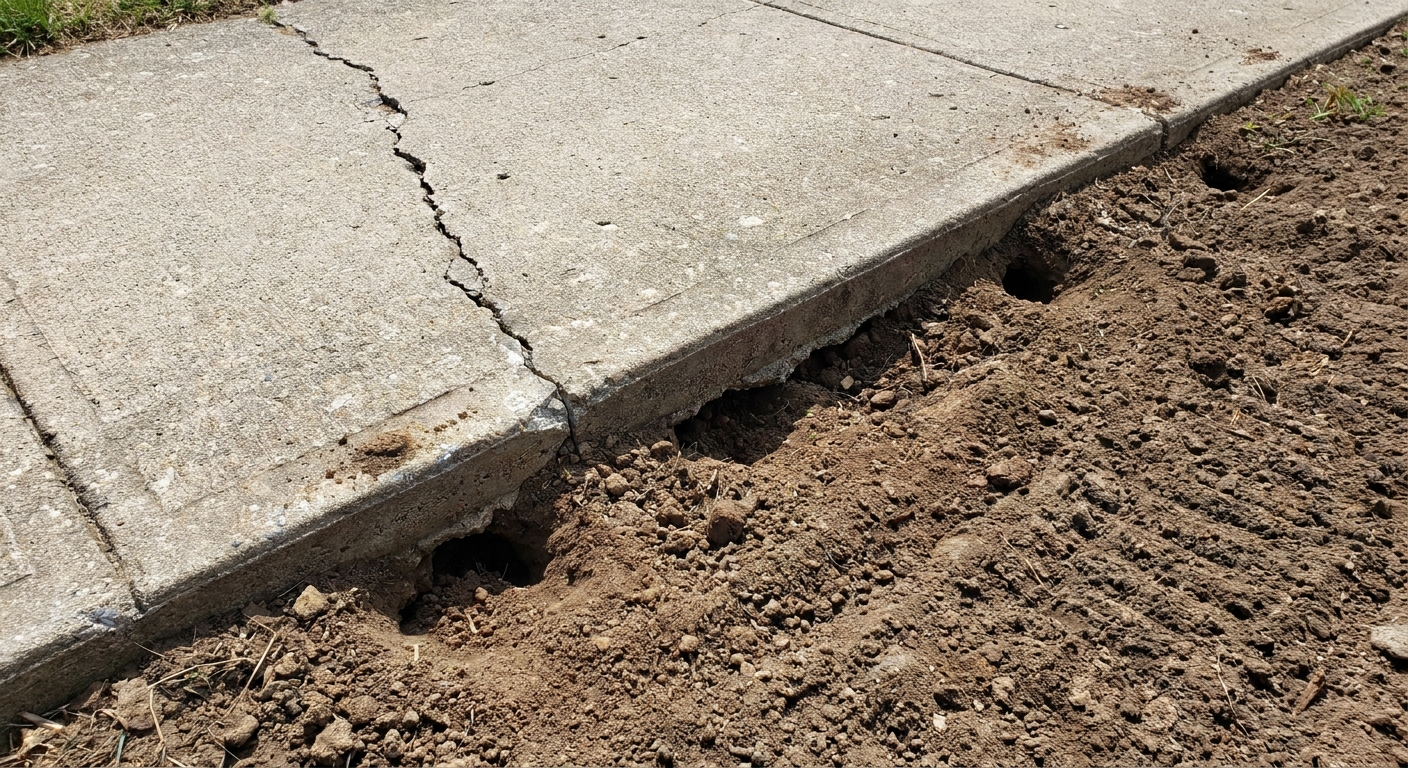
- Undermined edges along sidewalks, patios, sheds, or retaining walls
- Water channels that funnel runoff toward your foundation
Hardscape risk
If the burrow is within several feet of a concrete sidewalk, patio slab, driveway edge, stoop, or foundation, treat it as a cave-in risk, not just yard cleanup. A tunnel can extend under a slab and leave the concrete unsupported. That is how you get cracking, settling, and trip hazards.
Call a pro if any of these are true:
- The burrow opening is under a slab, porch, steps, or attached deck
- You see slab cracking, a growing gap, or a sunken corner nearby
- The hole is right against the foundation and you suspect soil has washed away
- The area is on a slope and erosion is already happening
- You find a large chamber, the voids keep extending, or the repair repeatedly sinks despite proper compaction
Step 1: Confirm it is empty
This is the part people rush, and it is where trouble starts. Filling an active burrow can trap an animal inside, which is both inhumane and likely to create a new exit somewhere you do not want it.
What to watch for
Give it 2 to 3 days and look for:
- Fresh digging: loose soil that is fluffy, not crusted over
- New tracks around the entrance
- Fresh plant clippings near the hole
- Recently cleared opening: groundhogs tend to keep entrances open
The newspaper check
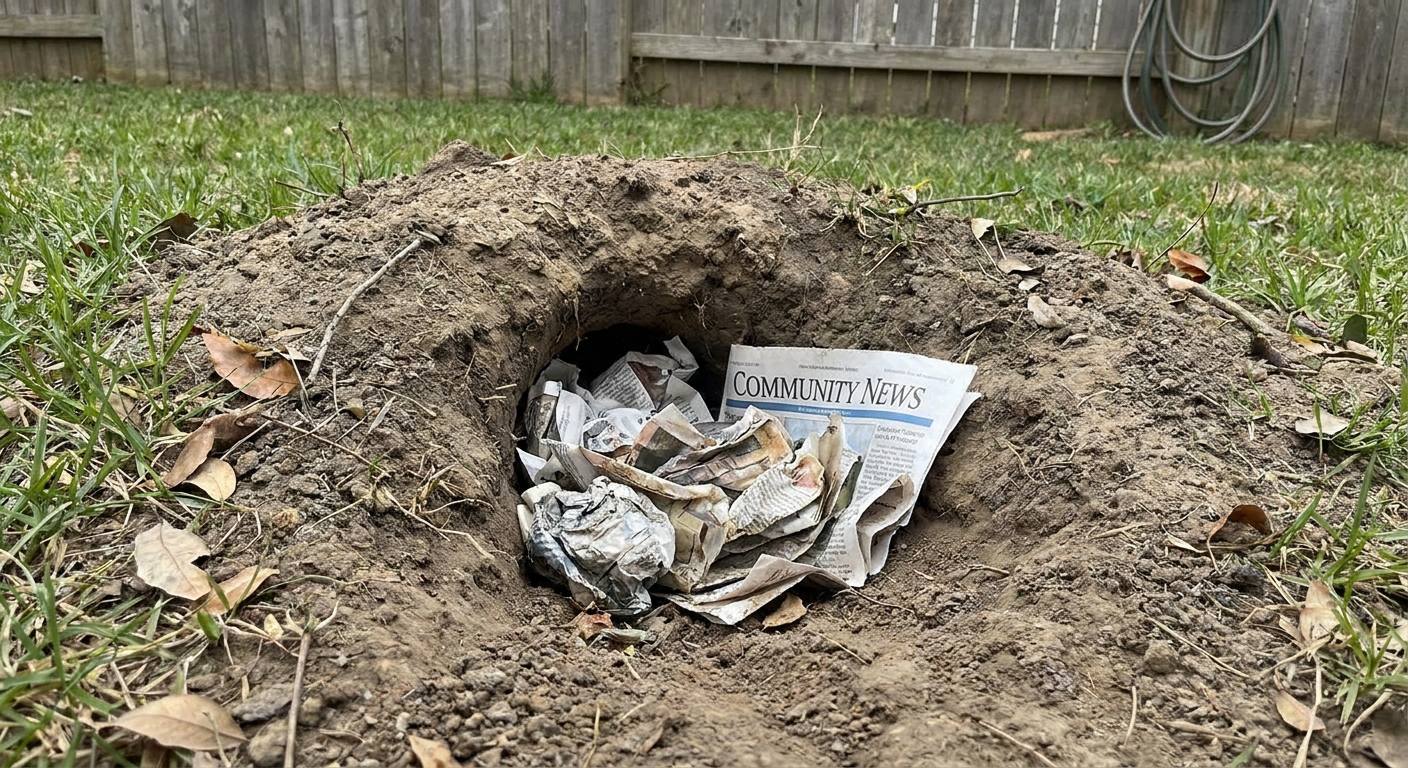
In the evening, lightly stuff the entrance with crumpled newspaper or dry leaves. Do not pack it tight. You are not sealing it. You are just creating a light plug that an active groundhog will push out quickly.
Check in the morning:
- If the paper is pushed out or the hole is reopened, assume the burrow is active.
- If the paper stays undisturbed for multiple mornings, it is a good sign the burrow is vacant.
This is a screening check, not a guarantee. Weather, pets, and other wildlife can confuse the read. If you are unsure, wait longer. Patience is cheaper than repairing a surprise sinkhole next month.
Step 2: Get tools and fill
You can fill a burrow with whatever dirt you have, but the goal is dense, stable fill that resists settling and water flow.
Safety first
- Wear boots and watch where you step. The ground can give under you around a tunnel line.
- If there is any chance of buried utilities (irrigation, dog fence wire, landscape lighting, power to an outbuilding), call 811 before probing or digging.
Tools
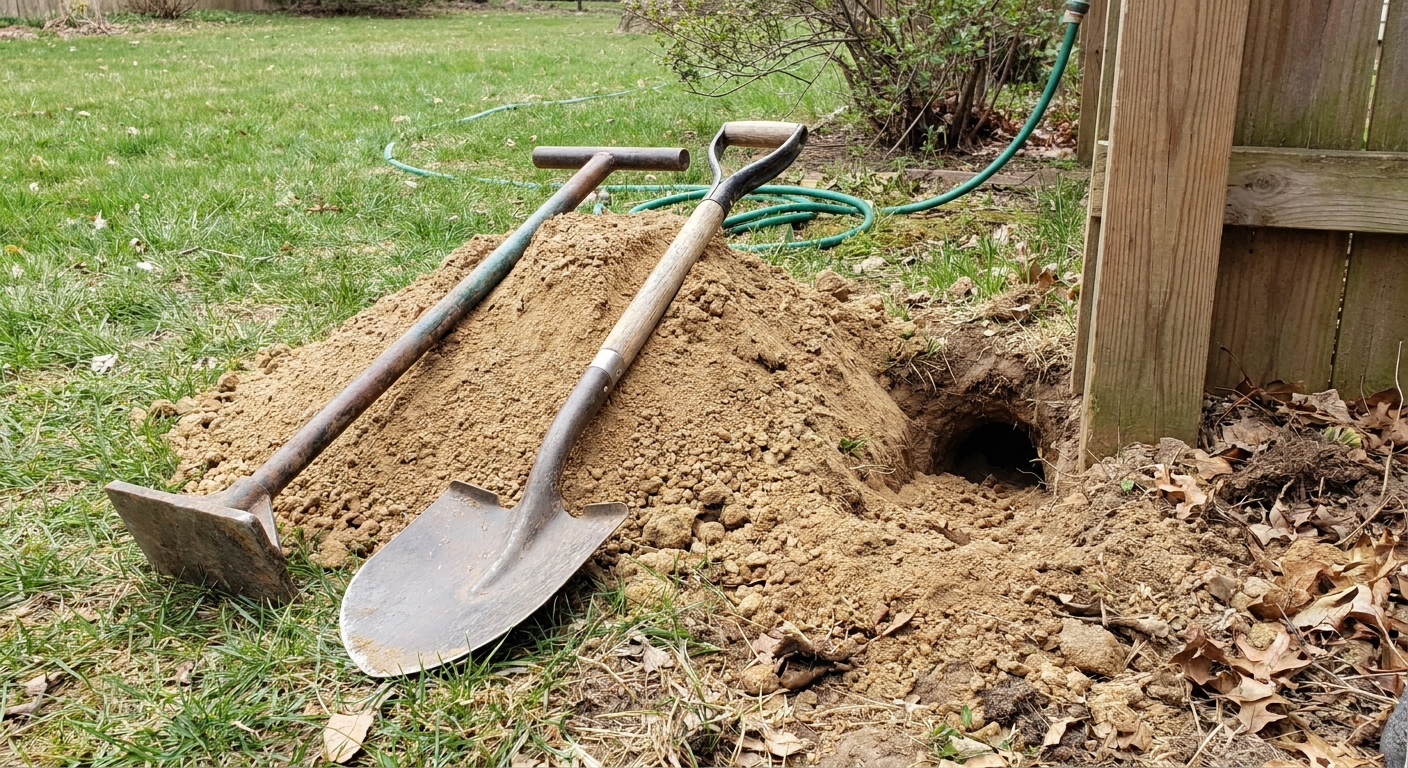
- Shovel and a digging bar or tamping bar
- Hand tamper or a heavy 2x4 offcut for tight spots
- Garden rake
- Wheelbarrow or tarp for moving soil
- Work gloves and eye protection
Fill materials
- Clean fill dirt or compactable soil (best all around)
- Clayey soil if you have it, especially near structures (compacts well)
- 3/4 inch crushed stone for the deepest voids or wet areas (optional)
- Topsoil for the final few inches only
- Grass seed and straw or sod patch for restoration
How much fill to have on hand
Plan on more than you think. A simple rule that has saved me extra trips is to have at least 2 to 3 times the volume of the visible hole ready to go, because side runs and settling eat soil fast.
Avoid dumping only mulch, leaves, or compost into the hole. Those break down and shrink. Also avoid construction debris. It can create voids and makes future digging miserable.
Step 3: Collapse what you can
If you only fill the main entrance, you can still be left with hollow side runs that settle later. The trick is to collapse as much of the tunnel network as you can from the surface before you start serious backfilling. You are not excavating the whole run.
How to find side tunnels
- Probe gently with a digging bar or long stick a foot or two away from the entrance. You are feeling for sudden drop-offs where the soil gives way.
- Watch the ground after a rain. Sometimes the tunnel line shows up as a slight depression.
- Check for secondary openings in brush, at the edge of a bed, under a shed, or near a fence line.
How to collapse safely
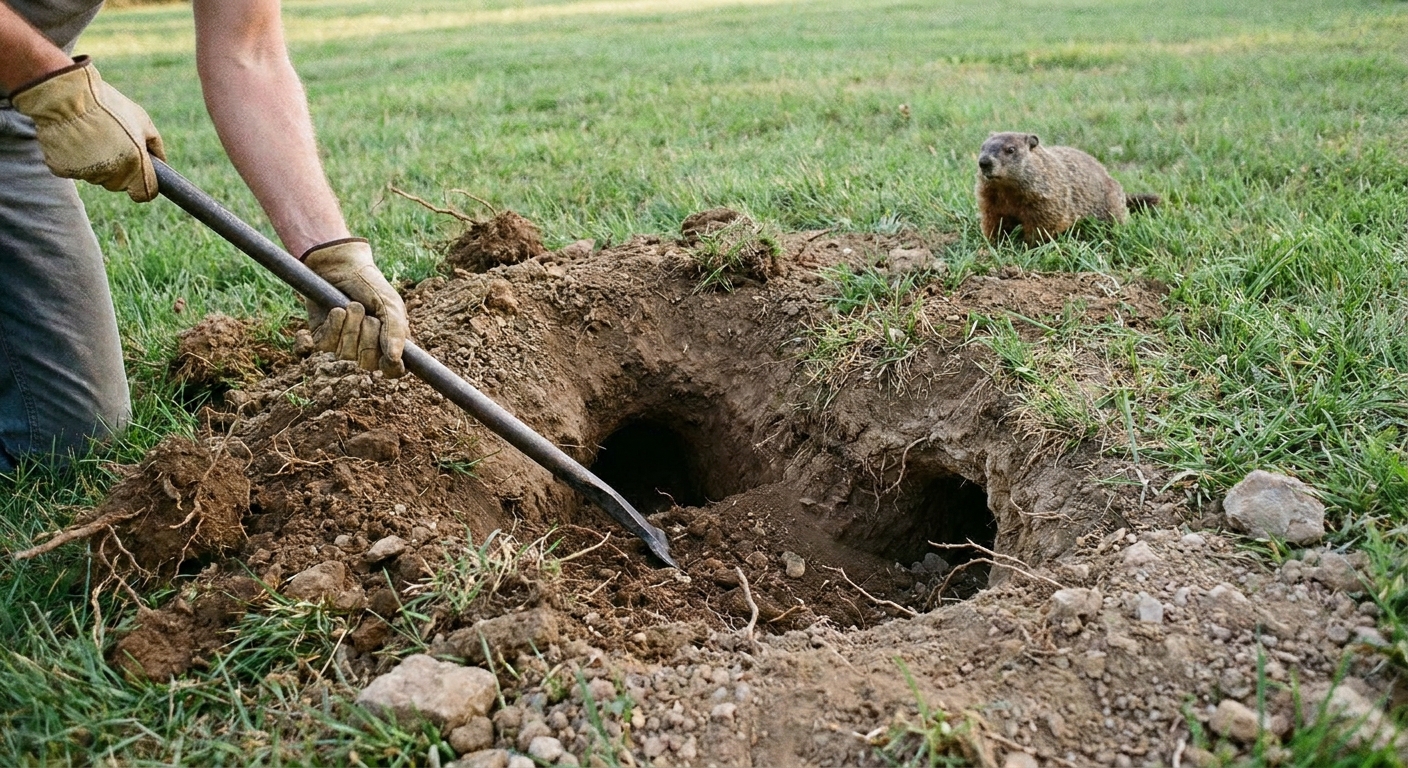
Once you suspect a tunnel line, use your heel or a tamper to press down along that area. You are trying to break the tunnel roof so it can be filled and compacted. If the ground suddenly dips, stop and switch to filling and tamping that section in lifts.
Safety note: do not stomp aggressively near concrete or foundations. If the tunnel runs under a slab, you can make a bad support situation worse. In those locations, focus on careful backfill and compaction at the opening and call a pro if you see movement or cracking.
Step 4: Backfill in layers
This is where you prevent future sinkholes. The best method is to fill the burrow in layers, compacting as you go. If you dump soil in all at once, it can bridge over voids and settle later.
Backfill method
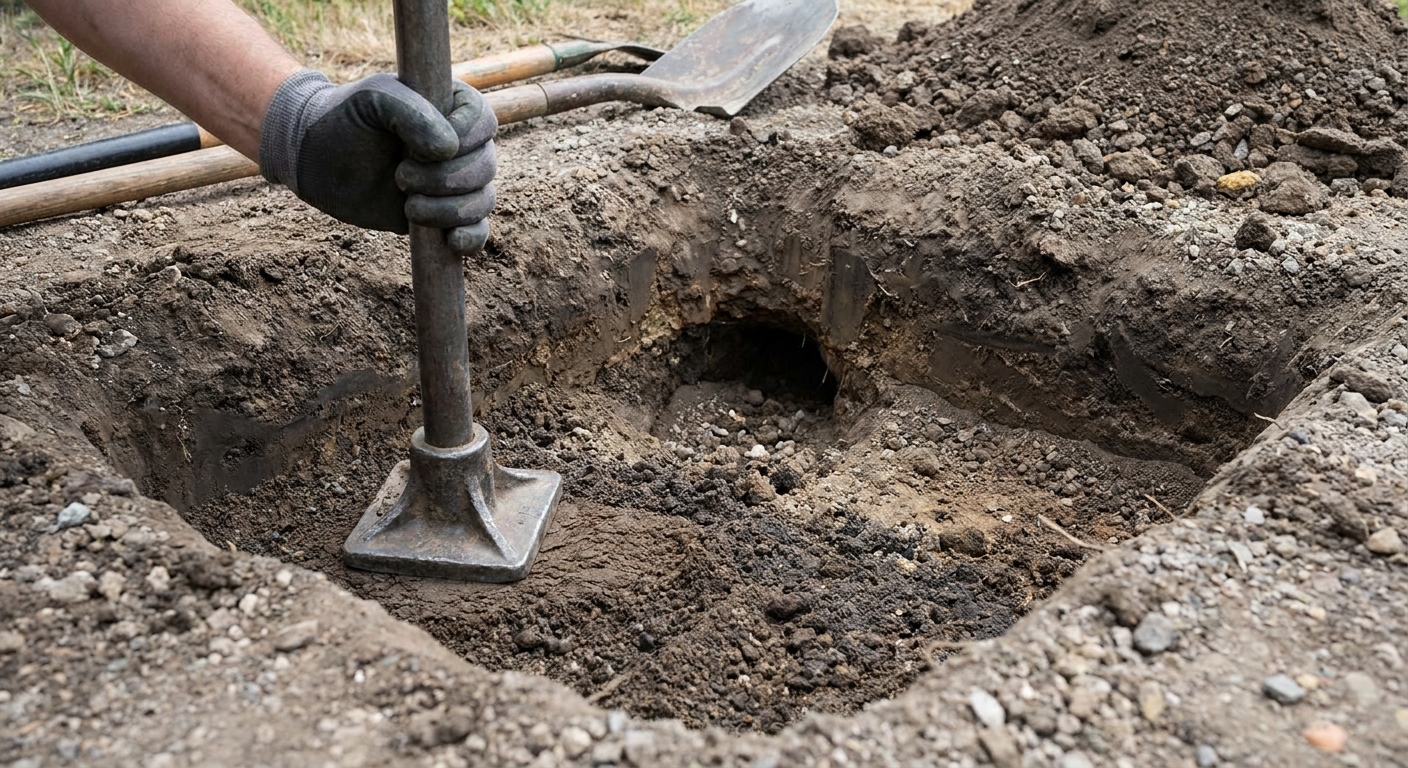
Start with a base that holds up. If the hole is deep and you have crushed stone, pour in 6 to 12 inches and tamp it. This can help in wet spots. If you do not have stone, start with compactable fill dirt.
Add soil in 4 to 6 inch lifts. Shovel in a manageable layer.
Tamp thoroughly. Use a hand tamper. In a pinch, the end of a 2x4 works, but a tamper is worth it. Compact the edges too, not just the center.
Mist lightly if bone dry. Dust-dry soil does not compact well. A light mist from the hose can help it knit together. Do not saturate it.
Repeat until you are near grade. Keep layering and tamping.
Finish with topsoil. Use topsoil for the top 2 to 4 inches so grass can establish.
Overfill slightly. Mound it 1 to 2 inches high because some settling is normal even with good compaction.
Foam, gravel only, or concrete
- Expanding foam: Not my pick. It is not designed as structural soil fill, it does not compact like dirt, and it can leave voids or odd water paths. Durability can vary by product and conditions, but either way it is not solving the main problem.
- All gravel: Gravel alone can settle, shift, or migrate over time, especially in high-flow or sloped areas. It can also act like a drain that moves water toward low spots, including toward foundations in the wrong setup.
- Concrete: I avoid it for burrows in yards. Concrete does not compact the surrounding soil, can create hard edges that settle around it, and makes future landscaping repairs harder. Near slabs or foundations, a structural repair plan is a different conversation.
Step 5: Restore the surface
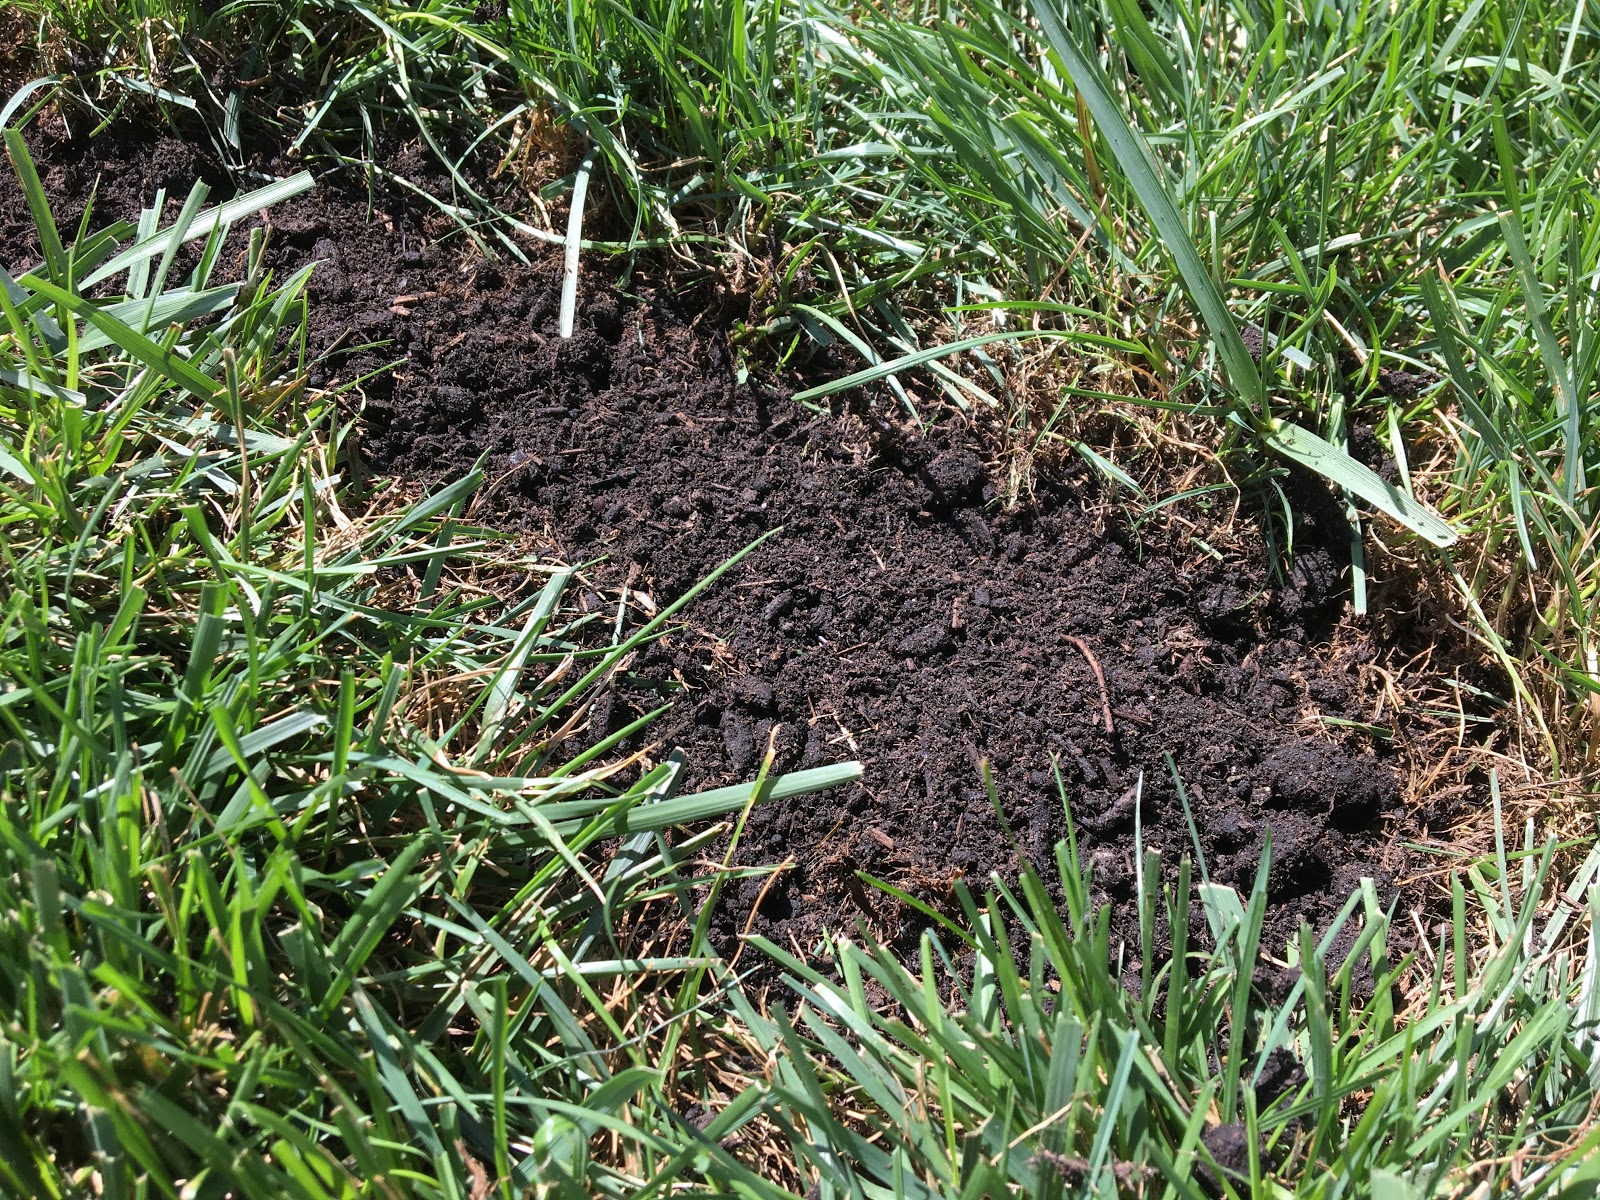
Groundhogs like easy starts. A loose, bare patch of soil is basically an invitation sign. Once you are filled and tamped, restore the top so it behaves like the rest of your yard.
Quick lawn repair
- Rake smooth and blend the mound into the surrounding grade.
- Seed with a grass mix that matches your lawn.
- Lightly cover with straw to prevent washout.
- Water gently for the first couple of weeks.
Mulch bed repair
- Top off with soil, tamp, then re-mulch.
- Keep mulch thin over the repair at first so you can spot new digging.
Step 6: Monitor and top off
Your job is not done the minute the hole is gone. For the next couple of weeks, keep an eye out, especially after heavy rain and during freeze thaw swings.
Signs it is reopening
- Fresh soil pushed up in a crescent or fan shape
- A new hole within a few feet of the old one
- The repaired spot starts sinking in a defined line, which can mean a tunnel run is collapsing
If it sinks
Minor settling is normal. Just add more soil and tamp again. If it keeps sinking repeatedly, you likely have more voids than you reached, or water is moving through the old tunnel. In that case:
- Probe wider to locate additional runs.
- Backfill those soft spots in lifts the same way.
- Address drainage. Redirect downspouts, fix low spots, and avoid sending runoff over the repair.
If it gets dug back open
If the entrance is reopened, treat it as active again. Pause filling and switch back to removal steps, then return to this guide after the burrow is truly vacant.
Near concrete: extra care
When a burrow is close to hardscape, I slow down and get picky about compaction. The goal is to reduce future settling under edges.
Do this
- Use compactable fill rather than loose topsoil.
- Tamp in thinner lifts, closer to 3 to 4 inches.
- Keep water under control. Runoff and downspout discharge are a big part of why voids expand.
- Mark the spot and check it after heavy rains for the next month.
Do not do this
- Do not aggressively collapse soil right at a slab edge by stomping.
- Do not assume one entrance equals one short tunnel.
- Do not ignore cracking or movement. That is your cue to bring in help.
FAQ
How deep are groundhog burrows?
It varies, but they can be several feet deep with long runs and chambers. For filling, assume there are hidden branches and focus on collapsing and compacting what you can safely reach from the surface.
Should I flood the burrow?
I do not recommend it. Flooding can wash soil away, enlarge voids, and send water where you do not want it, including toward a foundation.
Can I cap the hole with a rock?
A rock on top might hide the opening, but it does not solve the voids underneath. The ground can still settle around it, and an animal can dig next to it.
How long should I monitor the repair?
At least 2 weeks, and longer if it is near concrete or a foundation. Check after heavy rain and freeze thaw cycles, too. That is when weak fill shows itself.
The 30-Second Cheat Sheet
Essential takeaways for: How to Fill Abandoned Groundhog Burrows
What you are doing
Filling an abandoned groundhog burrow so it will not settle into a sinkhole or get reused.
Do not skip this
- Confirm it is empty: loosely plug the entrance with crumpled newspaper for 2 to 3 nights. If it gets pushed out, the burrow is still active. This is a screening check, not a guarantee.
- Call before you dig: if there is any chance of buried utilities (irrigation, dog fence wire, landscape lighting, outbuilding power), call 811 before probing or digging.
- Watch out near concrete: burrows by sidewalks, patios, and foundations can cause cave-ins and cracking. Call a pro if you see movement or the hole is under concrete.
Tools and materials
- Shovel, hand tamper (or tamping bar), rake, gloves, boots
- Clean fill dirt or compactable soil
- Optional: 3/4 inch crushed stone for deep or wet voids
- Topsoil for the final 2 to 4 inches, plus seed and straw
The method that prevents sinkholes
- Probe around the entrance and gently collapse side tunnels you can safely reach.
- Backfill in 4 to 6 inch lifts (3 to 4 inches near concrete).
- Tamp every lift, including edges. Lightly mist dusty dry soil, do not flood it.
- Finish with topsoil, seed, and slight overfill (mound 1 to 2 inches).
Aftercare
- Monitor for 2+ weeks and after heavy rain or freeze thaw cycles.
- If it sinks, add more soil and tamp again.
- If it is reopened with fresh digging, stop filling and treat it as active again.
💡 Tip: Scroll up to read the full article for detailed, step-by-step instructions.
⬆️ Back to top
About Grit
Content Creator @ Grit & Home
Grit is Grit & Home’s little blue clay courier, delivering big questions about the place you call home. Expect practical ideas, a raised eyebrow, and a satchel full of curiosity.