
🚨 In a DIY emergency or rush?
Skip the details and jump straight to our 30-second cheat sheet for the most crucial info.
The first time I spotted clover mites in our 1970s ranch, I thought somebody had spilled paprika on the windowsill. Then the “paprika” moved. If you are seeing tiny red dots crawling on sunny sills or walls, you are not alone, and the good news is clover mites are more nuisance than danger.
The bad news is what happens when you smash them. Clover mites can leave a rusty red smear on paint, curtains, and carpet that looks a lot like a stain from a marker. So the goal is simple: remove the ones inside without crushing them, then fix the outside conditions that are basically inviting them to march indoors.
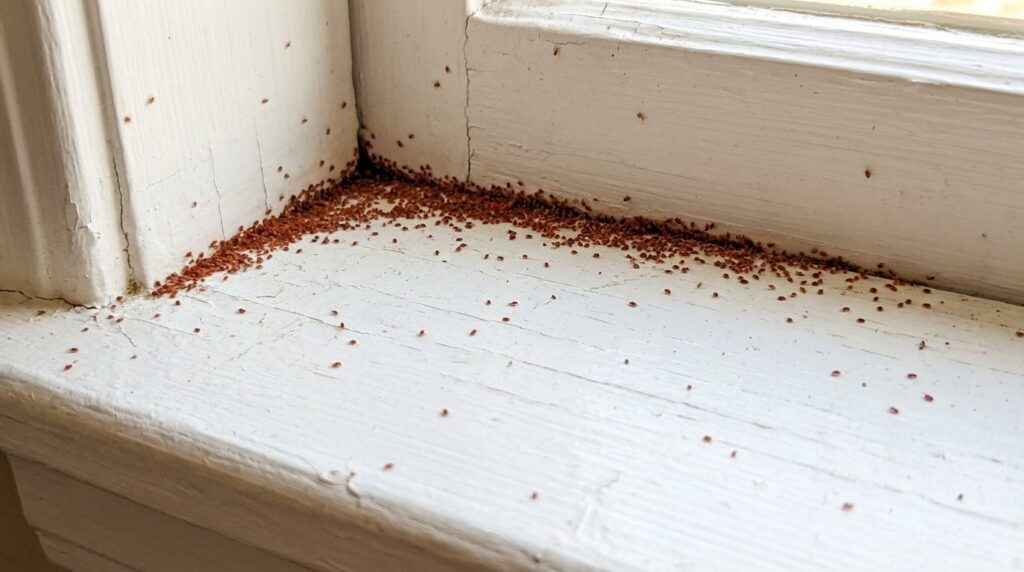
What clover mites look like and where they show up
Clover mites are extremely small, about the size of a period on a printed page. They are often:
- Reddish to brownish and look like moving specks
- Most active on warm, sunny surfaces like window frames, sills, and south-facing walls
- Likely to appear in spring and fall, especially during big temperature swings
A quick ID tip: clover mites have very long front legs that can look like antennae if you see one up close. And unlike fleas, they do not jump. Unlike ticks, they do not latch onto people. (If you are dealing with itchy bites, this is probably not clover mites.) They mainly feed on grasses and clover outdoors, then wander inside through tiny gaps when conditions are right.
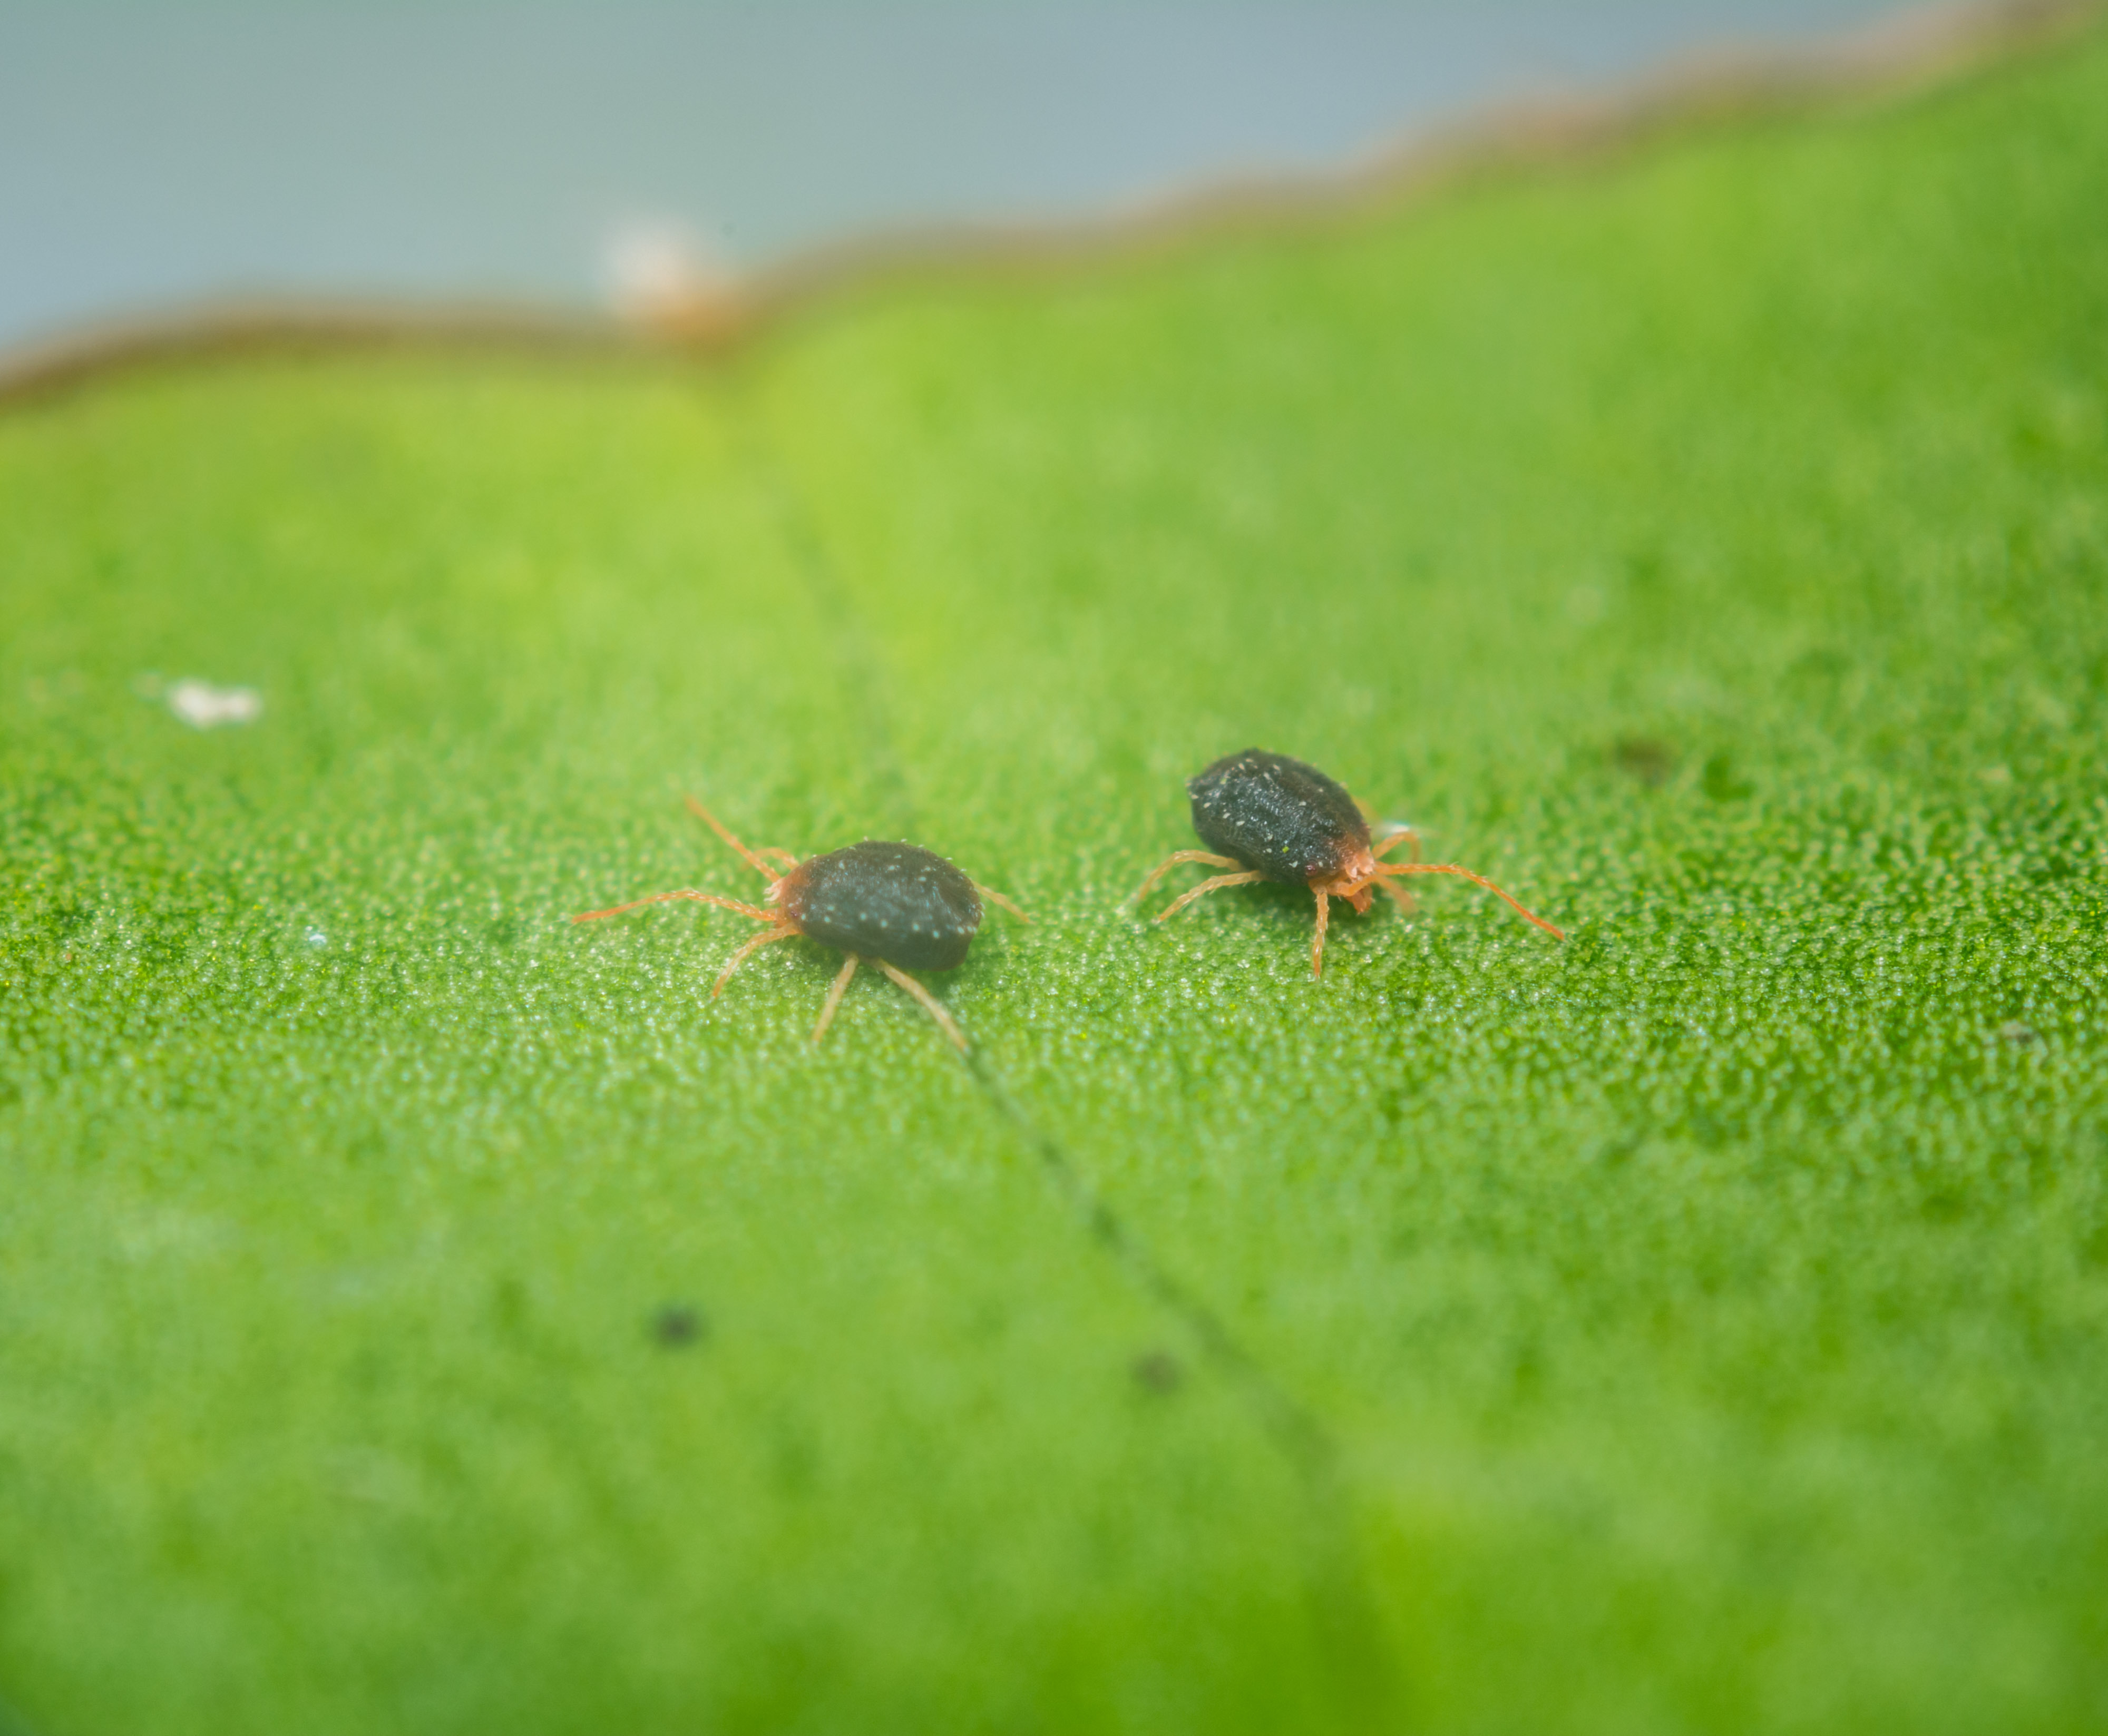
Why crushing clover mites stains
The classic clover mite headache is the stain. When you squish them, they can leave behind a red smear. It is not blood. It is their body fluids and pigments transferring onto the surface, and it can soak into flat paint, fabric fibers, and carpet.
That is why “wipe them with a paper towel” often turns into “now my wall has freckles.” The trick is to remove them with as little pressure as possible.
Get rid of clover mites inside without staining
1) Vacuum them, do not wipe
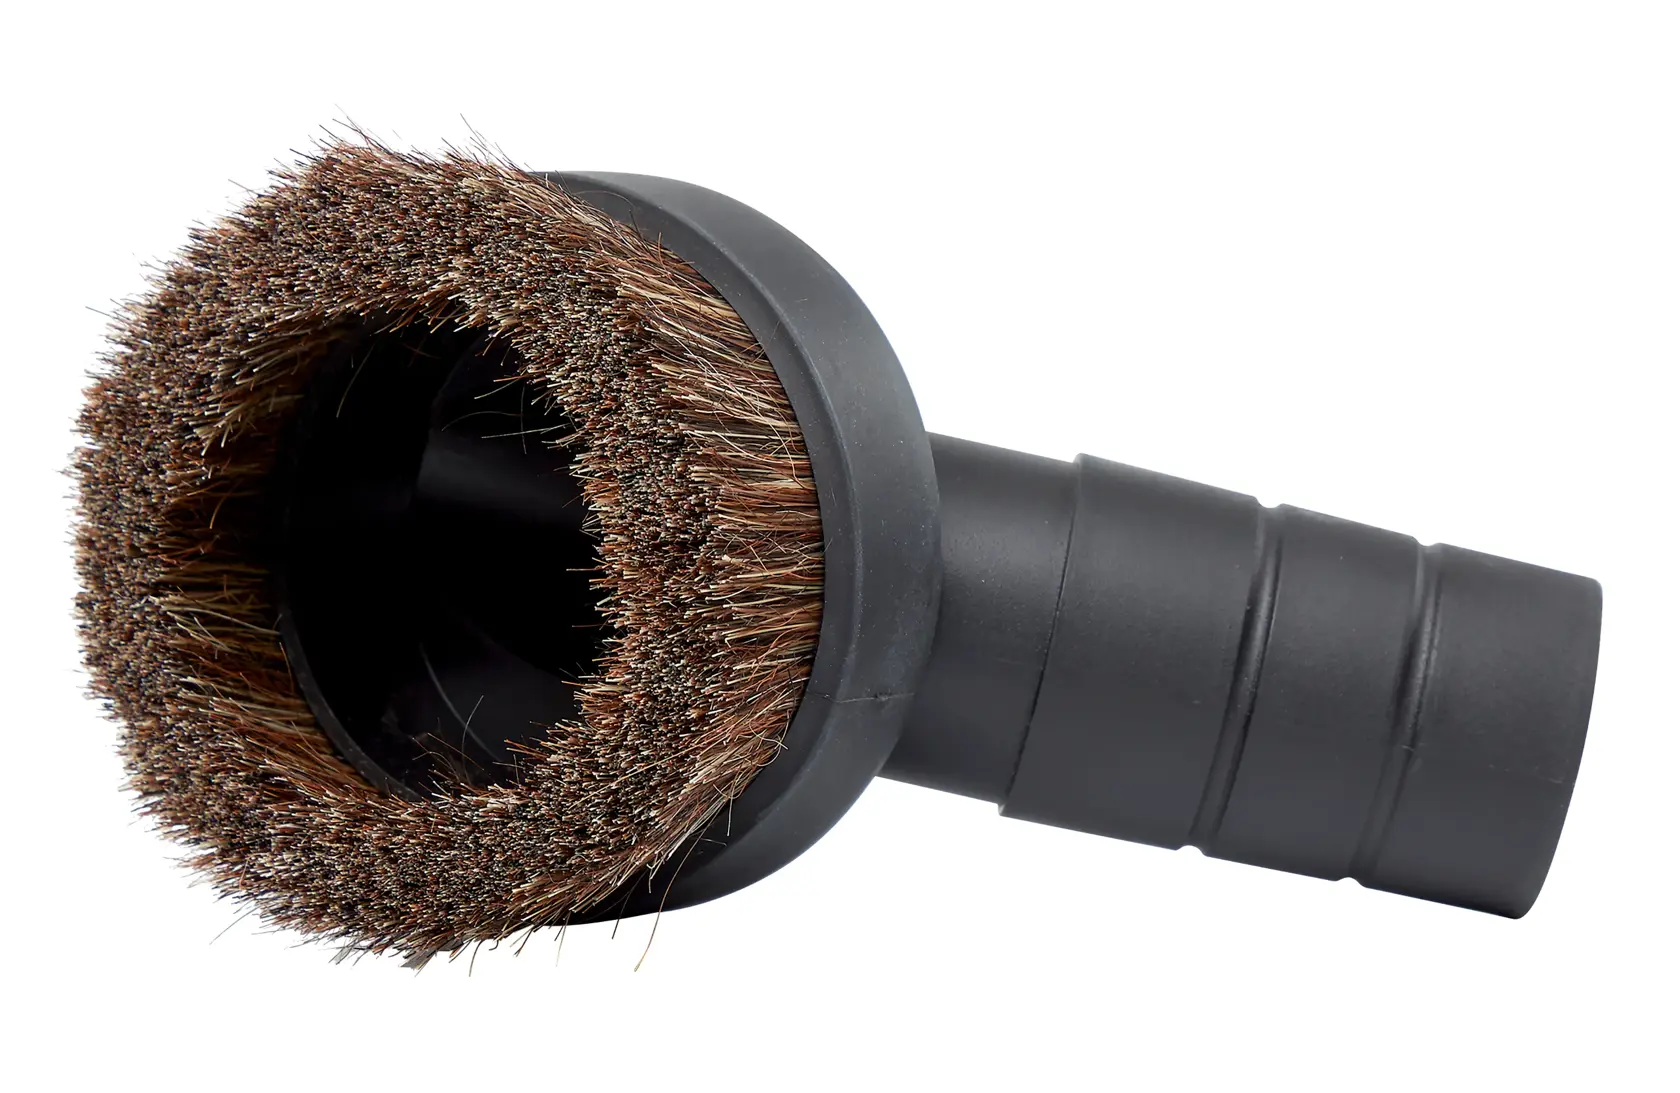
If you only do one thing today, make it vacuuming. Use a vacuum with a hose and a soft brush attachment if you have one. Hit:
- Windowsills and window tracks
- Baseboards on sunny sides of the house
- Curtains near the problem windows
- The edges of carpet near exterior walls
Disposable bag vacuums are ideal because you can seal the bag and toss it. If you have a bagless vacuum, empty the canister outdoors right away. I like to empty into a trash bag first, then tie it off.
2) Use tape for stragglers
For a few mites on a wall where you do not want to risk rubbing, press a piece of clear packing tape or painter’s tape lightly onto them and lift away. Fold the tape onto itself and trash it. No smearing, no drama.
3) Skip sprays inside unless you truly need them
Most of the time, indoor sprays are not necessary for clover mites. They do not breed indoors the way some pests do. If you kill what you see and then stop new ones from getting in, the problem usually collapses fast.
If you do choose an indoor product, look for one labeled for mites and approved for indoor crack and crevice use, and follow the label exactly. Avoid foggers. They do not target the entry points that matter most.
The control plan that actually stops them: outside first
Clover mites are an outdoor problem that leaks indoors. If you fix the exterior conditions along the foundation, you stop the parade.
Step 1: Create a vegetation-free band
This is the big one. Clover mites thrive in heavily fertilized, lush grass and ground cover right up against the house. When that strip gets hot and dry, or when the weather swings, they head for cooler surfaces and end up slipping through tiny gaps.
Many extension offices recommend a vegetation-free band around the foundation that is about 18 to 24 inches wide. If you have the space, more is better. Up to 3 feet can be even better. The goal is an area that is:
- Free of grass and weeds
- Low moisture
- Easy to inspect
You can make this band with bare soil, gravel, or stone. In my yard, I prefer gravel because it stays neat and dries quickly after rain.

Step 2: Trim plants back
Any plant that bridges from the ground to siding, brick, or trim can become a highway. Trim back:
- Ground cover creeping up to the wall
- Shrubs pressed against the foundation
- Overgrown grass along the edge of the house
Also go easy on nitrogen-heavy lawn fertilizer near the foundation. Super lush grass right against the house is basically clover mite comfort food. If you are overwatering that edge of the lawn, dial it back so the foundation line dries out faster.
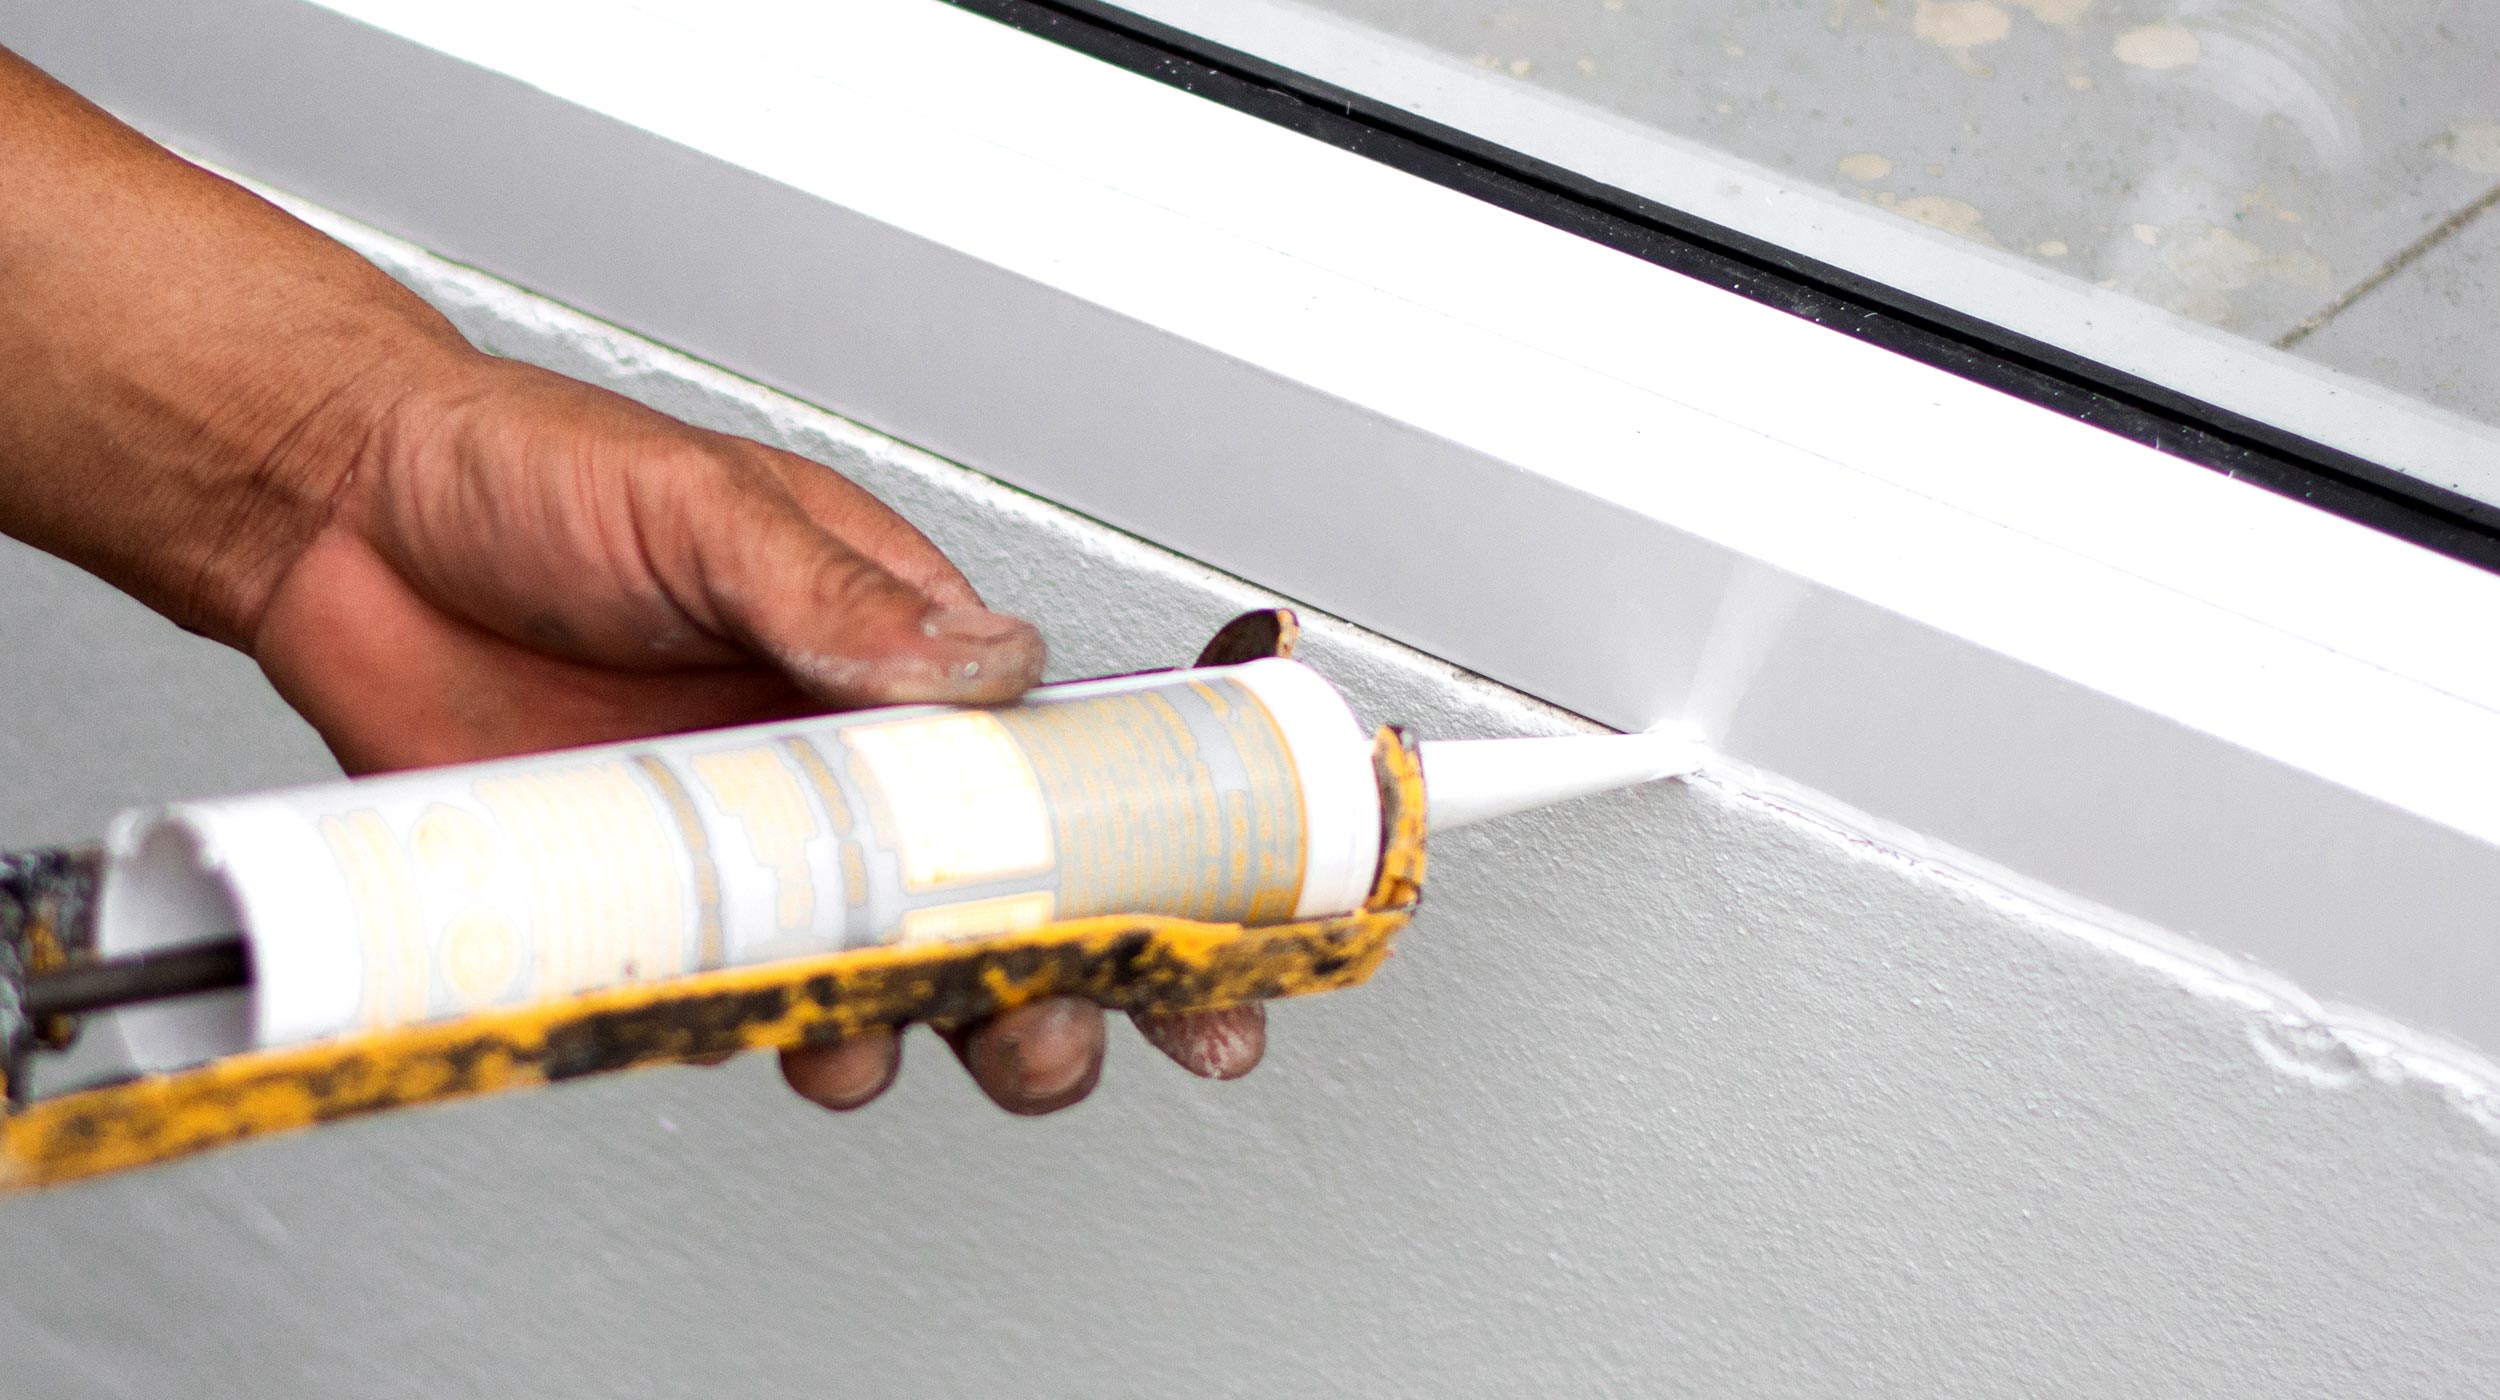
Step 3: Seal entry points with caulk
Clover mites get in through the kinds of gaps that do not look like “holes” at all. Walk the sunny sides of your house and seal:
- Cracks where window trim meets siding
- Gaps around window frames and door frames
- Small separations where siding meets foundation
- Openings around utility penetrations like hose bibs, cable lines, and AC line sets
My caulk rule of thumb: if you can see daylight, or if a thin card edge can slide in, it is worth sealing.
Use an exterior-rated caulk. If the gap moves or is on siding or trim joints, a paintable silicone or high-quality acrylic latex exterior caulk is usually a good choice. If you are unsure, read the tube and match it to “exterior” and “windows and doors.”
Also check basics like damaged weatherstripping and loose-fitting screens, especially around the same sunny windows where you keep seeing mites. Clover mites are tiny, and those small fixes can make a noticeable difference.
Should you treat outside with pesticides?
Often, you can solve clover mites without chemicals by doing the vegetation-free band plus sealing. If you are still getting heavy invasions after you have done those steps, an exterior perimeter treatment can help.
If you go that route:
- Choose a product labeled for clover mites or mites and labeled for exterior perimeter use
- Apply to the foundation wall and the ground band right next to it, following the label
- Focus on sunny sides where you see activity
- Keep treatments away from pollinator-heavy areas and avoid spraying flowers
I am thrifty with chemicals because the best long-term fix is still habitat control. Spraying without changing the lawn and plant setup is usually a short-lived win.
Cleaning clover mite stains
If you already have red smudges, do not panic. What works best depends on the surface.
Painted walls and trim
- Start with warm water and a drop of dish soap on a microfiber cloth.
- Blot lightly, do not scrub hard.
- If needed, try a damp melamine sponge very gently. Test in a hidden spot first because it can dull some paints.
Fabric and curtains
- Rinse from the back side with cold water if possible.
- Pre-treat with a laundry stain remover and wash per the fabric instructions.
Carpet
- Blot, do not rub.
- Use a small amount of carpet spot cleaner or dish-soap solution and blot repeatedly with a clean cloth.
If the smear is on flat paint and it leaves a shadow, touch-up paint is sometimes the cleanest, least-frustrating answer.
Why they keep coming back to the same window
If clover mites are consistently showing up in one room or on one sill, it is usually a combination of:
- Sun exposure, especially south and west windows
- Grass, clover, or ground cover growing right up to that wall
- Small gaps in exterior trim, screens, weatherstripping, or siding joints
That is why my approach is always: vacuum inside today, then spend an hour outside this weekend making that clean band and sealing cracks. It is not glamorous work, but it is the kind that pays you back every season.
FAQ
Are clover mites dangerous to people or pets?
They are considered a nuisance pest. They do not bite like fleas or bed bugs, and they do not damage the structure of your home. Rarely, some people report minor skin irritation after contact, but the main issues are annoyance and staining.
Do clover mites mean my house is dirty?
No. They are coming from outside and slipping in through tiny gaps, usually on sunny sides of the home near lush vegetation.
Will they multiply inside my house?
Typically, no. Clover mites feed on plants outdoors. Indoors they tend to die off once you remove them and block entry.
What is the fastest way to get rid of them right now?
Vacuum them off sills and walls using a hose attachment, empty the vacuum outside, and avoid wiping or crushing.
What is the best long-term prevention?
Create a vegetation-free band around the foundation, trim back plants touching the house, and seal gaps with exterior caulk around windows, doors, and penetrations.
The 30-Second Cheat Sheet
Essential takeaways for: How to Get Rid of Clover Mites in Your House
What you are seeing
- Tiny red moving specks on sunny windowsills and walls are usually clover mites.
- They are a nuisance pest and do not bite like fleas or bed bugs, but they stain when crushed.
What to do right now (no stains)
- Vacuum, do not wipe. Use a hose and brush attachment on sills, baseboards, and window tracks.
- Empty the vacuum outdoors immediately. Seal and toss the bag, or dump the canister outside into a trash bag.
- Use tape to lift a few mites off painted walls without smearing.
The fix that stops them from coming back
- Create a vegetation-free band around the foundation, about 18 to 24 inches (more is better if you can).
- Trim back plants and ground cover touching the house.
- Caulk exterior gaps around window trim, door frames, siding to foundation joints, and utility penetrations.
If you already smeared them
- Blot gently with warm water and a drop of dish soap.
- Test a melamine sponge carefully on paint (it can dull some finishes).
- On carpet: blot, do not rub, then spot clean.
When to consider an exterior treatment
- If you did the band plus caulk and still have heavy invasions, use a product labeled for mites or clover mites for exterior perimeter use and follow the label.
💡 Tip: Scroll up to read the full article for detailed, step-by-step instructions.
⬆️ Back to top
About Marcus Vance
Content Creator @ Grit & Home
Marcus Vance is a lifelong DIY enthusiast and self-taught home renovator who has spent the last decade transforming a dilapidated 1970s ranch into his family's dream home. He specializes in budget-friendly carpentry, room-by-room renovations, and demystifying power tools for beginners. Through his writing, Marcus shares practical tutorials and hard-learned lessons to help homeowners tackle their own projects with confidence.