
🚨 In a DIY emergency or rush?
Skip the details and jump straight to our 30-second cheat sheet for the most crucial info.
I grew up holding the flashlight for my dad under the sink, which taught me something that applies just as much outside as it does under a kitchen cabinet: water always wins if you don’t give it a controlled path.
On a flat lot, that “controlled path” can’t be “run pipe downhill until it daylights,” because there is no downhill. In that no-outlet situation, a dry well is often the cleanest DIY way to take roof runoff or a drain line discharge and let it soak into the soil slowly instead of pooling against your foundation.
This guide focuses on sizing and installing a dry well and getting the details right: gravel volume, fabric, safe distances from the house, and what to do when a dry well cannot keep up.
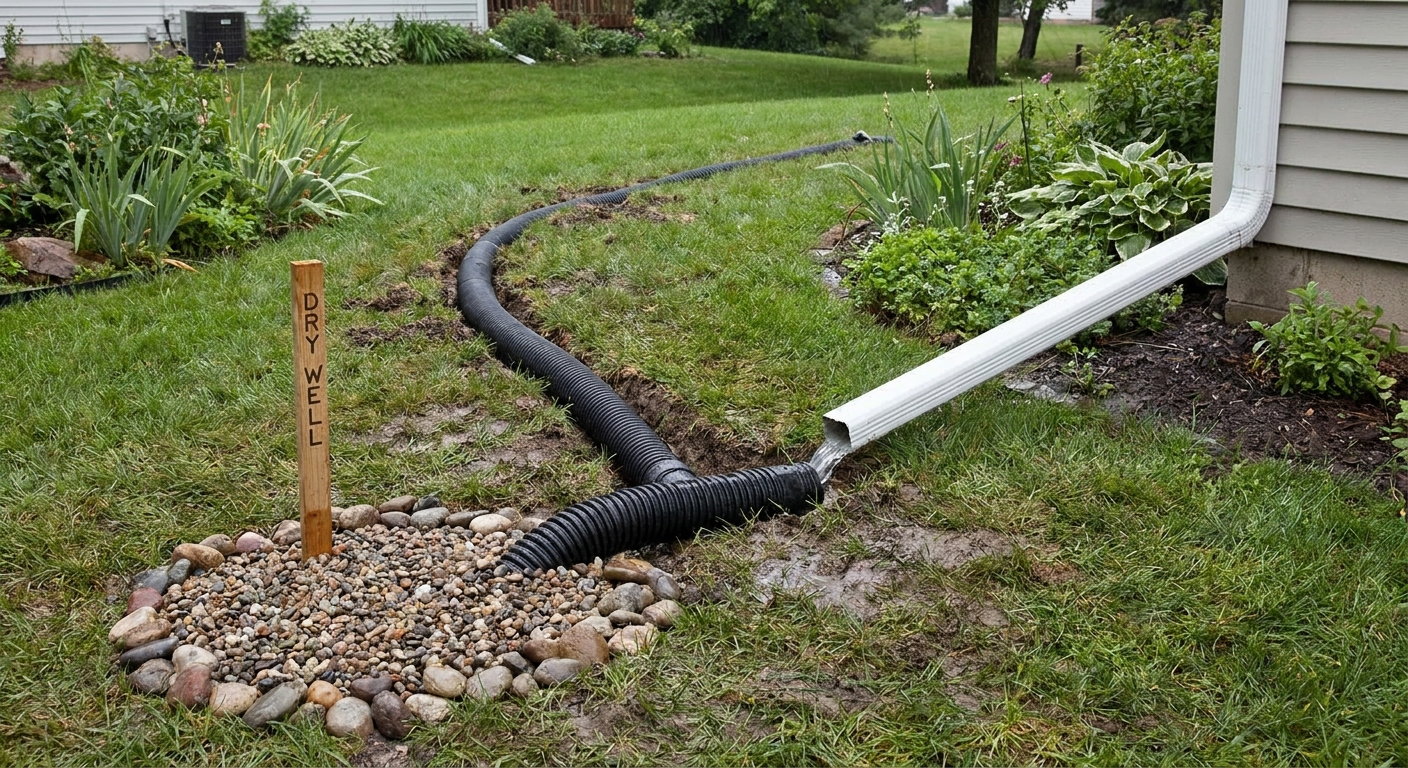
What a dry well does and when it makes sense
A dry well is basically an underground holding and infiltration zone. Water enters, spreads into open void space (gravel and/or a manufactured chamber), then percolates into surrounding soil.
Good fits
- Downspouts that dump next to the house because you have no lower outlet.
- French drain discharge on a flat yard where you can collect water but cannot gravity-drain it to daylight.
- Spot drainage where you can pipe water to one place and let it infiltrate.
Not great fits
- High groundwater or consistently saturated soil. If the hole fills with water and never drops, a dry well is not doing its job.
- Heavy clay that infiltrates extremely slowly. You can sometimes still make it work by building larger storage, but you need to confirm infiltration first.
- Anything tied into sanitary sewer. A dry well is stormwater management, not plumbing.
Rules vary, so treat this as a planning guide, not a permit. Some towns restrict where roof runoff can go, and some restrict sending sump pump discharge or footing drain water into infiltration systems. If you are not sure, check local code and the chamber manufacturer’s installation guide.
If you routinely get water against your foundation, start by correcting gutters and downspouts. A dry well is a great next step when you already have a collection point and you simply need a place for the water to go.
Before you dig
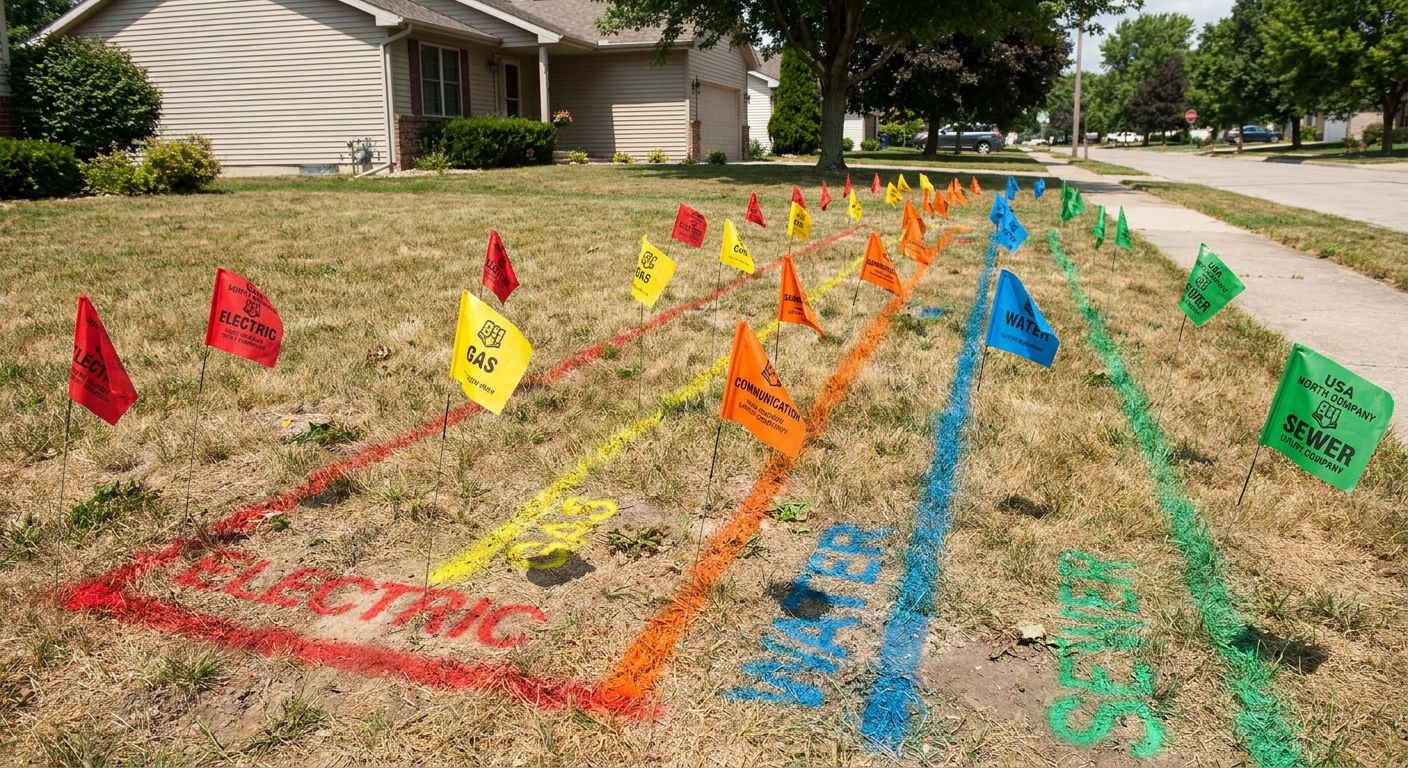
1) Call for utility locates
In the US, call 811 before digging. A dry well hole is deep enough to hit gas, electric, comms, or an old line you forgot existed.
2) Do a simple infiltration test
You do not need a lab test for a basic DIY dry well, but you do need a reality check. The key is to test at a depth that actually represents where the dry well will sit.
- Dig a test hole about 12 inches wide and 24 to 36 inches deep, or as close as practical to your planned dry well bottom. If you are planning a deeper dry well, do two tests at different depths.
- Fill it with water and let it soak in once (this pre-wets the soil).
- Fill it again and measure the drop rate in inches per hour.
As a gut-check, here is how I interpret it for DIY planning:
- Less than about 0.5 inch per hour: very slow. Plan on much larger storage, multiple wells, and a strong overflow plan, or consider alternatives.
- About 0.5 to 2 inches per hour: workable with enough storage and good pretreatment (gutter maintenance, screens, maybe a catch basin).
- More than about 2 inches per hour: generally favorable, assuming you are not sitting in seasonal groundwater.
If the second fill barely drops after an hour, you are in slow soil and you should plan for a bigger dry well and a real overflow plan. If it drains steadily, you are in a much happier place.
3) Check setbacks and local rules
Some areas regulate dry wells and infiltration systems, especially near wetlands or if you are within certain distances of wells, property lines, or septic systems.
I cannot give you the exact number for your town, but typical specs often include setbacks from foundations, property lines, drinking-water wells, septic tanks and drainfields, and waterways. If you have septic, keep stormwater infiltration well away from it.
4) Quick excavation safety
Holes can collapse. If you are digging deep, be smart about it.
- Keep the spoil pile back from the edge so it does not cave the wall in.
- Do not climb into an unstable hole.
- If your excavation is approaching 4 feet deep or you need a large footprint, that is a good point to consider a pro or a machine with the right safety practices.
Where to put it
When there is no downhill outlet, placement matters more than usual. You are creating a soak zone, so keep that soak zone away from anything that hates water.
Distance from the house
I like to keep dry wells at least 10 feet from the foundation, and farther if you can. Many guidelines and manufacturer recommendations land in the 10 to 20 foot range depending on soil and conditions, and some jurisdictions require more. The goal is simple: do not create a wet sponge next to your basement wall.
Other common setbacks
Always verify locally, but as a practical checklist, look up required distances to:
- Property lines
- Drinking-water wells
- Septic tank and drainfield
- Wetlands, streams, and shorelines
Other placement tips
- Avoid low spots where surface water already ponds. You will be feeding that problem.
- Keep away from retaining walls and slopes that could destabilize if saturated.
- Give trees a wide berth. A constantly damp area can encourage roots to chase the water, and roots love pipes.
Depth
Many DIY dry wells end up roughly 2 to 4 feet deep. That is common, not a rule. Deeper is not automatically better. You want to stay above seasonal high groundwater and keep infiltration in soil that can actually accept water.
How big should it be?
Sizing is where most DIY installs go sideways. Too small and it overflows every big rain. Too big and you overpay for gravel and digging. I size in two steps: estimate how much water you are sending to the well, then decide how much storage you want underground.
Step 1: Estimate roof runoff
A simple way to estimate roof runoff is:
Gallons from a storm = Roof area (sq ft) × Rain depth (inches) × 0.623
That 0.623 factor converts 1 inch of rain over 1 sq ft into gallons.
Example: a 500 sq ft roof section feeding one downspout during a 1 inch rain:
500 × 1 × 0.623 = 312 gallons
You do not need to capture all 312 gallons as empty storage. In decent soil, infiltration starts immediately. In clay, it barely starts at all. That is why the next step matters.
Step 2: Convert storage to gravel or chamber size
Gravel has void space between stones. For clean, uniformly graded gravel (often called #57 stone), a reasonable planning range is about 30% to 40% void space, depending on the exact stone and how it packs.
That means:
- 1 cubic foot of gravel provides roughly 0.3 to 0.4 cubic feet of water storage.
- That equals roughly 2.2 to 3 gallons (since 1 cubic foot = 7.48 gallons).
So a practical rule of thumb is:
Each cubic yard of clean gravel stores roughly 60 to 80 gallons of water in the voids.
Quick math: 1 cubic yard = 27 cubic feet. 27 × 7.48 × 0.30 to 0.40 = about 61 to 81 gallons.
A realistic DIY target
On many flat yards, I aim to create 100 to 250 gallons of underground storage per downspout, then rely on infiltration to keep up between storms. If you have slow clay soil or huge roof sections, you may need more storage or multiple wells.
If you want to keep it simple, choose a dry well configuration that provides:
- At least 1 cubic yard of gravel worth of void storage (about 60 to 80 gallons), and
- An overflow plan for big storms or frozen ground.
Materials and tools
Materials
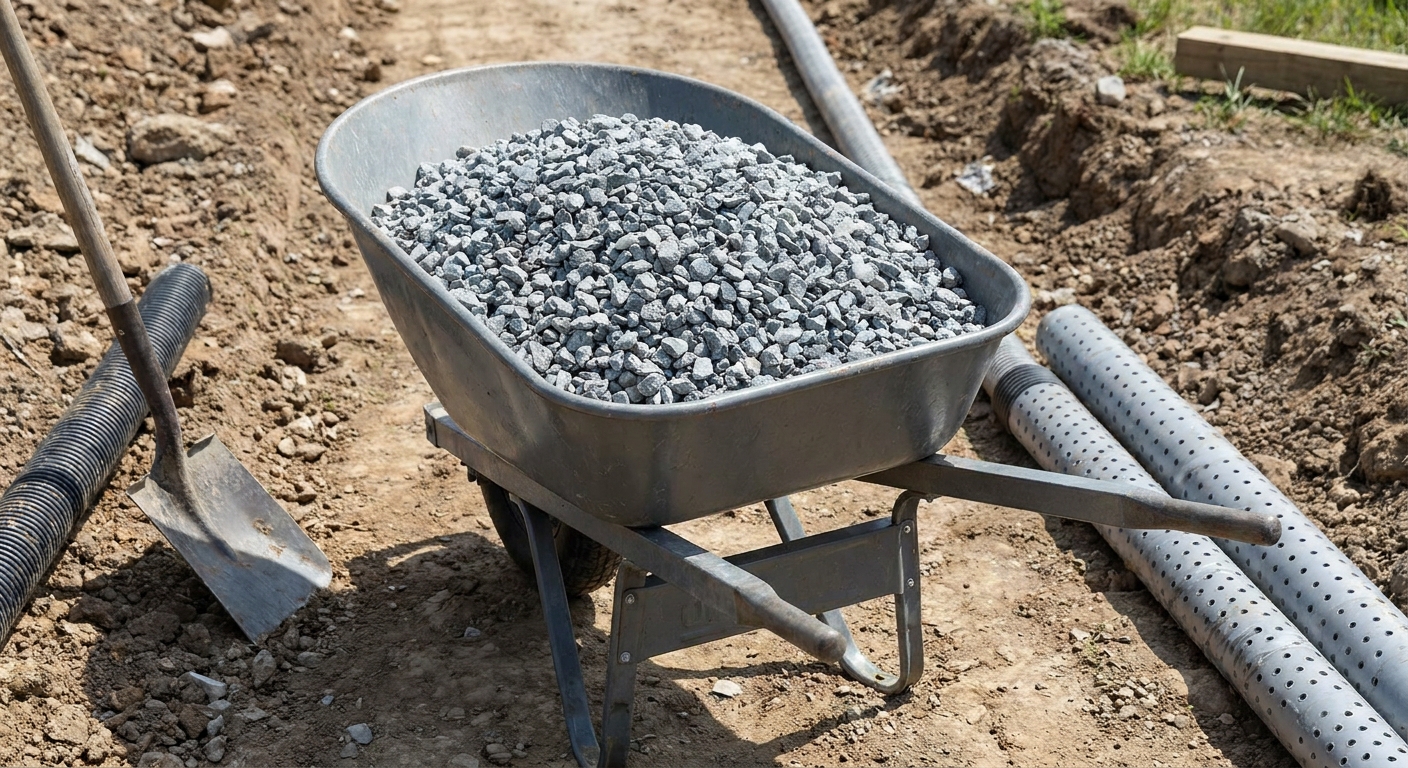
- Solid drain pipe (commonly 4 inch) from downspout or inlet to the dry well. Solid pipe keeps the route predictable.
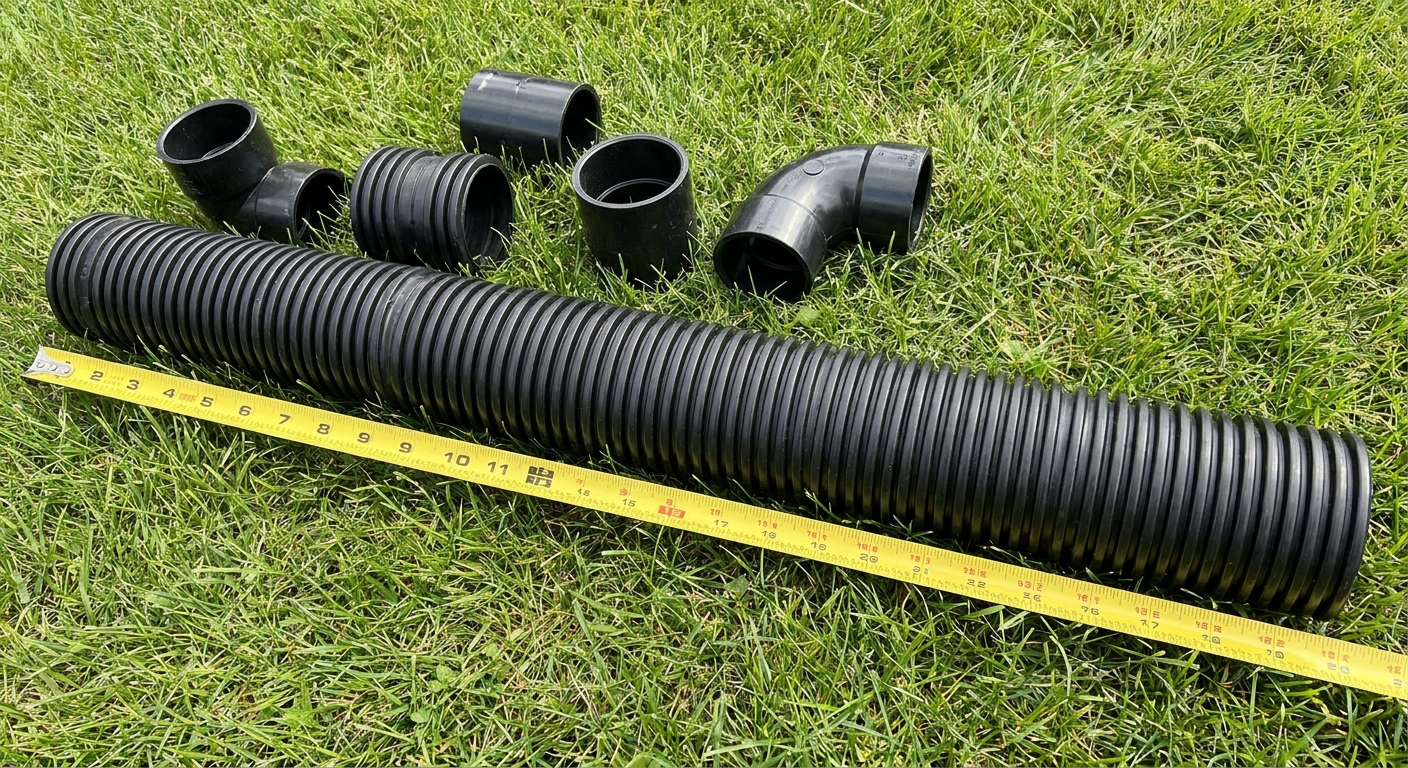
- Fittings: elbows, couplers, adapters from downspout to pipe, and a cleanout fitting if you add one.
- Dry well chamber or a gravel-only pit. A manufactured chamber gives more open storage per excavation volume.
- Washed drain rock (#57 or similar).
- Nonwoven geotextile fabric to separate soil from stone and slow clogging.
- Top cover: soil and sod, or a layer of stone if you are keeping it as a bed.
- Overflow pipe or surface overflow path plan (more on this below).
Tools
- Shovel, digging bar, and a wheelbarrow
- Pickaxe or mattock for tough soil
- Level and tape measure
- String line or marking paint
- Utility knife and staples or landscape pins for fabric
Install steps
1) Mark the location and inlet height
Decide where the pipe will enter the dry well. Even on a flat lot, you still want the pipe to slope slightly downhill toward the well so it drains after a storm. A common target is about 1/8 inch per foot if you can get it, but any consistent slope helps.
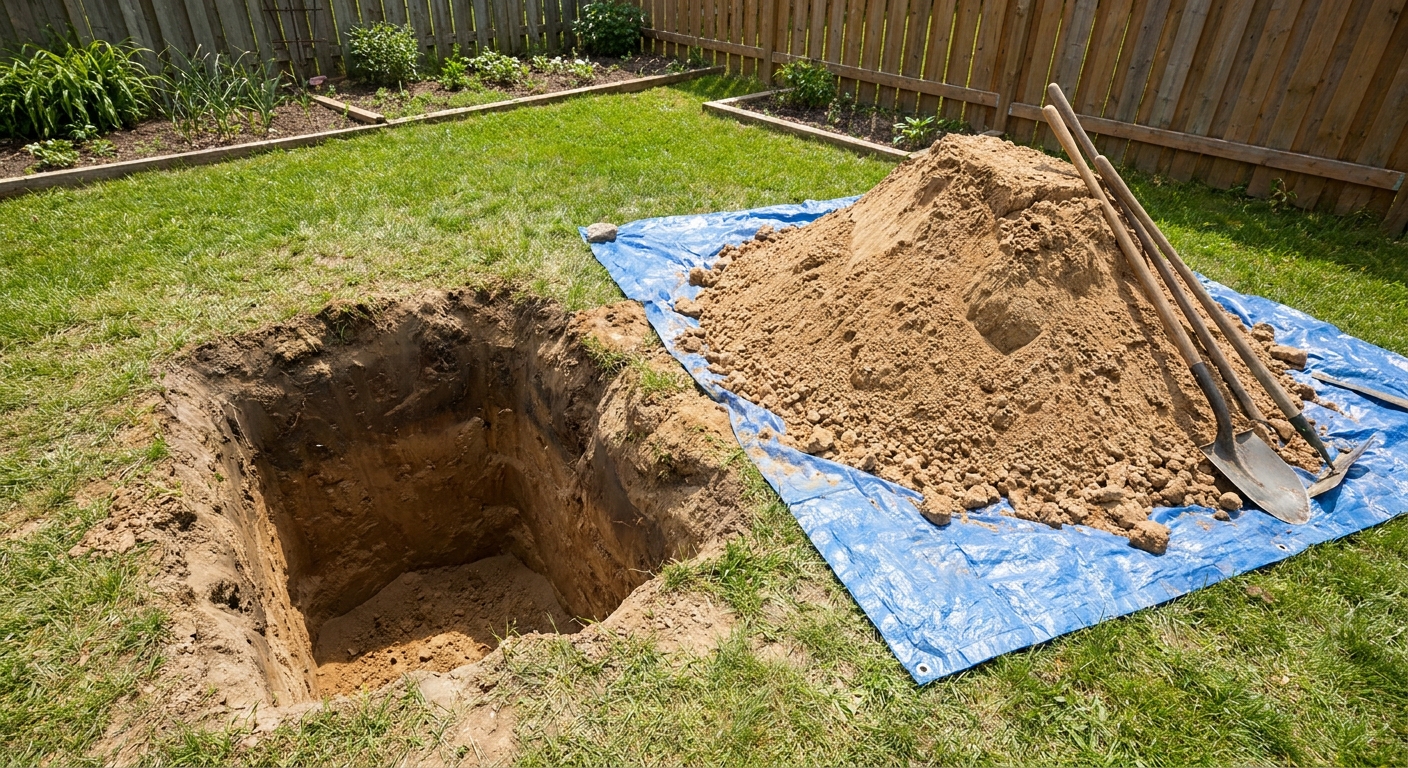
2) Dig the hole
Excavate a hole sized for your chamber and gravel wrap, or for your gravel-only pit.
- Give yourself at least 6 inches of gravel under the chamber and 6 inches on the sides.
- Plan for 12 inches of soil cover above the fabric if the area will be lawn.
Keep the spoil pile on a tarp. It saves your grass and makes backfilling faster.
3) Line with geotextile
This step is not optional if you want the dry well to last. Fabric keeps surrounding soil from migrating into your stone voids and slowly turning your “storage” into mud.
- Use nonwoven geotextile for drainage.
- Line the bottom and sides.
- Leave enough extra fabric to fold over the top later like wrapping a burrito.
4) Add base gravel
Pour in a 6 inch layer of washed stone and level it. This gives a stable, free-draining base and keeps the chamber from sitting directly on soil.
5) Set the chamber or build the gravel core
If using a chamber, set it on the base gravel and confirm it is level side to side. If you are going gravel-only, keep building up stone, but be honest about long-term performance. Chambers generally give better storage with less stone.
6) Connect the inlet pipe
Run solid pipe from the downspout or drain line to the chamber inlet.
- Use fittings that keep a smooth flow path.
- Avoid sharp changes in direction if you can.
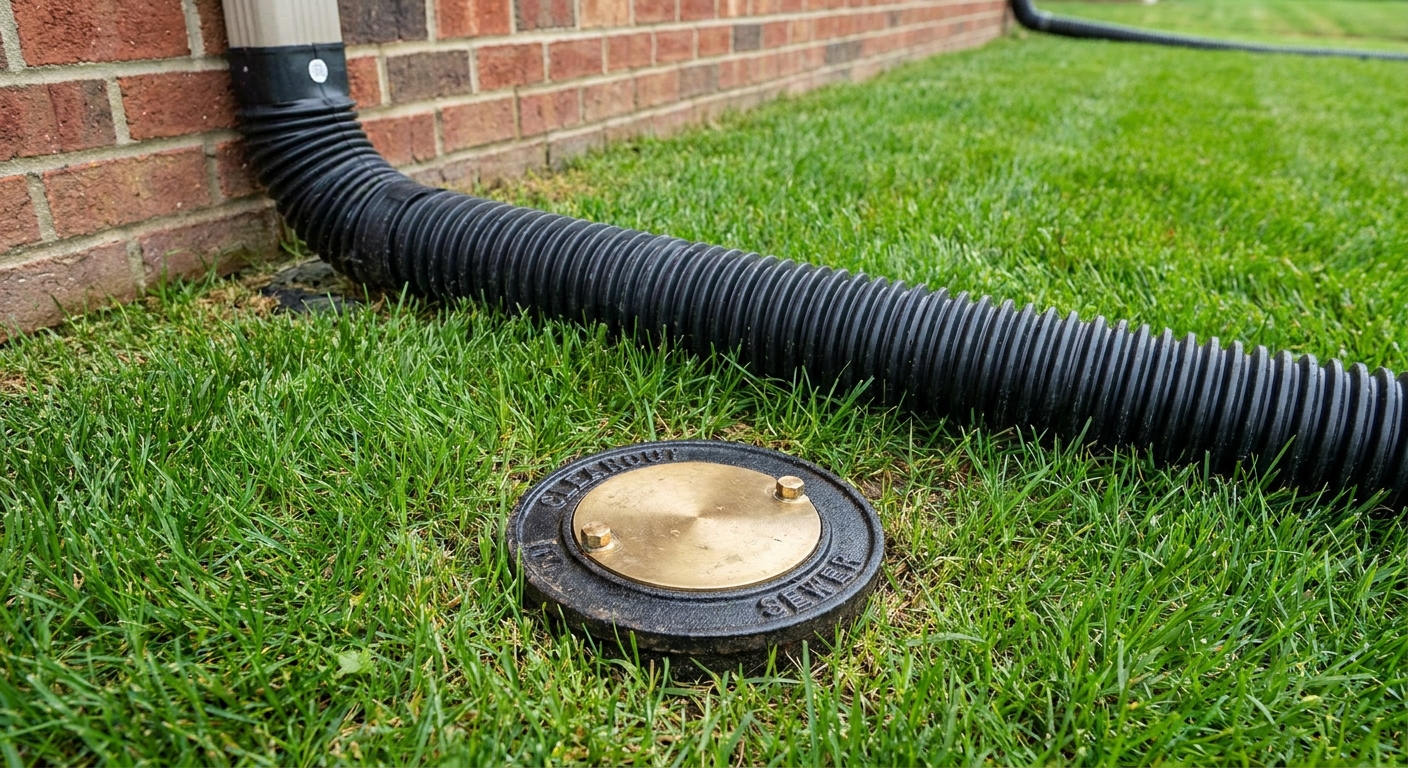
- If the system will carry roof grit and leaves, consider adding a cleanout riser upstream so you can flush the line later.
7) Backfill with washed stone
Backfill with washed stone around the sides first, then over the top as required by the chamber manufacturer or your plan.
Take your time and keep it even. A chamber that shifts during backfill can pop fittings loose.
8) Fold the fabric over the top
Wrap the top of the stone with the extra fabric so soil stays separated from the gravel. Overlap seams generously.
9) Backfill and restore the surface
Bring the soil back, compacting lightly in lifts. Do not stomp it like you are tamping a fence post. You want stable grade, but you also want water to be able to get down.
Finish with sod or seed.
Gravel volume math
Gravel math is easier if you calculate excavation volume, then subtract what the chamber occupies, then add a little extra for the “oops” factor.
Rectangular pit
Cubic feet = Length × Width × Depth
Cubic yards = Cubic feet ÷ 27
Example pit: 4 ft × 4 ft × 3 ft = 48 cubic feet = 1.78 cubic yards.
Round pit
Cubic feet = 3.14 × (Radius × Radius) × Depth
Example pit: 4 ft diameter (2 ft radius) × 3 ft deep:
3.14 × 4 × 3 = 37.7 cubic feet = 1.4 cubic yards.
Budget-friendly tip: If you are close, round up. Running short on stone when the hole is open is a pain, and the second trip always seems to happen right as daylight disappears.
Overflow plan
On a flat lot, the dry well is your primary outlet, which means you need a secondary outlet for the day the ground is frozen, already saturated, or the storm is simply bigger than your storage.
Two overflow options
- Surface overflow: The dry well area is shaped so if it fills, water safely spills onto the lawn and away from the house.
- Piped overflow: A second outlet pipe set slightly higher than the primary inlet elevation sends overflow to another approved location.
Whichever you choose, the rule is the same: overflow must go away from the foundation, and it must not dump onto a neighbor, across a property line, or onto a sidewalk or driveway where it can create winter ice. Local rules can be strict about this.
If you take only one thing from this article, make it this: build an overflow plan before you need it.
Fabric and clogging
Dry wells usually fail slowly. They do not explode. They just start draining worse each year until you notice the same puddles returning.
What causes clogging
- Roof grit, shingle granules, and leaves getting washed into the system
- Fine soil migrating into the gravel voids when there is no fabric
- Standing water that allows sediment to settle in the chamber or stone
Simple longevity upgrades
- Clean gutters regularly and consider downspout screens.
- Use nonwoven geotextile, not cheap plastic sheeting.
- Add a cleanout where you can snake or flush the inlet pipe.
- If you have a lot of roof debris, consider adding a small catch basin or inline filter upstream, as long as you are willing to maintain it.
How far from the house?
I get asked this a lot because nobody wants to build a drainage fix that becomes a foundation problem.
- Minimum I aim for: 10 feet from the foundation.
- Better when possible: 15 to 20 feet, especially in clay or if you have a basement.
- Also check: your required setback from property lines, septic systems, and wells. Those numbers can be larger than the foundation number.
- Always avoid: placing a dry well directly beside a footing drain, sump discharge point, or basement window well area.
If your only available spot is closer than 10 feet, I would slow down and consider professional advice. The risk is not just wet soil. It is hydrostatic pressure against the foundation and water finding cracks you did not know you had.
Common mistakes
Wrong stone
Pea gravel and mixed stone with fines can choke void space. Use washed drain rock.
Skipping fabric
The dry well might work great for a year or two. Then the soil moves into your stone and storage disappears.
Too close to the house
You are trying to move water away, not park it next door to your foundation.
No overflow
A dry well is not magic. In big storms, it fills. Give that water a safe backup route.
Combining downspouts without upsizing
If you combine flows, size the pipe and the dry well accordingly. Otherwise you will overwhelm the inlet.
Testing and maintenance
Initial test
Before you backfill completely, run water from a hose into the downspout or inlet and check:
- Does water flow smoothly into the chamber?
- Are there leaks at fittings?
- Does the well accept water without immediately backing up?
Seasonal maintenance
- Clean gutters at least twice a year.
- After major storms, walk the area and confirm there is no new ponding.
- If you installed a cleanout, flush the line occasionally to move settled grit.
FAQ
Can I use perforated pipe into the dry well?
You can, but for a flat-lot dry well I prefer solid pipe to the well so water does not leak out and saturate the soil near the house. Let the infiltration happen at the dry well where you planned for it.
How deep should the dry well be?
Many DIY installs land around 2 to 4 feet deep, depending on soil, available grade, and what you are trying to store. The key is staying above seasonal high groundwater and building a reliable overflow for winter and extreme storms.
What if my dry well fills and stays full?
That usually means your soil infiltrates too slowly, the groundwater is high, the well is undersized, or it is clogging. First confirm gutters are not dumping sediment. If it remains full days after a storm, you likely need a bigger system or a different strategy.
What are my options if infiltration is poor?
If your infiltration test comes back very slow or you hit groundwater, a dry well may not be the right tool. Depending on what is allowed where you live, alternatives can include spreading water out across the surface with a shallow swale, directing it to a rain garden or bioretention area, using multiple smaller infiltration areas, or pumping to an approved discharge point.
The 30-Second Cheat Sheet
Essential takeaways for: How to Install a Dry Well on a Flat Yard
Dry well basics
- Use a dry well when there is no downhill daylight outlet. It stores stormwater underground and lets it soak into surrounding soil.
- Keep it away from the house: I aim for at least 10 feet from the foundation, and 15 to 20 feet is better when you can. Local rules and soil conditions can require more.
Quick sizing
- Runoff estimate: Gallons = Roof area (sq ft) × Rain (inches) × 0.623.
- Gravel storage: clean washed gravel is often around 30% to 40% void space depending on gradation and packing.
- Rule of thumb: 1 cubic yard of washed gravel stores about 60 to 80 gallons in the voids.
Must-have materials
- Solid pipe from downspout or drain line to the dry well
- Nonwoven geotextile fabric lining the hole and wrapping over the top
- Washed drain rock (#57 or similar)
- Overflow plan (surface spill-away route or a higher overflow outlet)
Install sequence
- Call for utility locates.
- Dig a test hole at or near the planned depth and confirm water infiltrates at a reasonable rate.
- Dig the dry well hole (leave room for gravel under and around the chamber).
- Line with geotextile fabric, leaving extra to fold over the top.
- Add about 6 inches base gravel.
- Set chamber (or build gravel core) and connect inlet pipe with slight slope toward the well.
- Backfill with washed gravel, fold fabric over, then backfill with soil.
Don’t skip this
- No fabric means early failure. Soil migrates into stone voids and kills capacity.
- No overflow means a flooded yard. Frozen ground and big storms can overwhelm any dry well.
💡 Tip: Scroll up to read the full article for detailed, step-by-step instructions.
⬆️ Back to top
About Grit
Content Creator @ Grit & Home
Grit is Grit & Home’s little blue clay courier, delivering big questions about the place you call home. Expect practical ideas, a raised eyebrow, and a satchel full of curiosity.