
🚨 In a DIY emergency or rush?
Skip the details and jump straight to our 30-second cheat sheet for the most crucial info.
Spider mites are one of those pests you do not notice until the plant looks tired, dusty, and just plain unhappy. Outdoors, they love hot, dry stretches, especially when plants are a little stressed and the rain has taken a break. The good news is you can usually get ahead of them with a few simple, repeatable steps that do not require harsh chemicals or panic.
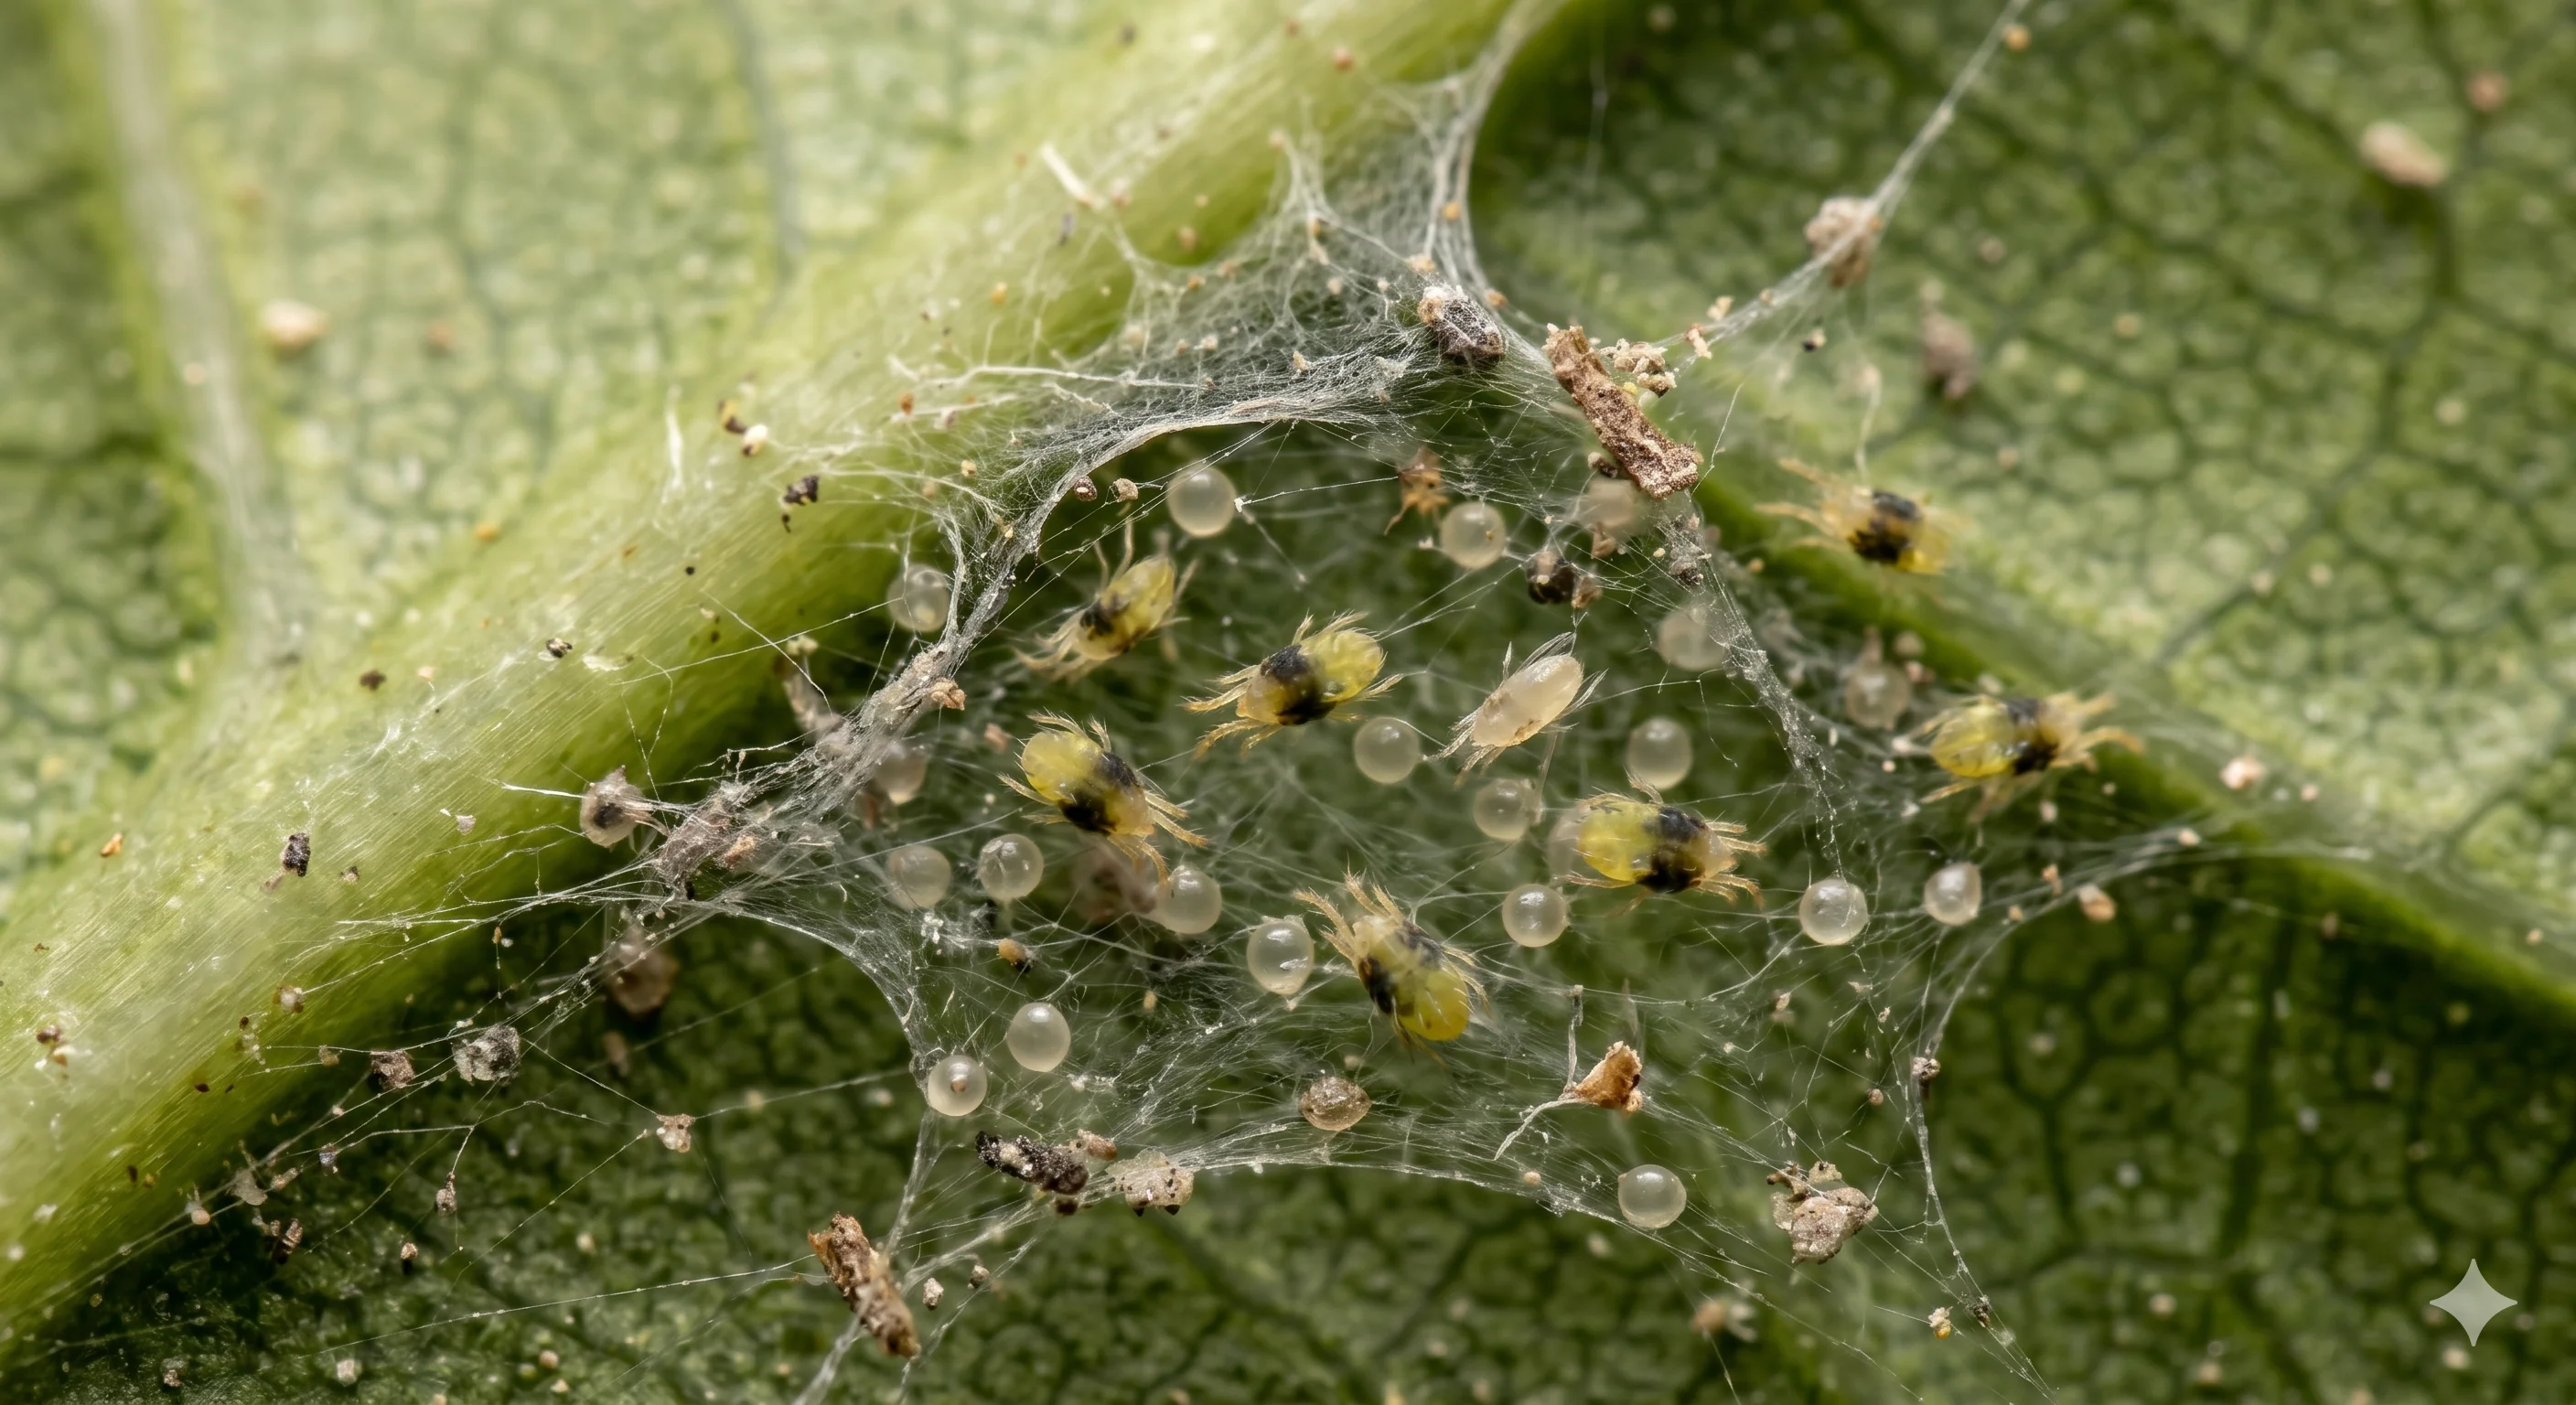
How to tell you have spider mites
The earlier you catch them, the easier the fix. Spider mites are tiny, but the damage pattern is pretty recognizable once you know what to look for.
1) Stippling: tiny pale dots that look like dust
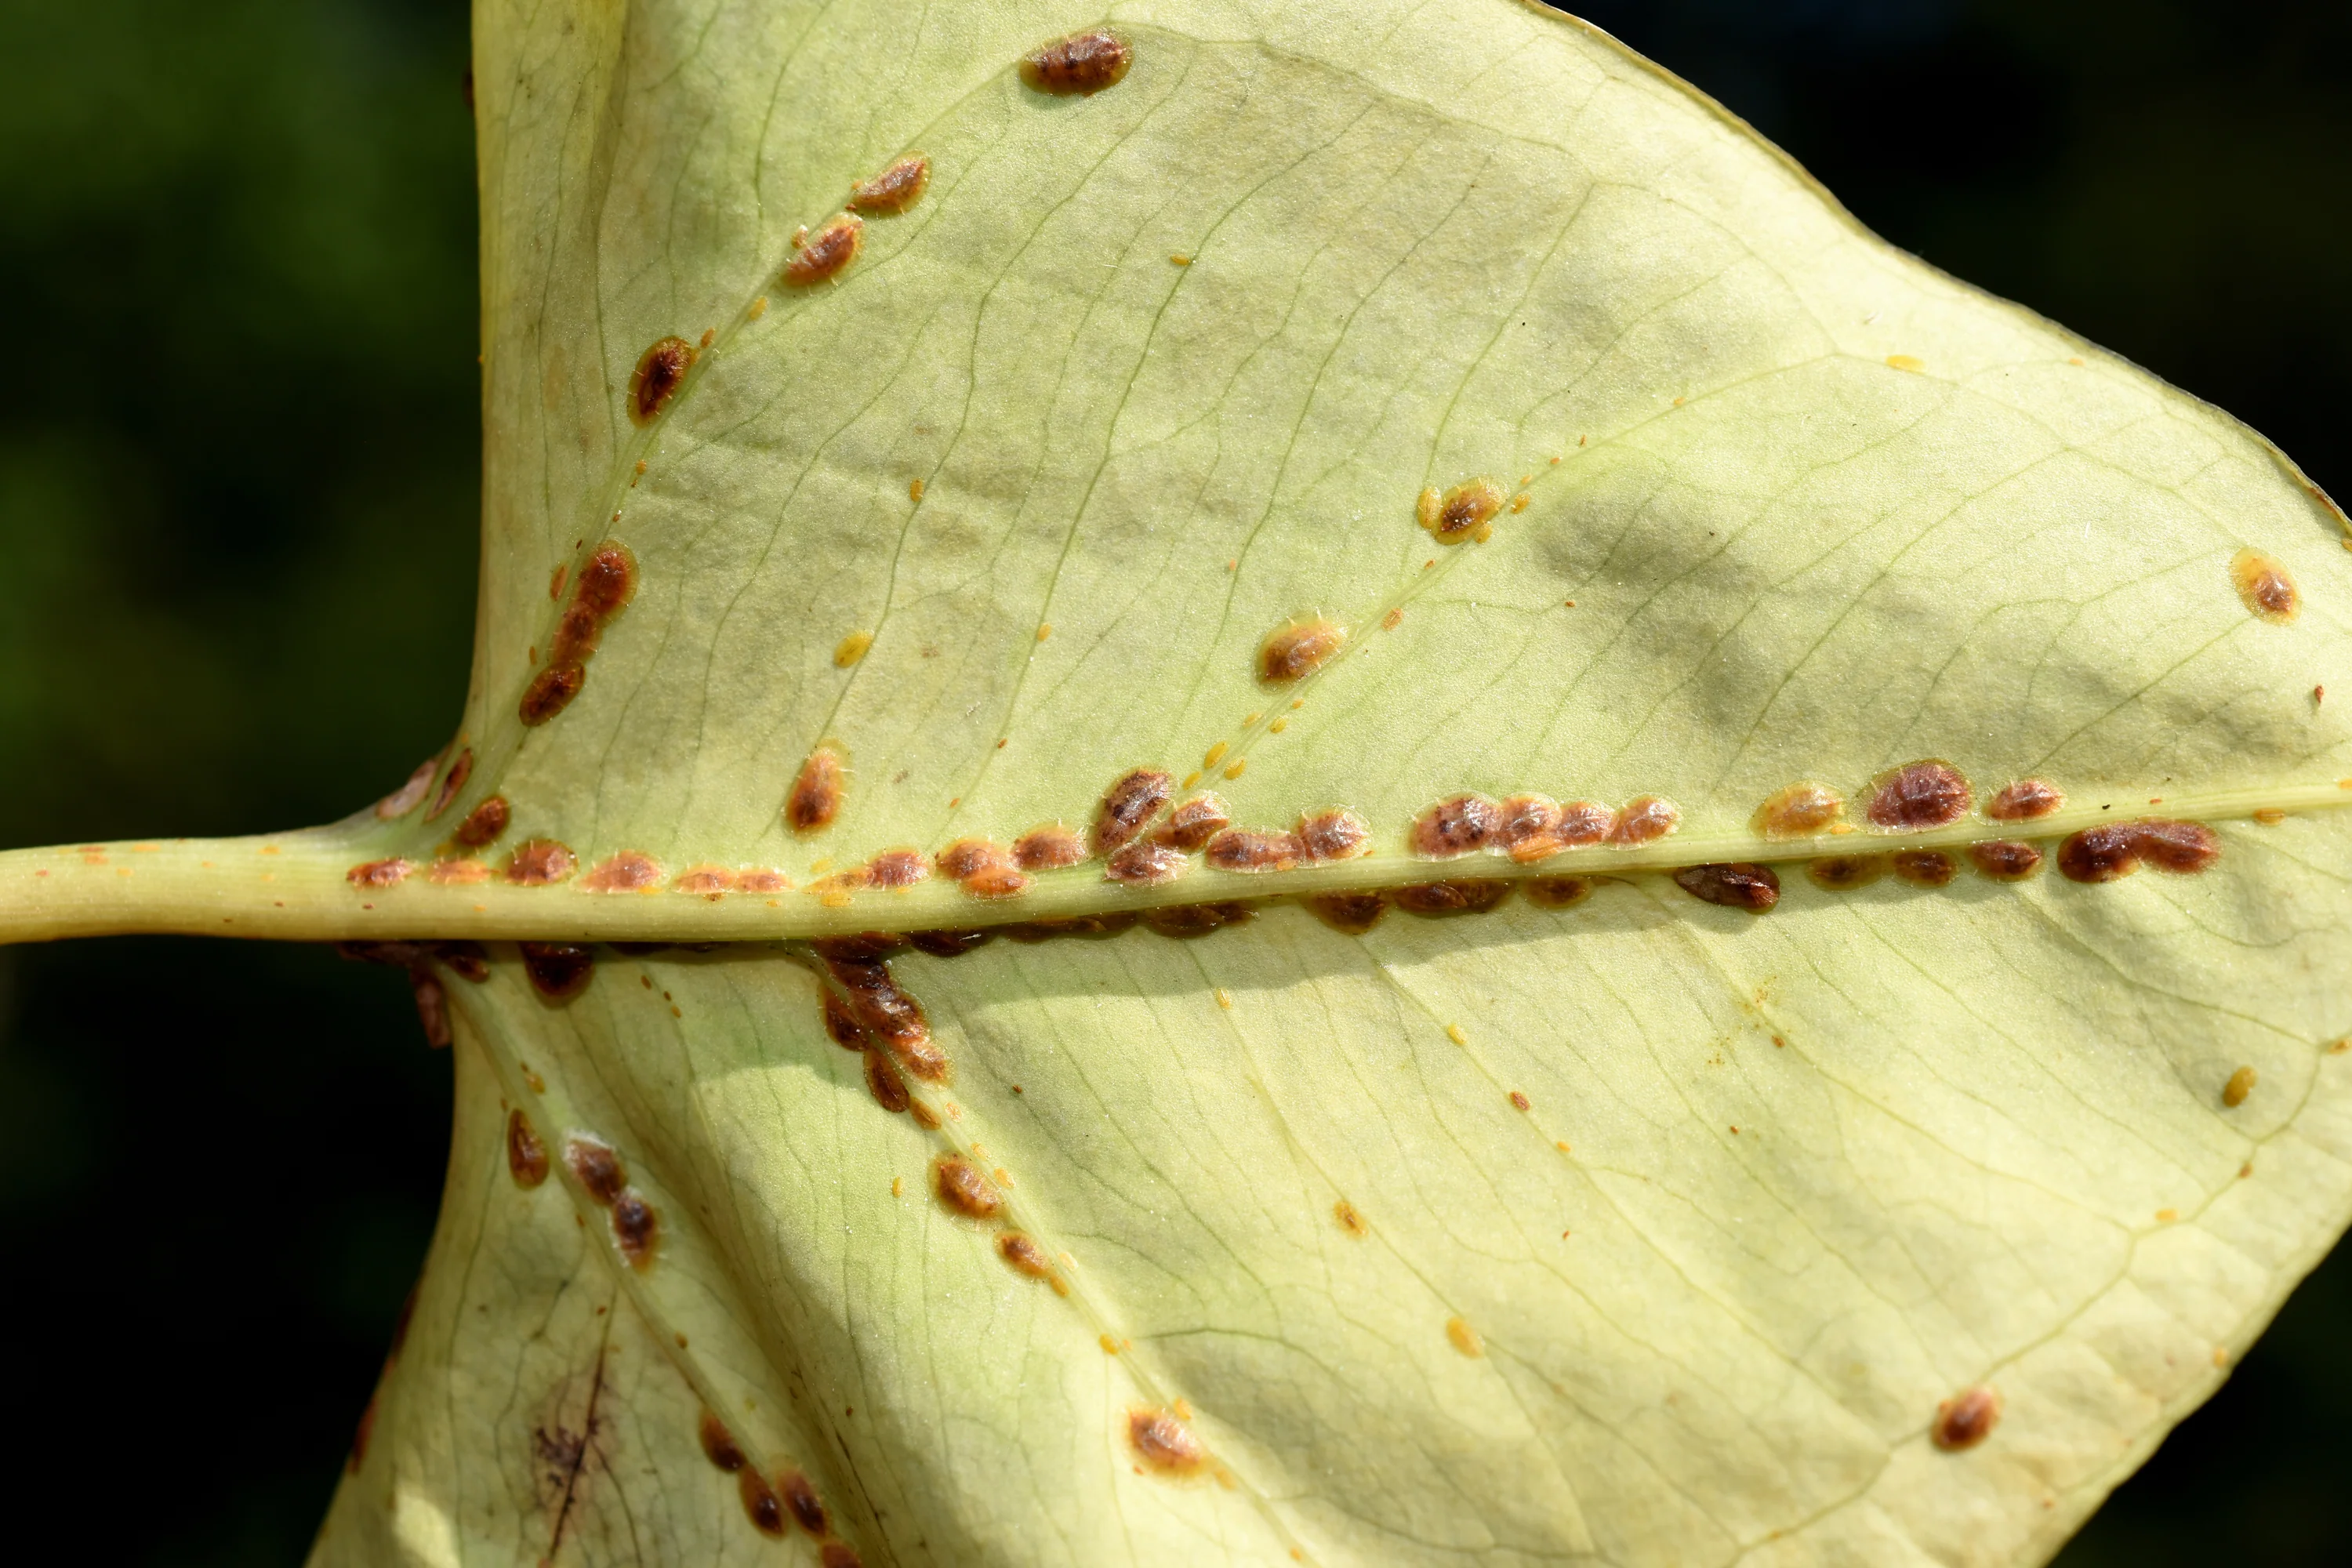
Spider mites feed by piercing leaf cells and sucking out the contents. That leaves a peppered pattern of light dots called stippling. On many plants, the top of the leaf looks speckled, dull, or bronzed.
- Roses: pale speckles on leaves, then yellowing and leaf drop if it keeps going.
- Vegetables: stippling on beans, cucumbers, tomatoes, peppers, and eggplant, often starting low on the plant.
- Shrubs: a gray-green “washed out” look, then bronzing on evergreens and broadleaf shrubs.
2) Fine webbing, usually underneath
In heavier infestations you will see very fine webbing, typically on the undersides of leaves, between leaf stems, or around new growth. Outdoors, it can be subtle until the population is high.

3) Timing clue: hot, dry weather and heat-stressed plants
Spider mites ramp up fast in heat and low humidity. If you see symptoms after a week or two of hot, dry days, especially on plants that missed a watering or are up against a hot wall or driveway, spider mites jump to the top of the suspect list.
4) Quick confirmation: the tap test
Hold a sheet of white paper under a suspect leaf and tap the leaf sharply a few times. If tiny moving dots fall onto the paper, you likely have mites. A magnifying glass helps, but you can often see movement with the naked eye in strong light.
Quick note: other tiny pests can show up in the tap test too (like thrips). Spider mites tend to look like tiny dots that crawl rather than jump or fly, and a hand lens can help you confirm what you are seeing.
Lookalikes to rule out
Before you go all-in on mite control, take a minute to make sure you are not chasing the wrong problem. These can look similar at first glance:
- Drought stress: leaf dullness, scorch, and drop without the classic stippling pattern underneath.
- Nutrient issues: more uniform yellowing or patterned chlorosis rather than peppery dots.
- Thrips: silvery scarring and black specks (frass), often on new growth and blooms.
- Lace bugs: stippling plus dark tar-like spots on leaf undersides, common on certain shrubs.
- Leafhoppers: stippling and curling with quick, wedge-shaped insects that hop when disturbed.
Why outdoor spider mites are different
Outdoors you have two big advantages: weather and predators. Rain and overhead watering can disrupt mites, and beneficial insects are already in your yard. Your job is to knock the population down and then keep conditions from favoring a rebound.
- Mites thrive in dusty, dry, still air pockets.
- Mites struggle when leaves are regularly rinsed and predators are present.
- Eggs hatch fast in heat, so one spray is rarely “done.” Repeats matter.
Step-by-step: outdoor spider mite reset
When I deal with spider mites in my beds, I follow a simple order: reduce the population mechanically first, then use selective sprays only if needed, and protect the good bugs whenever possible.
Step 1: Reduce stress
- Water the root zone if plants are drought-stressed. A stressed plant is easier for mites to overwhelm.
- Avoid high-nitrogen blasts for a week or two. Tender new growth can feed a rebound.
- Check nearby plants within a few feet, especially those touching leaves.
Step 2: Hose-spray the undersides thoroughly
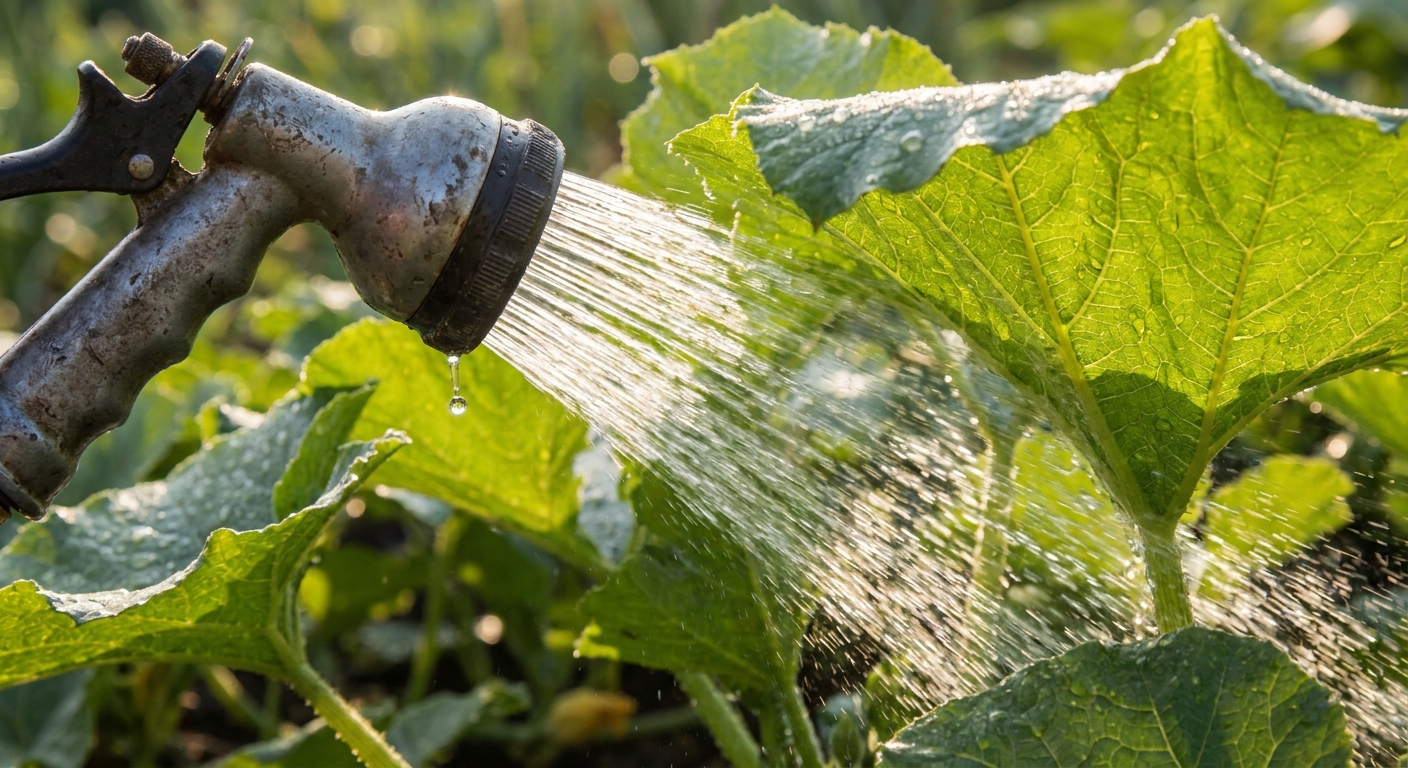
This is one of the cheapest and most effective first moves outdoors. Use a strong spray of water to physically knock mites and webbing off leaves. It is not perfect for every situation (big dense shrubs, water restrictions, or hard-to-reach plantings), but when you can do it well, it helps fast.
- Target the undersides of leaves and the inner canopy.
- Work top to bottom so you do not re-contaminate cleaned leaves.
- Repeat every 2 to 3 days for about 2 weeks during hot spells.
Best time of day: morning, so foliage dries quickly. If your plants are prone to fungal issues, keep water aimed under leaves and avoid soaking everything for hours.
Step 3: Prune the worst leaves and bag them
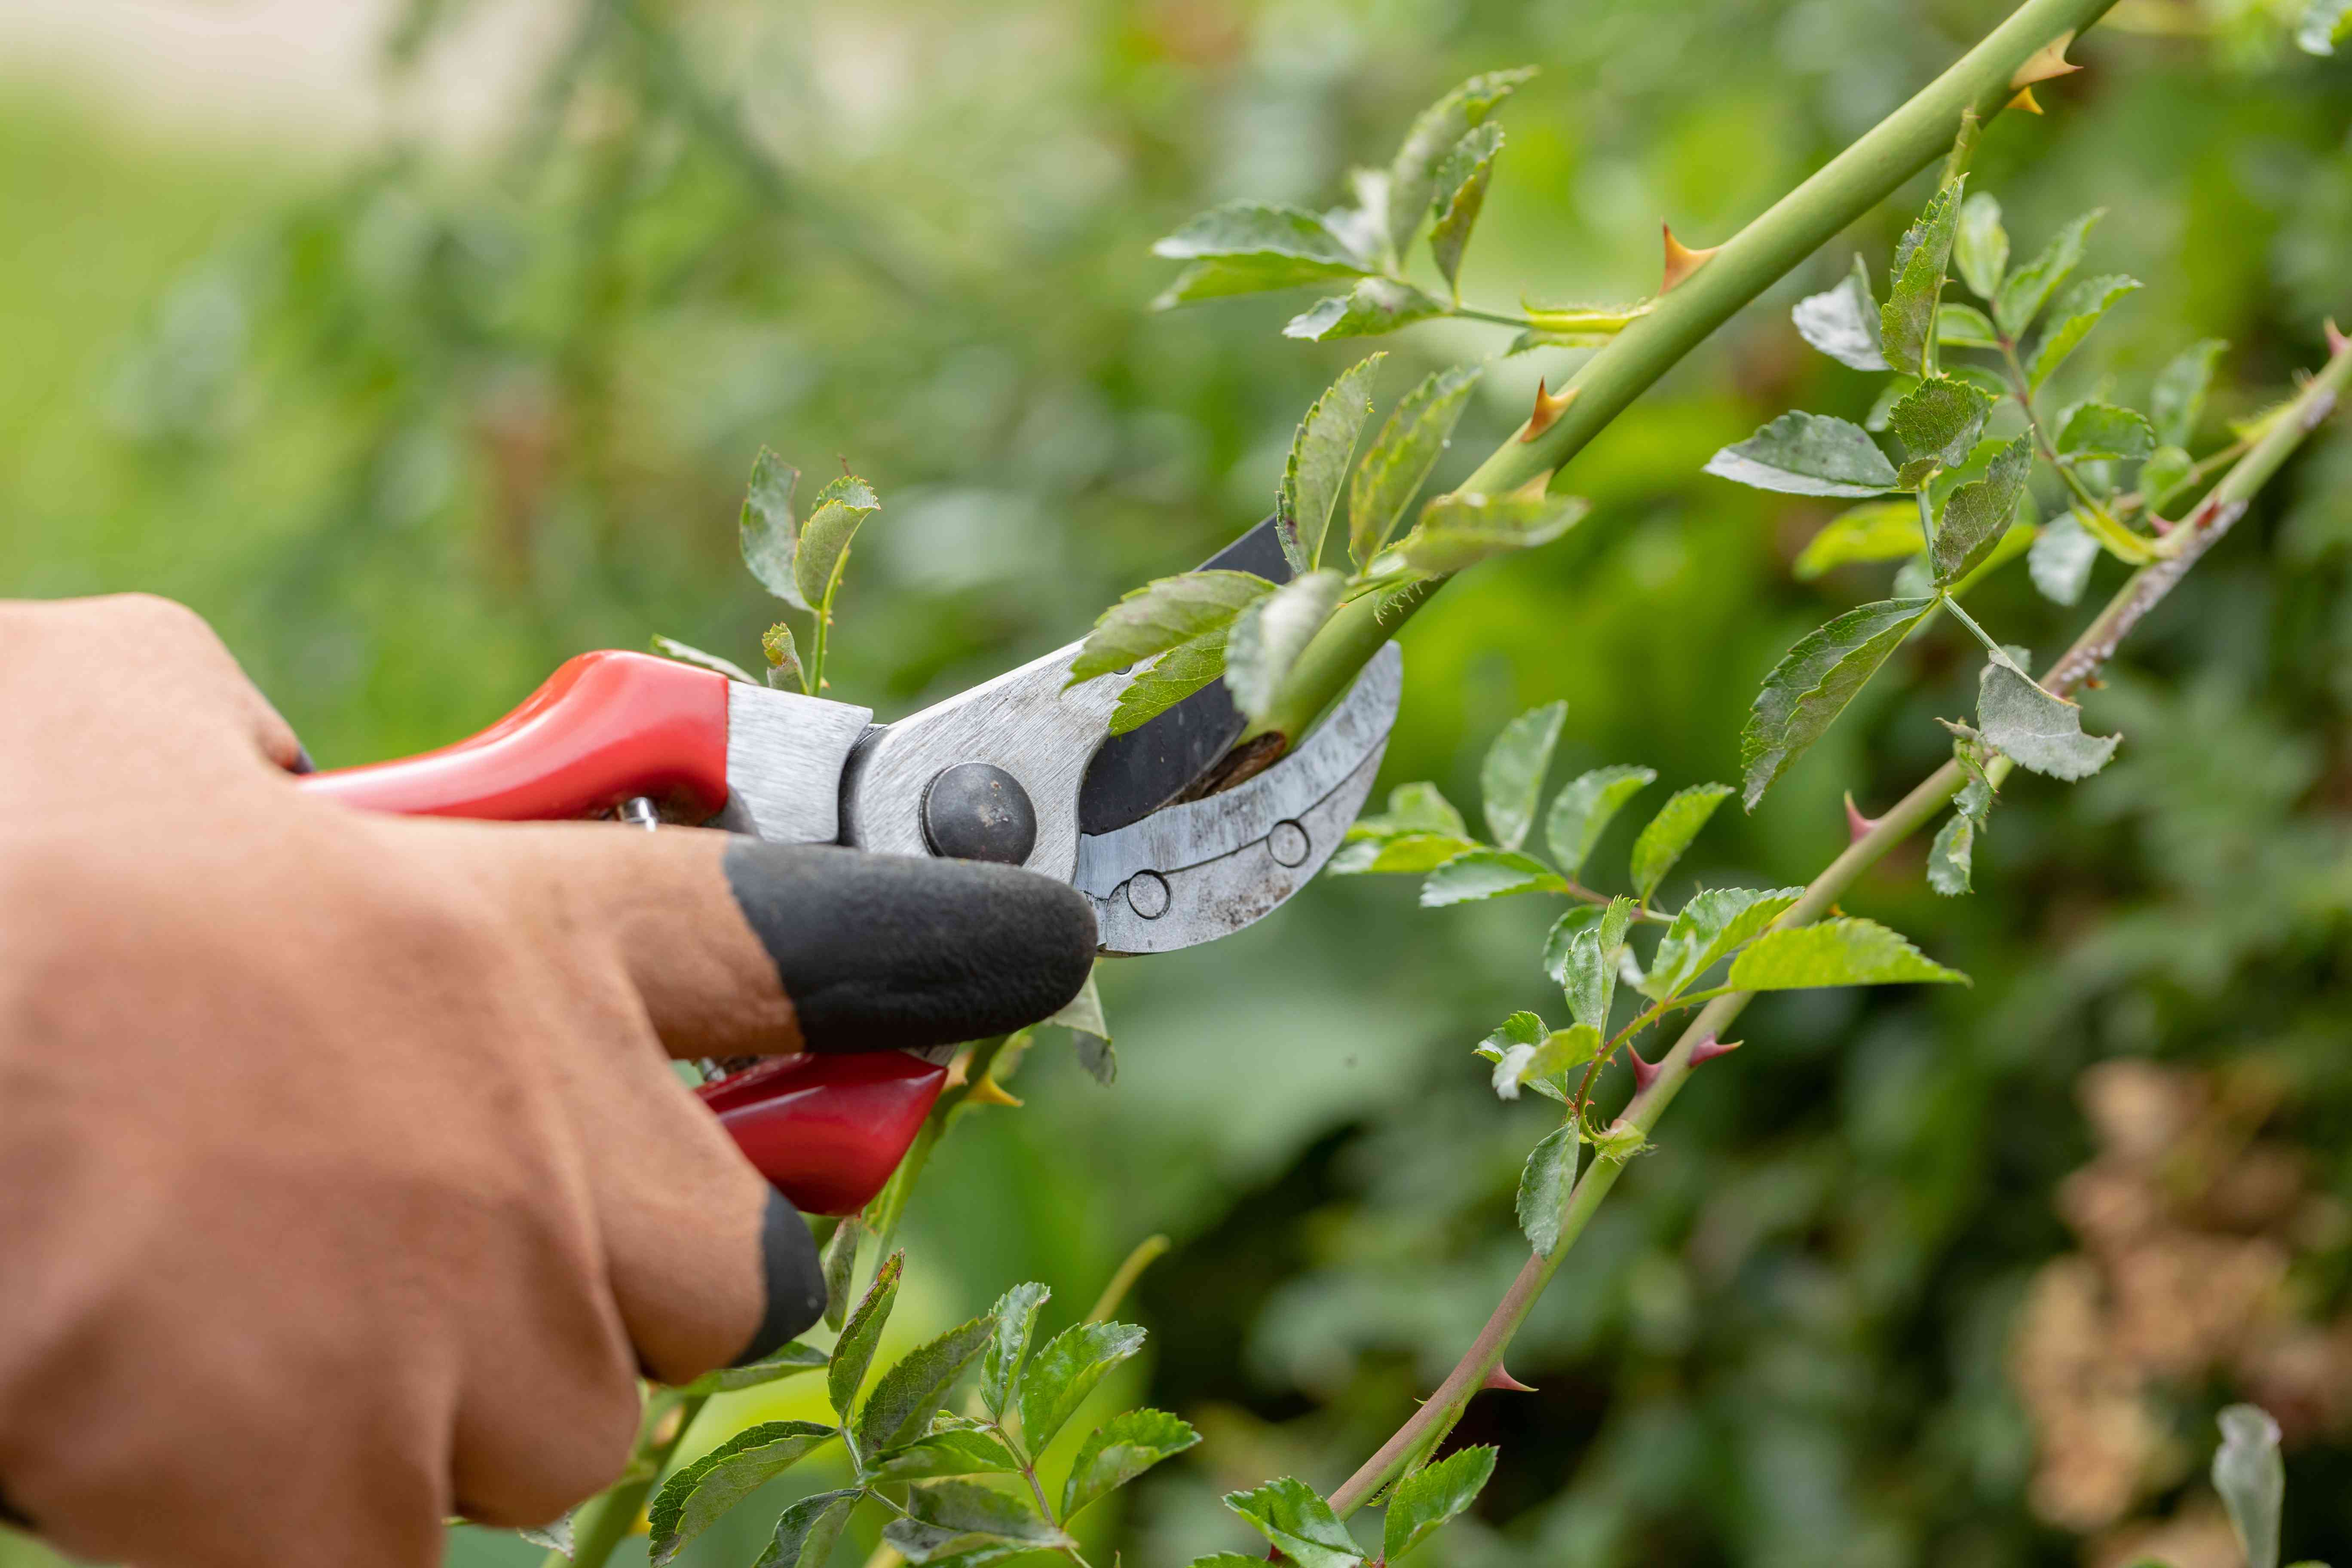
If a leaf is heavily stippled, bronzed, or webbed up, it is basically a mite nursery. Prune it out.
- Use clean pruners and remove the most infested leaves and tips.
- Put trimmings into a bag and trash them. Do not compost heavily infested material.
- Wash your hands after handling infested plants, and wipe pruner blades before moving to the next plant.
- Open the canopy a bit so air and water can reach the inner leaves.
Step 4: Decide if you need a spray
If you caught them early and you are consistent with water blasts, you may not need to spray. If you still see fresh stippling and active mites after a week, add a safe, targeted spray and keep the hose routine going.
Beneficial predators that help outdoors
Outdoors, your best long-term mite control is a yard that supports predators. If you can avoid broad-spectrum insecticides, these allies often show up on their own.
Predators to know
- Predatory mites (like Phytoseiulus or Neoseiulus species): microscopic hunters that specialize in spider mites.
- Lacewing larvae: the “alligator-looking” babies are serious predators.
- Lady beetles: they prefer aphids, but will snack on mites too.
- Minute pirate bugs: small, fast generalists that help in beds.
How to support them
- Skip broad insecticide sprays unless absolutely necessary. They wipe out the helpers first and can lead to mite rebounds.
- Add small flowers nearby (alyssum, dill, fennel, yarrow) to provide nectar and habitat.
- Reduce dust along driveways and paths. Dust favors mites and bothers predators.
If you buy predatory mites, follow the supplier’s directions closely and release them when temperatures are in the recommended range. They are living tools, not a one-and-done product.
Outdoor-safe sprays: soap and oil options
Two of the most common garden-friendly options are insecticidal soap and horticultural oil (including neem-based products). They work by contact, meaning coverage matters more than “strength.”
The reason repeats matter is simple: eggs and newly hatched mites keep coming. You are timing applications to catch the next wave, not trying to nuke the plant in one pass.
Option A: Insecticidal soap
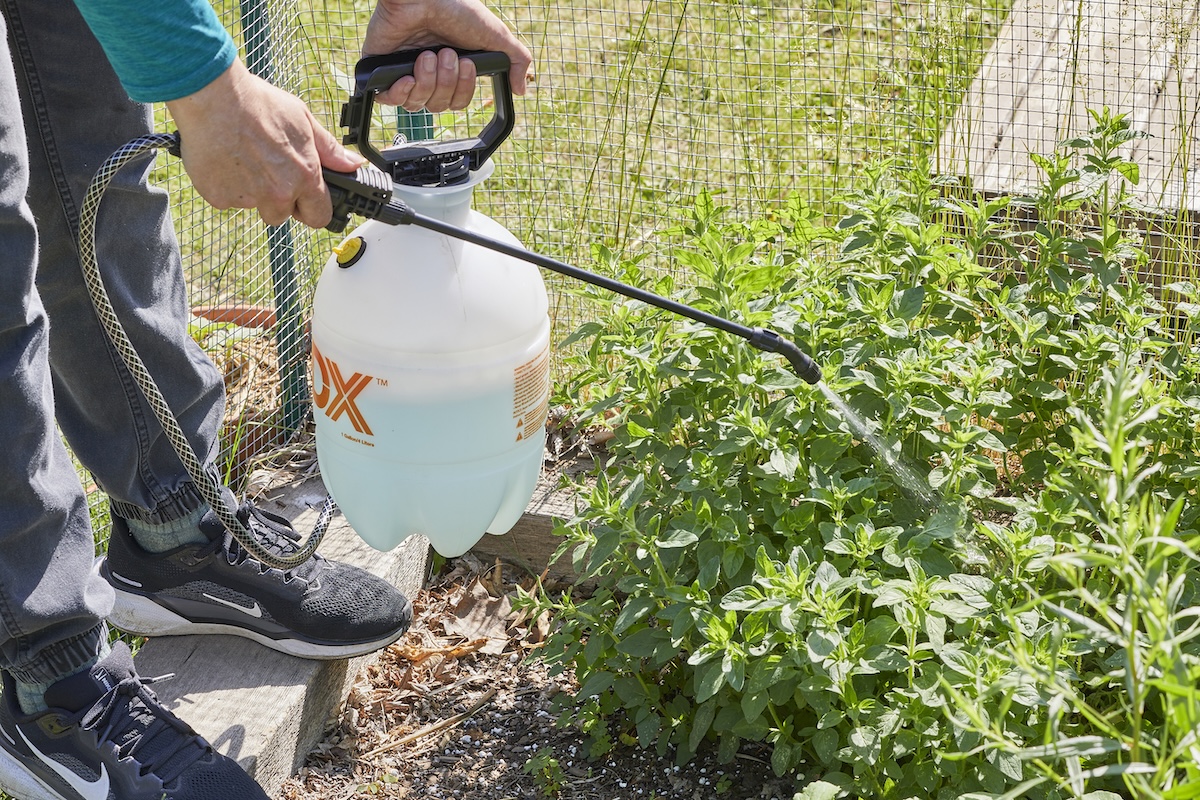
Soap sprays can knock down active mites when applied thoroughly, especially to leaf undersides. Use a product labeled for outdoor plants and follow the label rates.
- When to spray: early morning or evening to avoid leaf burn in heat.
- Coverage: spray until leaves are evenly wet, especially underneath, but not dripping excessively.
- Repeat schedule: every 4 to 7 days for 3 applications, then reassess.
My hard-learned mistake: one quick pass across the tops of leaves does almost nothing. Take the extra minute to lift leaves and hit the undersides.
On edible crops: always follow the label for where it can be used, plus pre-harvest interval (PHI) and re-entry interval (REI) if listed. These are product-specific.
Option B: Horticultural oil (including neem oil)
Oils can suppress mites and can help suppress eggs when coverage is good, but results vary by species and product. Oils are also primarily contact materials with limited leftover effect once they dry or weather off, so they still rely on good timing and repeat applications.
- Do not spray when temperatures are high. Many labels warn against use above about 85 to 90 F, but always follow your product’s specific temperature limits.
- Do not spray drought-stressed plants. Water first, then spray later.
- Repeat schedule: every 7 days for 2 to 4 applications during active outbreaks.
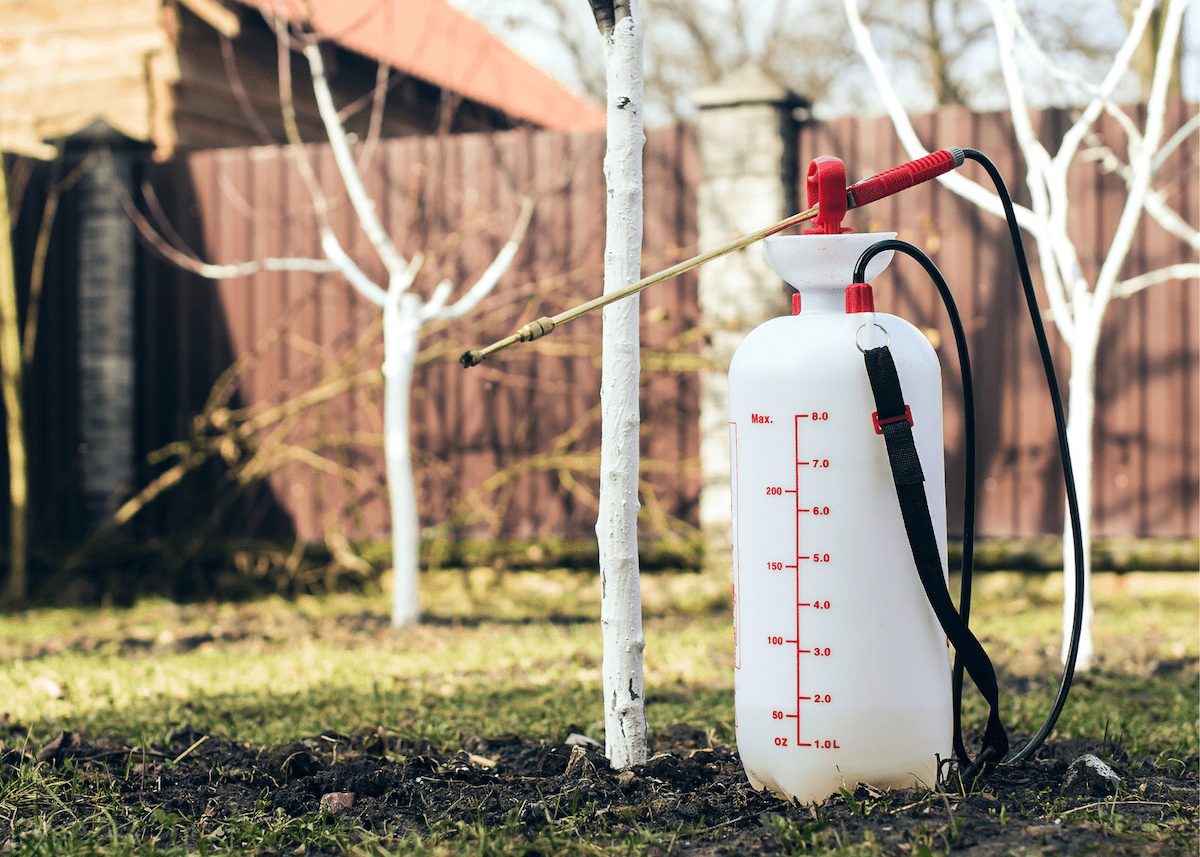
Soap vs oil
- Choose soap if you need a quick knockdown and your plants are in full sun and summer heat.
- Choose oil if temps are mild and you want slightly longer-lasting suppression than soap between applications, especially on shrubs where mites keep returning.
Spray safety tips
- Test-spray a small section first, especially on tender varieties and new transplants.
- Never spray in direct, blazing sun or during peak heat.
- Keep sprays off open blooms when possible to avoid bothering pollinators.
- Do not mix soap and oil unless the product label specifically says it is allowed.
Plant notes
Roses
- Check the undersides of lower leaves first.
- Hose-spray every few days during hot spells, then spot-treat with soap if needed.
- Prune out the worst leaves to reduce the population fast.
Vegetables
- Spider mites spread fast once plants start heat-stressing.
- Aim for consistent soil moisture and consider light mulch to reduce stress.
- Use soap sprays on the underside and repeat on schedule. Follow the label for edible crops, including PHI and REI if listed.
Shrubs and evergreens
- Look for overall dull, bronzed foliage rather than obvious webbing at first.
- Use a hose nozzle with enough pressure to reach deep into the shrub canopy.
- Oil sprays can help in mild weather, but do not spray when temperatures are high. Follow label limits.
Garden beds
- Dust control helps. A quick rinse of nearby hard surfaces can reduce dust that favors mites.
- Spacing and airflow matter. Overcrowding creates warm pockets where mites thrive.
- Do not let weeds take over. They can host mites between outbreaks.
How long it takes
Expect a 2 to 3 week effort if the weather is hot and dry, because you are fighting multiple generations. You will usually see improvement within a week, but do not quit early. The goal is to break the hatch cycle with repeats.
- Days 1 to 3: hose-spray, prune worst leaves, confirm mites with tap test.
- Week 1: keep spraying every 2 to 3 days, start soap or oil if active mites persist.
- Weeks 2 to 3: stay on repeat sprays, monitor new growth, and keep plants watered.
When to escalate
If a valuable shrub or a whole bed is getting hammered and gentle controls are not working, you may need a labeled miticide. Before you go there, make sure you are not missing the basics: underside coverage, repeat timing, and plant stress.
Common mistakes
- Spraying once and expecting eggs to magically disappear.
- Only treating leaf tops. Mites live underneath.
- Spraying in heat and burning foliage, which looks like the pest got worse overnight.
- Using broad insecticides that kill predators and can trigger mite flare-ups.
Escalate if
- Leaves are dropping rapidly and webbing is obvious across multiple plants.
- You cannot keep up with water blasts due to plant size, location, or water limits.
- Predators are absent and outbreaks keep returning despite repeat treatments.
Prevention that sticks
Once you have mites under control, prevention is mostly about keeping plants resilient and making your yard a bad place for mites to explode.
- Water consistently during hot stretches. Mulch helps.
- Rinse foliage periodically during dry, dusty weather, focusing on undersides.
- Plant for airflow and thin overcrowded growth.
- Encourage beneficials with small flowering plants and fewer broad sprays.
- Scout weekly in summer: a 30-second leaf check beats a 3-week battle.
The 30-Second Cheat Sheet
Essential takeaways for: Spider Mites on Outdoor Plants
Fast ID
- Stippling: tiny pale dots on leaf tops, dull or bronzed look.
- Fine webbing: usually on undersides and between stems once infestations grow.
- Timing: outbreaks spike in hot, dry weather, especially on stressed plants.
- Tap test: tap a leaf over white paper, look for tiny moving dots (a hand lens helps confirm).
First moves (no spray)
- Hose-blast undersides hard, top to bottom.
- Repeat every 2 to 3 days for about 2 weeks in hot weather.
- Prune and bag the worst leaves and webbed tips. Trash them, do not compost heavily infested trimmings.
- Water the root zone to reduce stress before any oil sprays.
Predator help
- Support predatory mites, lacewing larvae, minute pirate bugs.
- Avoid broad-spectrum insecticides that kill beneficials and can trigger mite flare-ups.
Outdoor-safe sprays (repeat schedules)
- Insecticidal soap: thorough underside coverage, spray in morning or evening. Repeat every 4 to 7 days for 3 rounds.
- Horticultural oil or neem: contact control with limited leftover effect once dried, best in mild temps and on well-watered plants. Repeat every 7 days for 2 to 4 rounds. Follow label temperature limits.
Biggest mistake
Spraying once, or only spraying leaf tops. Mites live underneath and eggs hatch fast in heat, so repeats and coverage are everything.
💡 Tip: Scroll up to read the full article for detailed, step-by-step instructions.
⬆️ Back to top
About Marcus Vance
Content Creator @ Grit & Home
Marcus Vance is a lifelong DIY enthusiast and self-taught home renovator who has spent the last decade transforming a dilapidated 1970s ranch into his family's dream home. He specializes in budget-friendly carpentry, room-by-room renovations, and demystifying power tools for beginners. Through his writing, Marcus shares practical tutorials and hard-learned lessons to help homeowners tackle their own projects with confidence.