
🚨 In a DIY emergency or rush?
Skip the details and jump straight to our 30-second cheat sheet for the most crucial info.
The first time my disposal started leaving little “confetti” bits of food in the sink, I assumed it was clogged or jammed. Nope. It spun fine, it drained fine, and it still acted like it had lost its appetite.
If that sounds like your situation, you are in the right place. A disposal that hums but will not spin is often jammed, but it can also be a power or start issue on some models (overload trip, bad start components), or a motor that is failing. A disposal that spins freely but leaves chunks is most often one of three things: worn grinding parts, not enough water or poor feeding technique, or you are asking it to grind foods that no intact disposal handles well.
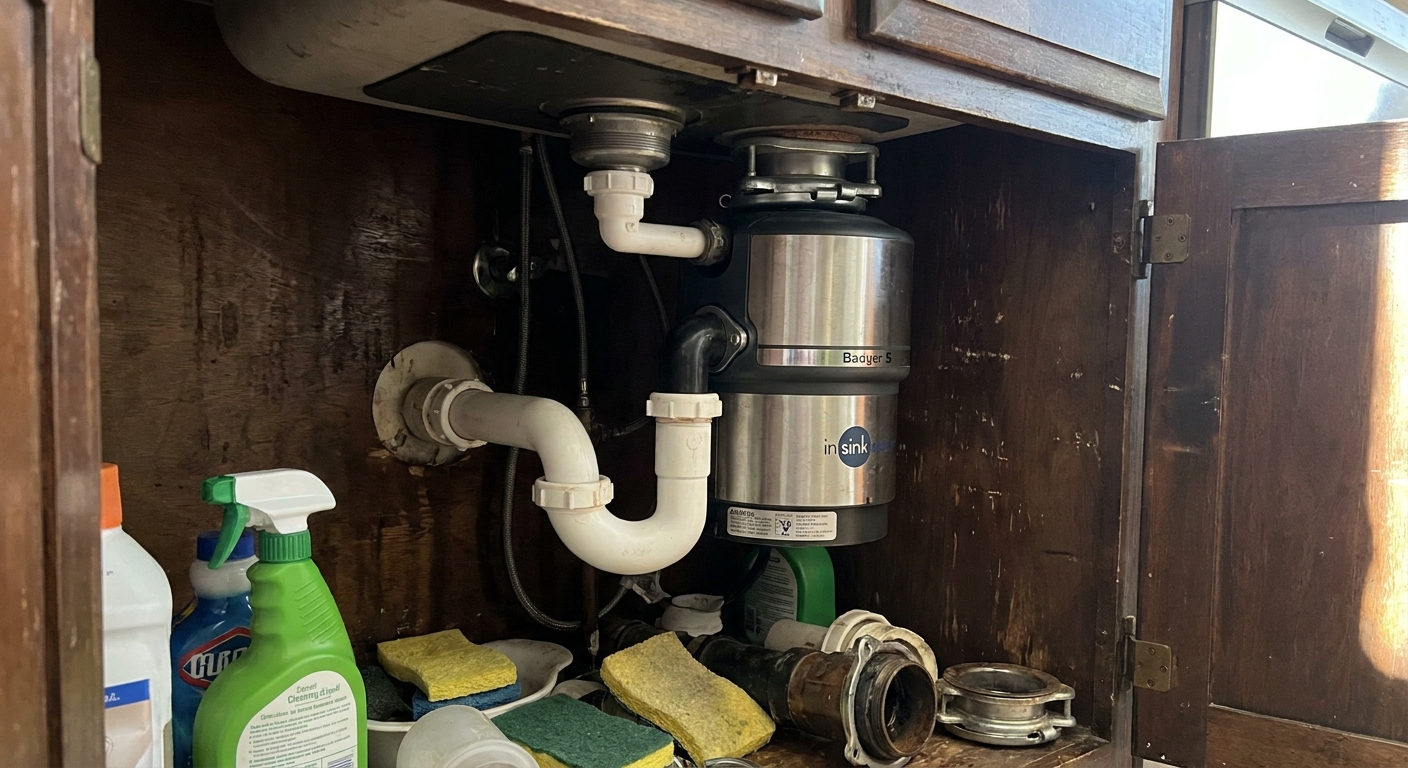
Quick safety first
I know this is basic, but it matters: never put your hand into a disposal, even if the switch is off. Unplug the unit under the sink or turn off the breaker before you do any inspection. If someone else is home, tell them what you are doing so the switch does not get flipped while your head is in the cabinet.
- Cut power at the plug or breaker.
- Use a flashlight to look down into the chamber.
- Use tools like tongs or needle-nose pliers to remove debris.
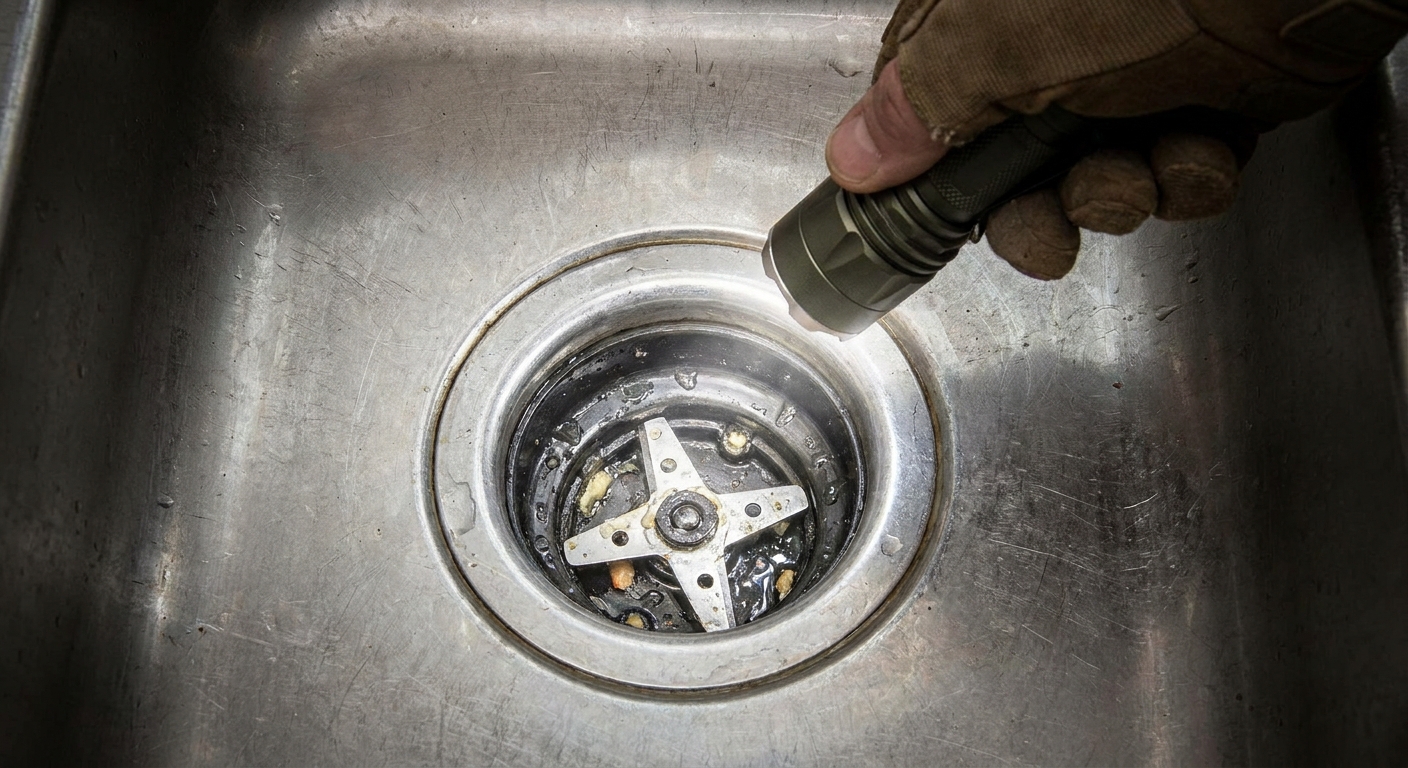
Symptoms checklist
Most readers describe some combination of these:
- The disposal clearly runs and sounds “normal,” just less aggressive.
- Food scraps swirl, bounce, and come back up in pieces.
- The sink may drain, but the other basin can burp water or push bits up.
- You have to run it much longer than you used to.
- You notice more odors because bits are hanging around in the chamber and drain line.
That points to reduced grinding efficiency, not a dead motor and not a classic jam.
What does “normal” sound like? A healthy disposal usually has a steady, even grind that quickly smooths out as the last scraps clear. When something is off, you often hear a more uneven, rattly, or “clanky” sound, like the unit is tossing food around instead of breaking it down.
Step 1: Rule out the easy stuff
1) Use enough water
This is the most common “nothing is broken” cause I see. Disposals do not magically swallow food. They grind and flush. If you run the unit with a trickle of water, food can get chopped but not carried away, and it will re-circulate until you shut it off. Then it floats right back up.
Try this method:
- Start cold water and run it at a steady stream.
- Turn on the disposal.
- Feed scraps slowly, not all at once.
- After grinding sounds smooth out, keep water running another 10 to 20 seconds to push everything through the trap and branch drain.
Why cold water? Cold keeps fats and grease more solid so they can be chopped and moved along instead of coating your drain line. Warm or hot water is not “bad” in general, but with greasy loads it can melt and spread grease down the pipe where it re-solidifies later.
2) Do not overload the chamber
If you dump a whole plate of scraps in and then flip the switch, the disposal can spin but mostly just tumble food around. Feed a handful at a time. If you have a batch of peels or leftovers, think of it like feeding a wood chipper, not a blender.
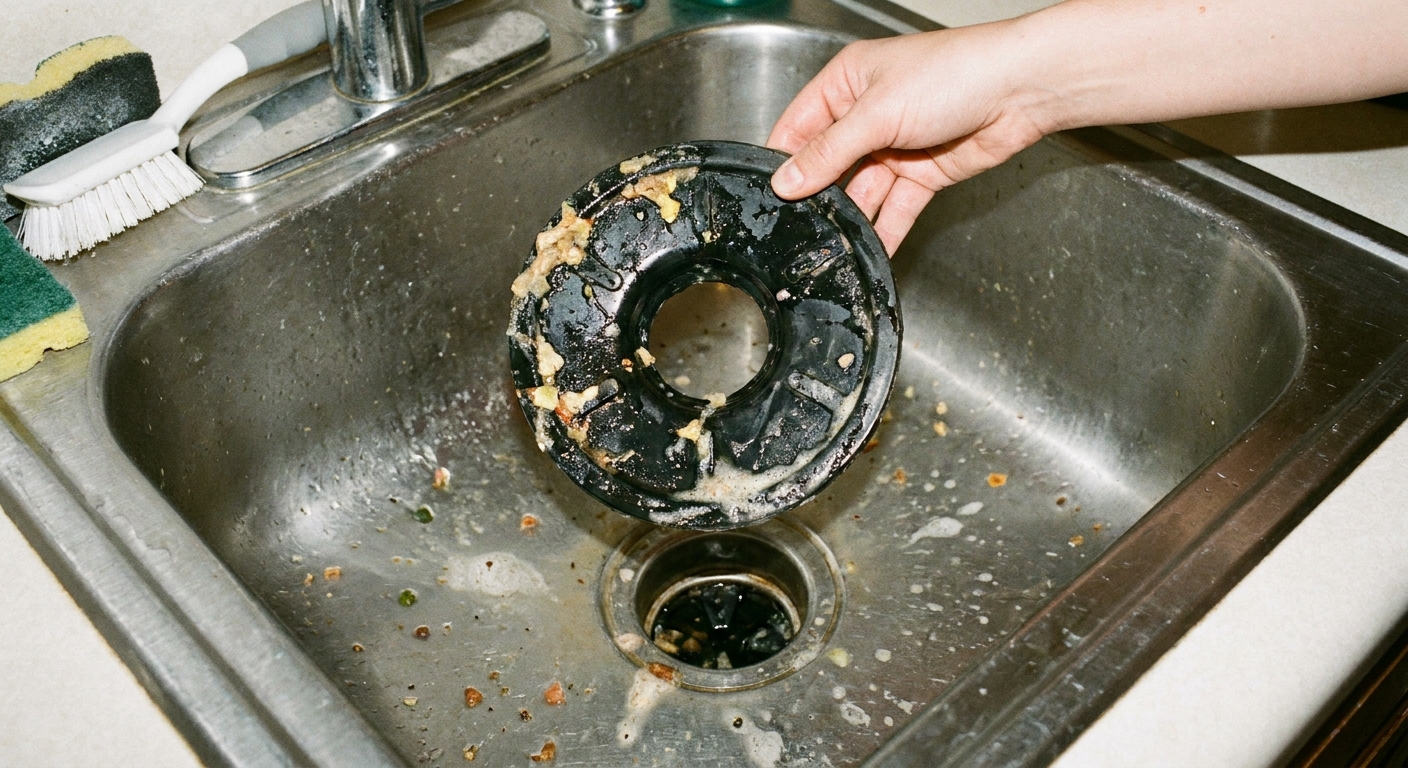
3) Clean the splash guard
Sometimes the grinding chamber is fine, but a ring of gunk under the rubber splash guard is catching bits and sending them back up. Pull the rubber guard out (some lift out, some are fixed), scrub it, and wipe the throat of the disposal.
Step 2: Check the impellers
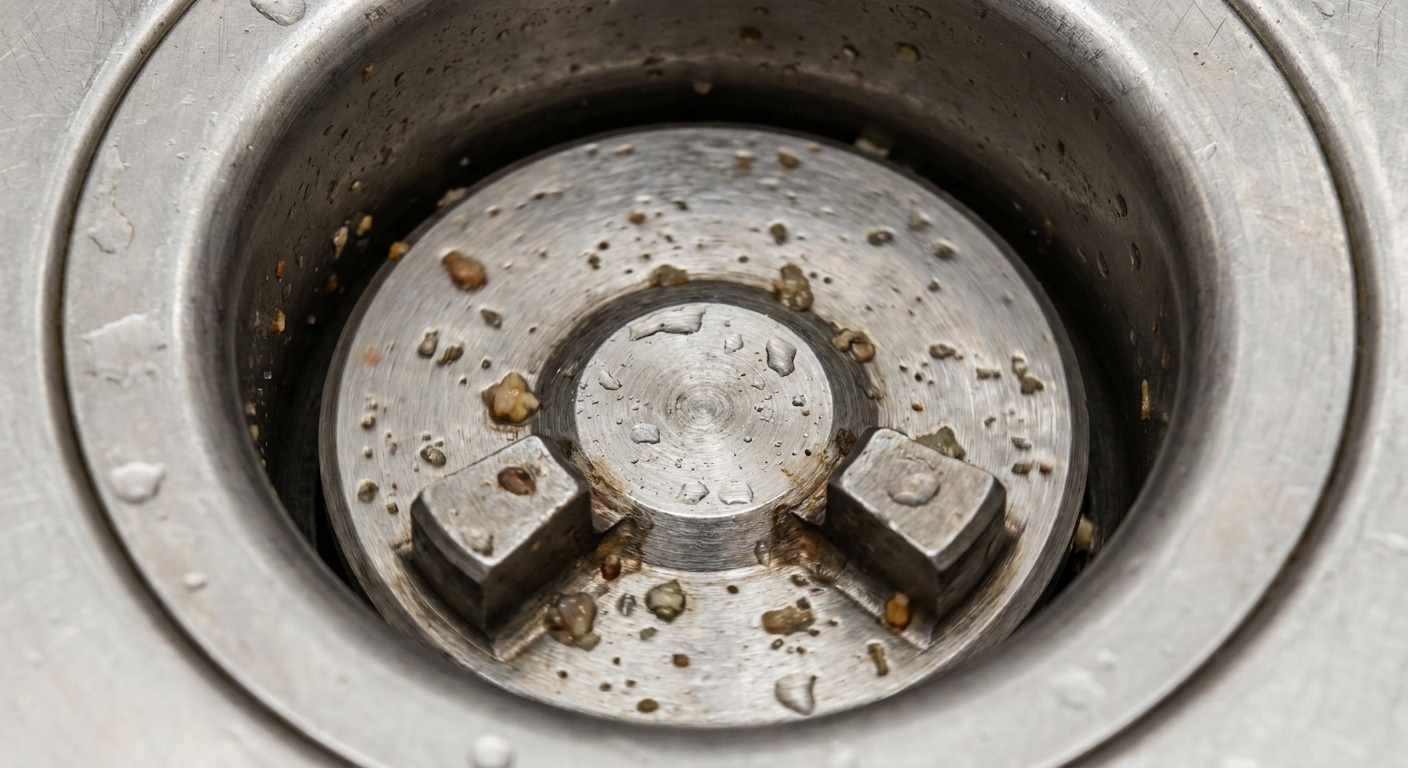
Inside a disposal, you do not have sharp blades. You have a spinning plate and swinging metal lugs called impellers (also called swiveling hammers). Their job is to fling food outward into the shredder ring on the wall of the chamber.
Over time, those impellers can:
- Wear down at the edges
- Get stiff from corrosion and stop swinging freely
- Lose their “smack” from years of hard items and grit
How to inspect impellers safely
- Cut power.
- Use a flashlight and look down into the chamber.
- With a wooden spoon handle (or a disposal wrench from below), gently rotate the plate and watch the impellers.
- You want to see impellers that swing a bit as the plate turns, not frozen in place.
If the impellers look heavily rounded off, cracked, or seized, the unit will still spin but it will not throw food into the ring with enough force to reduce it to small particles.
Can you replace just the impellers? On most residential disposals, no. They are not designed for internal part replacement. At that point, you are usually deciding between living with it or replacing the disposal.
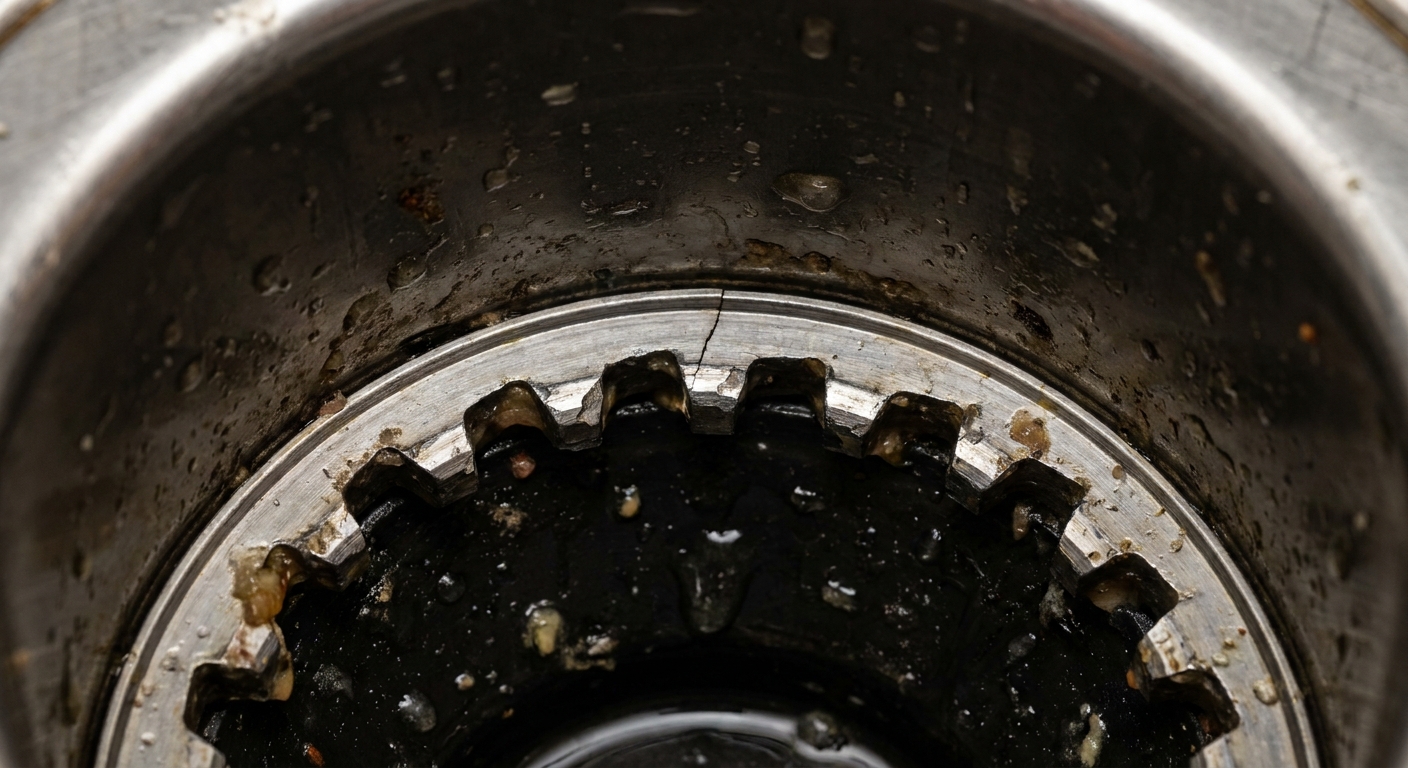
Step 3: Check the shredder ring
The shredder ring is the fixed metal ring around the inside wall that does the real work. The spinning plate throws food against that ring, and the ring’s teeth shred it down.
When that ring is damaged, a disposal can spin like a champ and still leave chunks.
Signs the shredder ring is the culprit
- You see a chip, crack, or missing tooth when you shine a light inside.
- The disposal suddenly started leaving chunks after grinding something hard (fruit pit, bone, metal spoon hit).
- You hear a different sound than usual, more uneven or clanky, even though it is not jammed.
Reality check: Like the impellers, the shredder ring is not typically a homeowner replaceable part on standard units. If it is cracked or missing chunks, replacement is usually the correct call.
Step 4: Check for a partial restriction
You said it drains, which is a good sign. But there is a sneaky middle ground: the drain can be “good enough” to pass water yet still slow enough that food bits hang around and float back up.
Here are two quick checks.
Check A: Full-sink test
- Plug the sink and fill it halfway with cold water.
- Turn on the disposal, then pull the stopper.
- If the vortex is weak and food bits surge back up, you may have a restriction in the trap, disposer elbow, or branch line.
Check B: Double sink backflow
If you have a double-bowl sink and bits pop up in the other side, that can be normal turbulence. But if it is frequent and messy, it often means the shared drain line is partially restricted.
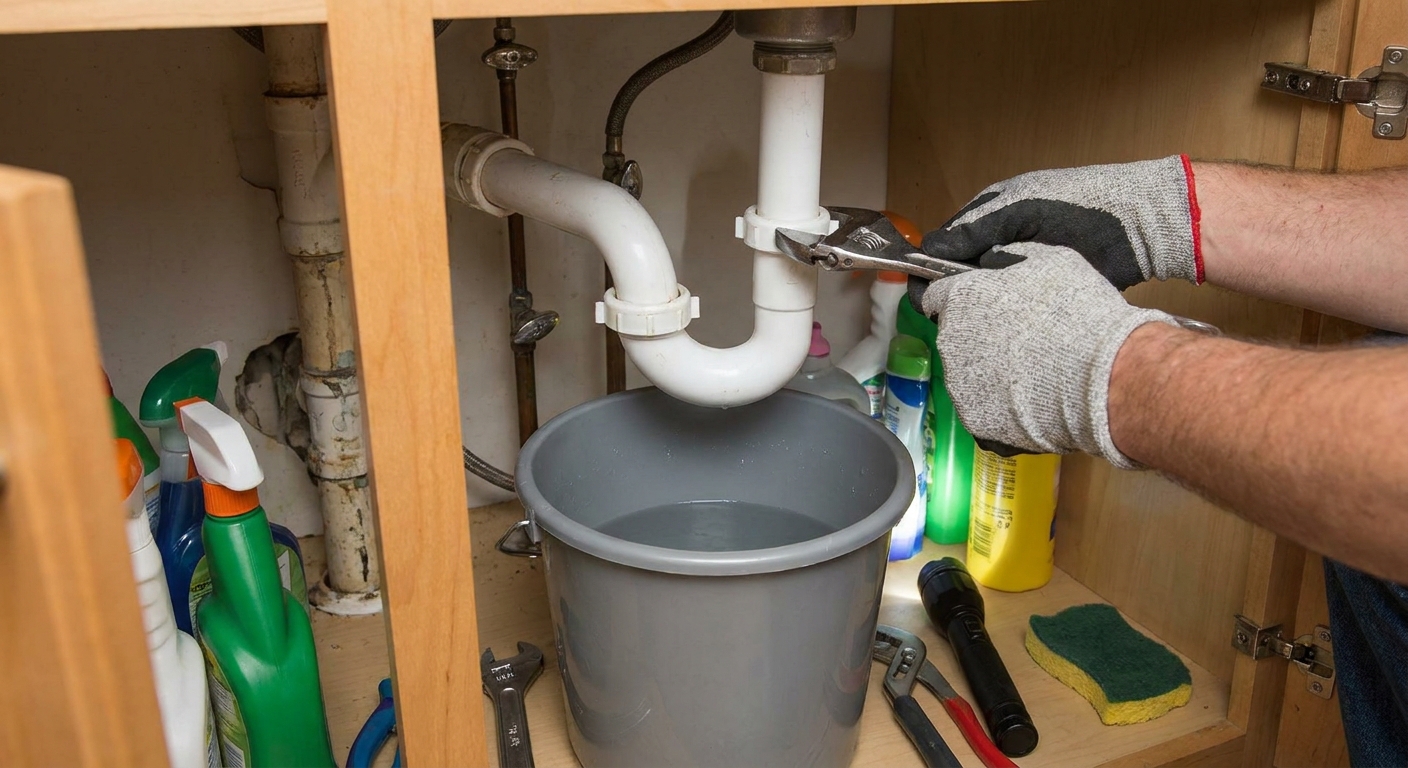
What to do: Remove and clean the P-trap (bucket and towels ready), and inspect the disposer elbow (the short outlet tube from the disposal) and the baffle washer (the rubber gasket) for buildup.
Dishwasher note: If the dishwasher drains through the disposal, check the dishwasher inlet on the disposal for gunk, and make sure the dishwasher hose has a high loop under the counter. If the disposal was recently replaced, confirm the dishwasher knockout plug was removed. A blocked port or missing high loop can contribute to messy backflow.
When to call a pro: If you have an older metal trap with corroded slip nuts, glued PVC you cannot easily take apart, signs of leaks, or you cannot clear the restriction without force, a plumber is usually cheaper than a broken pipe.
Foods that trip up good disposals
Before you decide the disposal is worn out, zoom out for a second. Technique and food type can mimic a failing unit. Sometimes the disposal is fine. It is the menu that is the problem. Here are the usual offenders that tend to come out as strings, chunks, or floating pieces.
Avoid or limit these
- Celery, corn husks, onion skins: stringy fibers wrap and resist shredding.
- Potato peels: can turn into a starchy paste that coats the chamber and pipes.
- Rice, pasta, oatmeal: expand with water and create glue-like buildup.
- Large amounts of coffee grounds: settle like silt in traps and horizontal runs.
- Eggshells: the membrane can wrap, and shells can contribute to gritty buildup and wear over time. A few will not destroy a disposal, but it is not a cleaning hack.
- Grease and fat: coats everything and traps other debris.
- Hard pits, bones, shells: can damage the shredder ring or impellers.
If your problem happens mainly with one of these foods, your fix might be as simple as composting or trashing that item instead.
Septic note: If you are on a septic system, go easy on the disposal. Even a healthy unit can send a lot of solids to the tank quickly, which can shorten pump-out intervals.
Tune up performance
If nothing looks broken and you suspect technique or minor buildup, this is the routine I use after a heavy cooking weekend. It can help, but it is not a magic reset button for worn grinding parts.
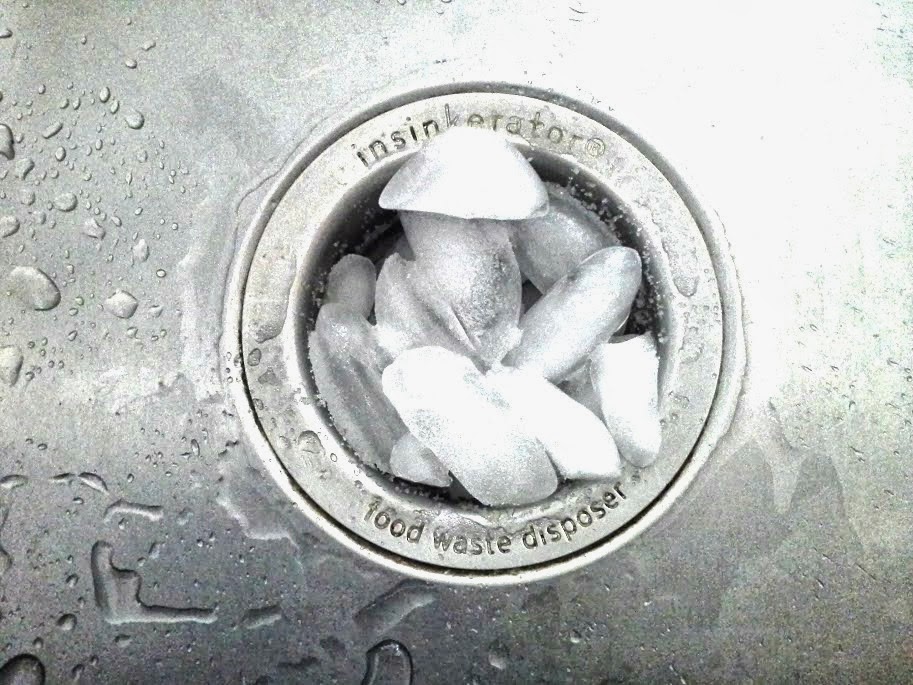
1) Ice and cold water
Ice can help knock loose soft buildup inside the grinding chamber. Run cold water, toss in a couple handfuls of ice, and run the disposal until the sound changes and smooths out.
2) A little dish soap
A small squeeze of dish soap with the ice and water helps lift grease film so it can rinse out.
Skip harsh chemicals: Drain openers and strong acids can damage metal parts and are rough on plumbing, especially if you have older pipes.
When replacement makes sense
I am all for fixing things, but disposals are one of those appliances where “repair” often equals “replace.” If the grinding parts are worn or damaged, you can waste a lot of time trying to get back performance that simply is not there anymore.
Replace it if
- The unit is often 8 to 12+ years old and performance has steadily declined (usage, brand, and water quality can move that number around).
- You can see a cracked shredder ring, missing teeth, or heavy internal corrosion.
- Impellers appear seized or badly worn and cleaning does not help.
- You get frequent leaks from the body or seals (separate issue, but often shows overall end-of-life).
- You regularly cook at home and want better results. Higher horsepower units and multi-stage grinding make a noticeable difference.
If you are already pulling the P-trap and cleaning everything and you still get chunks, a new disposal is often cheaper than repeated frustration.
What not to do
- Do not stick tools down while it is running.
- Do not use boiling water as your primary flush for a disposal, especially if grease is involved. Boiling water can soften grease and spread it down the line.
- Do not assume lemon peels fix odors. They can freshen the smell for a minute, but peels are fibrous. Use soap, ice, and good flushing instead.
- Do not keep hitting reset if the unit is spinning. Reset buttons are for overload trips, not poor grinding.
FAQ
Why does my disposal grind but food comes back up into the sink?
Most often it is too little water, overloading the chamber, or a partial restriction in the trap, disposer elbow, or branch line. If water flow is good and plumbing is clear, worn impellers or a damaged shredder ring are the next suspects.
My disposal spins and drains. Can it still be “bad”?
Yes. The motor can run fine while the grinding system is worn. Think of it like a car that starts every time but has bald tires. It moves, but it cannot do its job well.
Is this the same problem as a humming disposal that will not spin?
No. A humming, non-spinning unit is often jammed, but it can also be an overload trip, power issue, or a failing motor or start components depending on the model. If yours spins normally, focus on wear, water flow, and what you are feeding it.
Do “cleaning pods” fix chunking?
They can help with odor and light residue, but they will not fix worn grinding parts or a cracked shredder ring. For performance, water flow and mechanical condition matter more.
The 30-Second Cheat Sheet
Essential takeaways for: Garbage Disposal Spins but Leaves Food Chunks
What it means
If your disposal spins freely, the motor is usually fine. Chunky leftovers most often point to not enough water, overfeeding, a partial drain restriction, or worn internal grinding parts like impellers or the shredder ring.
Do this first (fast checks)
- Run more cold water: steady stream while grinding, then 10 to 20 seconds after.
- Feed slowly: small handfuls, not a whole plate dump.
- Clean the splash guard and wipe the throat where bits can hang up.
If it still leaves chunks
- Inspect impellers: power off, flashlight down the chamber. If impellers look worn or seized, performance drops.
- Inspect shredder ring: look for chips, cracks, missing teeth. Damage usually means replacement.
- Check for partial restriction: clean the P-trap and disposer elbow if bits keep floating back.
Foods that cause “chunky” results even in good disposals
- Celery, corn husks, onion skins
- Potato peels
- Rice, pasta, oatmeal
- Large amounts of coffee grounds
- Grease and fat
When to replace
- Unit is often 8 to 12+ years old and performance is steadily worse
- Visible cracked or chipped shredder ring
- Impellers look badly worn or stuck and cleaning does not help
Safety
Unplug the disposal or switch off the breaker before inspecting. Never put your hand inside the chamber.
💡 Tip: Scroll up to read the full article for detailed, step-by-step instructions.
⬆️ Back to top
About Grit
Content Creator @ Grit & Home
Grit is Grit & Home’s little blue clay courier, delivering big questions about the place you call home. Expect practical ideas, a raised eyebrow, and a satchel full of curiosity.