
🚨 In a DIY emergency or rush?
Skip the details and jump straight to our 30-second cheat sheet for the most crucial info.
The first time one of my burners would light for a second and then quit, I did what a lot of us do. I tried it again. And again. All I got was that quick “whoosh,” then nothing but the smell of “this is getting sketchy.” That’s your cue to slow down and troubleshoot in a safe order.
This guide is for modern, spark-ignition cooktops and ranges where the flame catches, then goes out. If you have a standing pilot setup, the diagnosis is different and I’m intentionally not covering pilot and thermocouple repairs here.
Safety first: before you troubleshoot
- Turn the burner knob to OFF and ventilate. If you smell gas, stop testing and wait several minutes before doing anything else.
- If the smell is strong or persistent, do not keep testing. Shut off the gas if you know how, leave the area, and contact your gas utility or a licensed technician.
- Do not introduce an open flame while troubleshooting a burner that is misfiring or when you smell gas. If your igniter is dead and you need to cook, follow your owner’s manual for approved manual-lighting steps.
- Keep kids and pets out of the kitchen while you’re testing.
- Have a flashlight ready so you can actually see the flame quality.
If there’s no gas smell, you can troubleshoot with short test cycles. One ignition attempt, observe, then back to OFF.
What “lights then goes out” means
When a surface burner ignites and then dies, one of these is usually happening:
- The flame is unstable and cannot hold around the burner ring, so it breaks and goes out (dirty ports, mis-seated cap, moisture, drafts, weak gas flow).
- On some models, a safety system is not detecting flame properly and the appliance shuts gas back down. This kind of flame verification is common on ovens and on certain newer cooktops, but not universal on all surface burners.
Either way, start with the easy, no-parts checks that fix the majority of cases.
Step-by-step checks
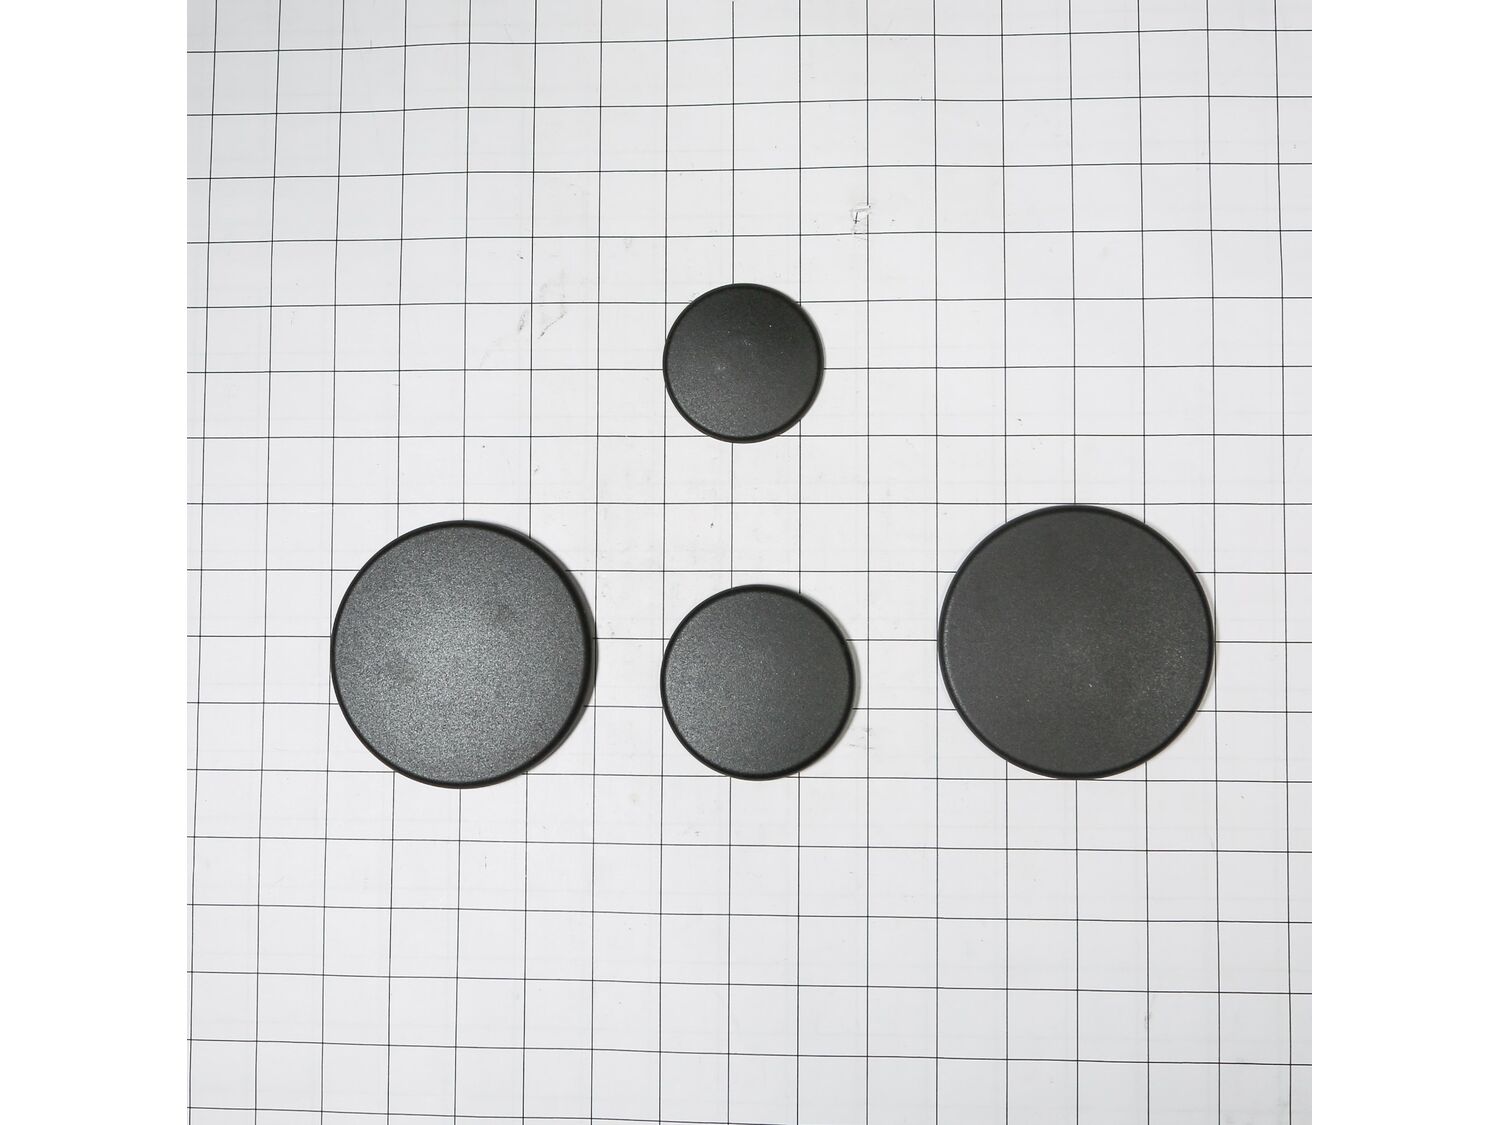
1) Seat the burner cap perfectly
This is the number one “it worked yesterday” culprit, especially after cleaning.
- Lift off the grate.
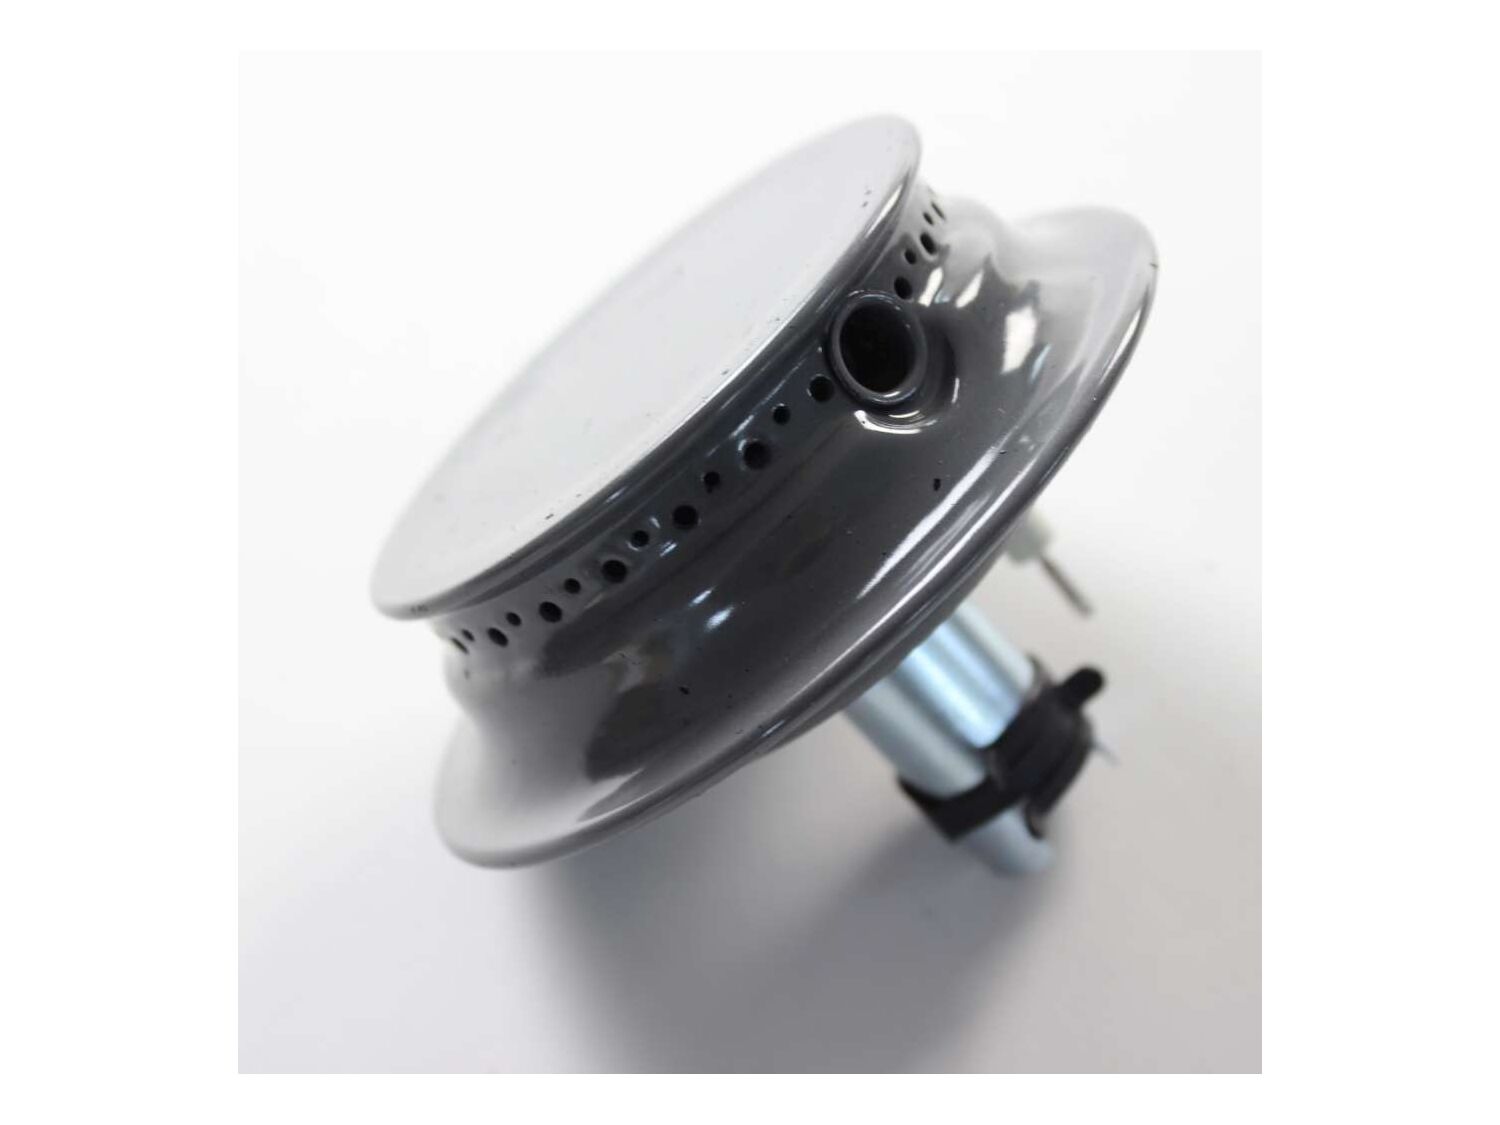
- Remove the burner cap (and burner head if your model allows it).
- If a part does not lift off easily, do not force it. Skip to wiping and drying what you can access.
- Wipe crumbs and grease off the mating surfaces.
- Reinstall so the cap sits flat and centered. No rocking.
Quick test: If the flame catches and then “runs away” to one side before going out, the cap or head is usually not sitting right.
2) Hold the knob a few seconds (if your model requires it)
Some cooktops and ranges want you to push in and hold the knob at LITE for a few seconds so the flame can stabilize. If you light it and immediately let go, it can go out and make you think something is broken.
- Try lighting the burner and holding the knob in for 3 to 10 seconds, then slowly releasing.
- If your control panel has specific instructions, follow those. Owner’s manuals vary by brand and model.
If it still dies the moment you release the knob, continue with the cleaning and airflow steps below.
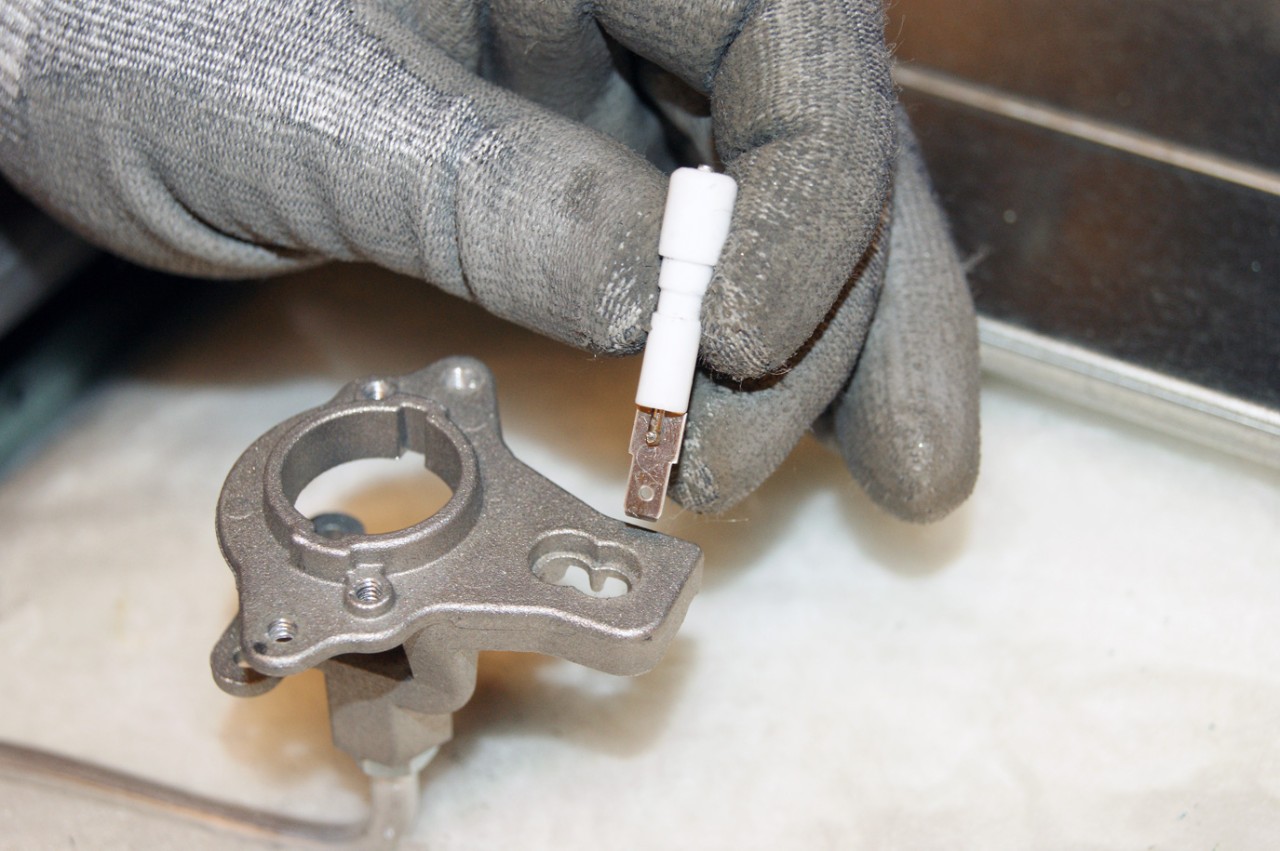
3) Dry the igniter area after cleaning
A wet spark electrode, wet burner head, or leftover cleaning residue can cause weak ignition and poor flame carry. Residue can also change how the spark jumps, or it can interfere with how the flame spreads around the ring.
- With the burner OFF and cool, dab around the igniter with a dry paper towel.
- Let the burner air-dry for 30 to 60 minutes.
- If you need to speed it up, use a hair dryer on low from a safe distance.
Watch for: Clicking that sounds normal, a flame that’s weak or “puffy,” then it dies. After drying, the flame often steadies.
4) Clear clogged burner ports
If some ports are blocked by boiled-over starch, grease, or debris, the flame can light near the igniter then fail to carry around the ring. That can make it go out while it is trying to spread.
- Remove the burner cap and burner head (if removable).
- Soak the burner head in warm water with a drop of dish soap for 10 to 15 minutes.
- Use a nylon brush or old toothbrush to scrub.
- Use a wooden toothpick to gently clear individual ports. Avoid metal that can enlarge the holes.
- Rinse, then dry thoroughly before reinstalling.
Important: Do not poke deep into the burner or disassemble gas parts below the burner head. Under the burner head there is typically a brass orifice (a small gas jet). Do not adjust or clean that yourself. Keep your cleaning to the exposed burner ports and surfaces only.
5) Check drafts and airflow
I have seen burners that would not stay lit only when a window was open or when the range hood was blasting on high. A strong cross-draft can push the flame away from the burner ports.
- Turn off the range hood for a test.
- Close nearby windows or doors temporarily.
- If your cooktop is near an HVAC register, redirect airflow and test again.
What you’re looking for: A flame that flickers hard, lifts off the ports, or blows sideways before it dies.
6) Check flame quality (and compare other burners)
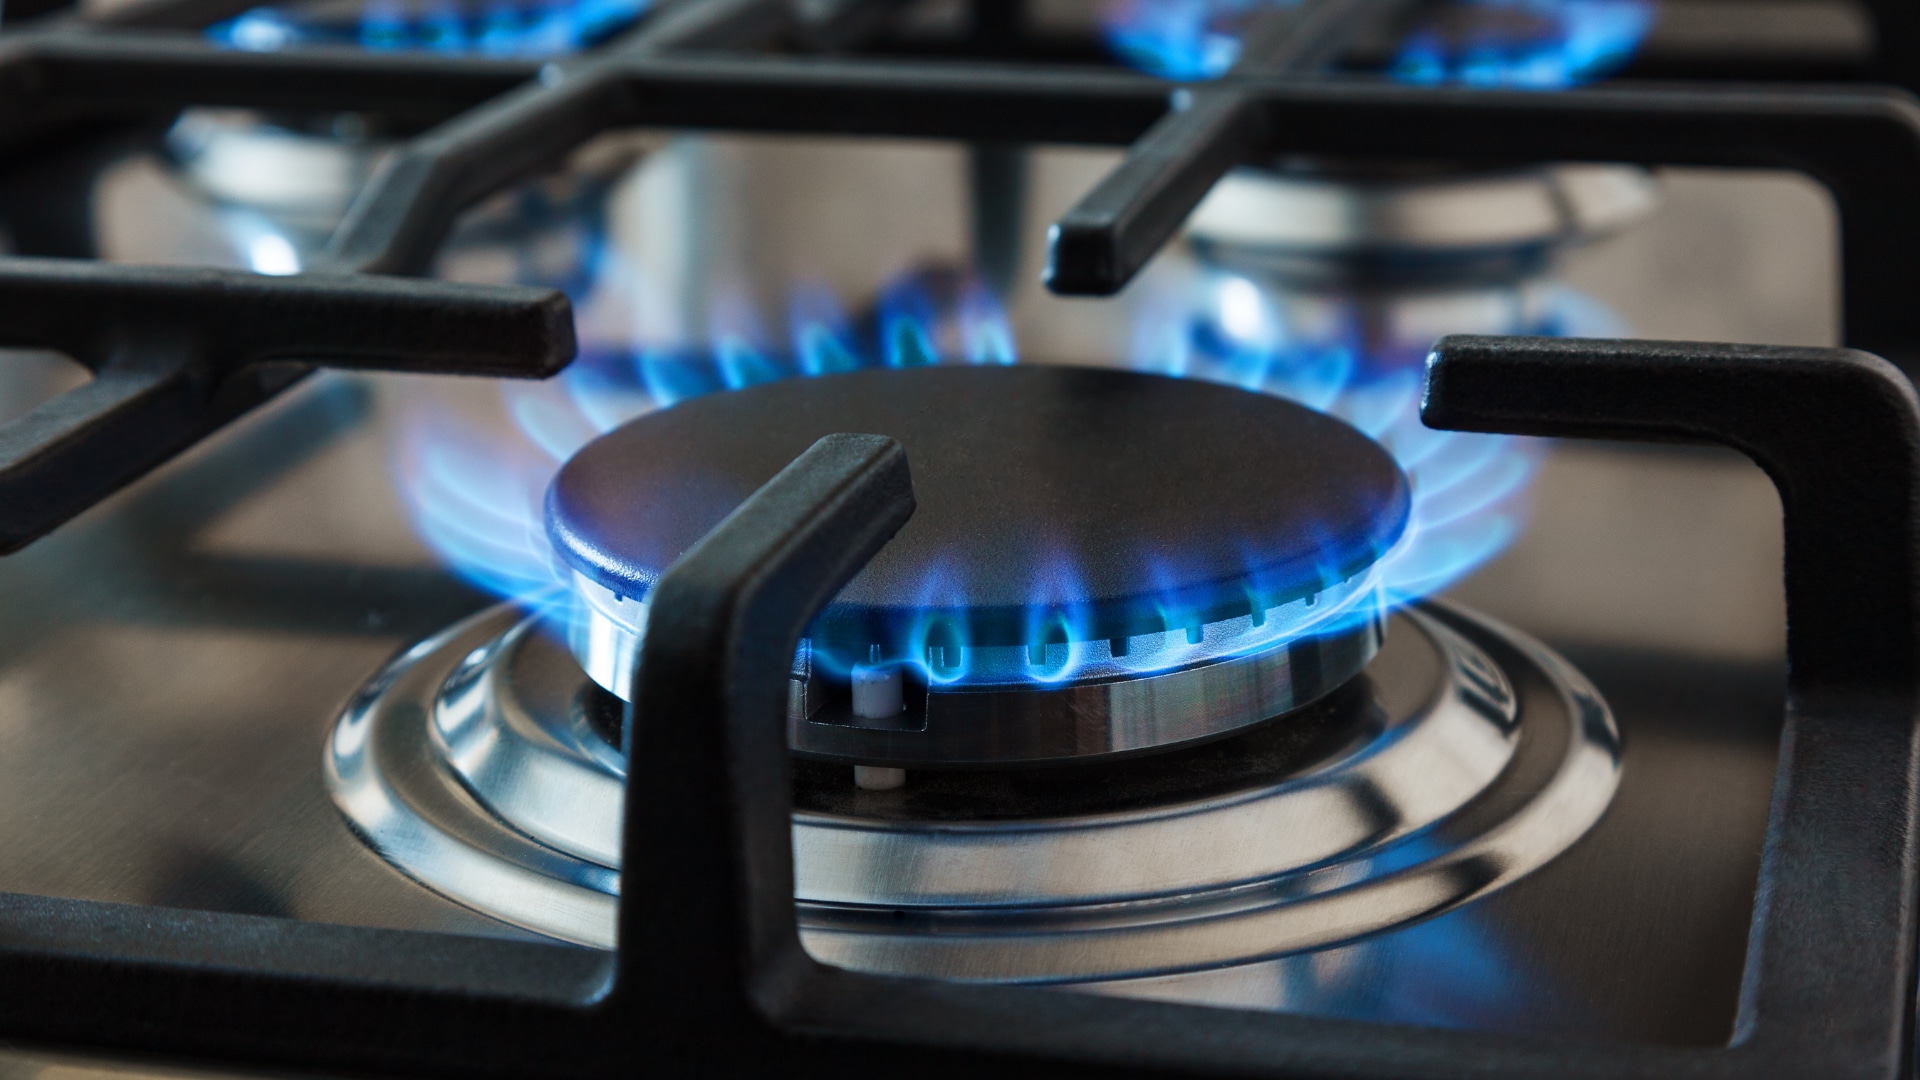
A stable burner flame should be mostly blue and evenly distributed. If it lights but looks weak, yellow, or uneven before going out, you are likely dealing with blockage, airflow, or a gas supply issue.
- Blue, steady, even ring: good baseline.
- Only one section lights: clogged ports or a wet/dirty burner head.
- Flame lifts off the burner or blows away: ports clogged, cap misaligned, or too much airflow.
- Mostly yellow and sooty: first re-check cap alignment and clean the burner. If it stays yellow and sooty after that, stop using that burner and call for service.
One more clue: If all burners look weak or keep going out, do not start adjusting anything. That can point to a supply or regulator issue, or a conversion/setup problem (especially after a move, installation, or propane versus natural gas changes). That is a pro call.
If it still goes out
If you reseated the cap, held the knob long enough, dried everything, cleaned the ports, and reduced drafts and the burner still lights then quits, the issue may be beyond normal cleaning. Depending on the model, you could be dealing with an ignition component problem, a control issue, or (on some designs) flame-detection trouble.
Signs to stop DIY
- Multiple burners are doing it at the same time.
- You get a flame, but it dies consistently within a second or two no matter what.
- The flame dies when you release the knob even after holding it in LITE for several seconds and doing the cleaning and drying steps.
- Any repeated gas smell during testing.
At this point, a licensed appliance or gas technician can safely check items like ignition wiring and grounding, valve behavior, regulator performance, and any model-specific safety systems.
Call a gas tech immediately
- You smell gas strongly or the smell persists after turning the knob OFF and ventilating.
- You see soot, heavy yellow flames, or signs of poor combustion that do not improve after basic cleaning and proper reassembly.
- The burner flame appears to burn under the cooktop surface or in a place it should not.
- The problem started right after a move, gas line work, installation, or any modification.
- You are not comfortable removing burner parts and reassembling them correctly.
There is no shame in calling this one in. Gas appliances are great until they are not, and “lights then goes out” is a symptom that can sit right on the line between a simple cleaning fix and a deeper problem.
Quick FAQs
Is it safe to keep trying to light a burner that goes out?
No. Repeated attempts can leave unburned gas in the air. Try once, observe, turn it OFF, ventilate, and troubleshoot.
Why did this start after I cleaned the cooktop?
Most commonly: a burner cap got rotated slightly off its seat, ports got clogged by loosened debris, or moisture and residue are still sitting in the burner head or around the igniter.
Can a clogged burner really make it light and then go out?
Yes. The igniter lights one spot, but the flame cannot travel around the ring. The small initial flame can sputter out if it cannot stabilize across enough ports.
What if only one burner does it?
Start with cap alignment, knob-hold timing, moisture, and clogged ports on that specific burner. Single-burner issues are often localized and fixable with cleaning and proper reassembly.
What should I not do?
Do not enlarge burner ports with a drill bit, paper clip, or metal pick. Do not adjust the gas regulator. Do not disassemble valves or try to “tune” internal gas jets.
The 30-Second Cheat Sheet
Essential takeaways for: Gas Stove Burner Lights Then Goes Out
Do this first (safe order)
- Turn the knob OFF, ventilate, and wait several minutes if you smell gas.
- Reseat the burner cap so it sits perfectly flat and centered.
- Dry the igniter area if the cooktop was recently cleaned. Let it air-dry 30 to 60 minutes.
- Clean clogged burner ports with warm soapy water and a toothbrush. Clear holes with a wooden toothpick, then dry fully.
- Eliminate drafts (range hood off, windows closed) and test again.
What the symptom usually means
- Lights then dies: flame is unstable (cap, ports, moisture, draft) or, on some models, a safety system is not detecting flame properly.
- Dies when you release the knob: you may need to hold the knob in LITE for a few seconds, or the burner is not stabilizing quickly enough.
Stop and call a pro if
- You smell gas strongly or the smell persists.
- The flame is mostly yellow or sooty after cleaning and reseating parts.
- More than one burner is affected at the same time, or all flames look weak.
- It dies consistently after cleaning, drying, reseating parts, and reducing drafts.
💡 Tip: Scroll up to read the full article for detailed, step-by-step instructions.
⬆️ Back to top
About Marcus Vance
Content Creator @ Grit & Home
Marcus Vance is a lifelong DIY enthusiast and self-taught home renovator who has spent the last decade transforming a dilapidated 1970s ranch into his family's dream home. He specializes in budget-friendly carpentry, room-by-room renovations, and demystifying power tools for beginners. Through his writing, Marcus shares practical tutorials and hard-learned lessons to help homeowners tackle their own projects with confidence.