
🚨 In a DIY emergency or rush?
Skip the details and jump straight to our 30-second cheat sheet for the most crucial info.
The first time slugs really got me, it felt personal. I had a neat row of seedlings in the evening, then came out the next morning to what looked like tiny green stumps and a bunch of shiny slime trails like someone dragged a wet shoelace through my bed. If you are dealing with the same thing, you are not alone, and you do not need to nuke your whole yard to fix it.
This is one of those problems where a little detective work and a few targeted habits make a huge difference. I will walk you through how to confirm it is slugs, then the methods that actually work: iron-phosphate bait, traps, watering timing, hand-picking, and physical barriers. No scorched-earth pesticides, no drastic measures. Just slug control.
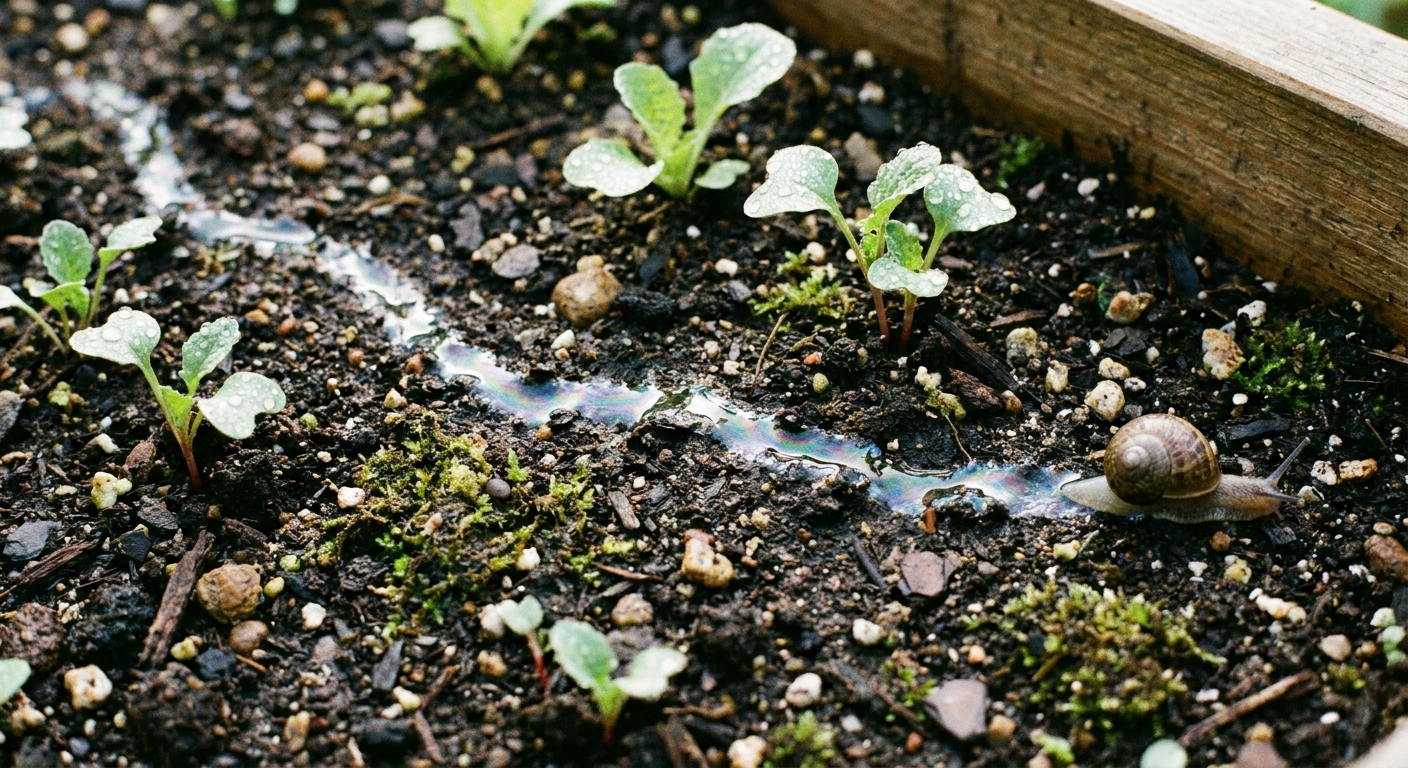
Confirm it is slugs (not cutworms)
Before you spread anything, make sure you are fighting the right pest. Slugs feed mostly at night and hide by day, so the evidence matters.
Classic signs of slugs
- Slime trails on soil, mulch, boards, stones, plant leaves, or the sides of raised beds. The trail often looks silvery when the sun hits it.
- Ragged holes in tender leaves, especially low to the ground. Think lettuce, basil seedlings, and hostas.
- Seedlings clipped or hollowed out, often with the remaining stem still standing.
- Damage is worse after rainy weather or when beds stay damp and shaded.
What cutworm damage looks like instead
Cutworms are caterpillars that usually cut young plants down right at the soil line, like someone snipped them with scissors. Here is the quick tell:
- No slime trail.
- Clean cut stem near the base, often with the whole seedling toppled over.
- They hide in the soil right around the plant. If you gently dig 1 to 2 inches around the stem, you may find a curled, gray or brown caterpillar.
If you are still unsure, do a night check. Go out 30 to 60 minutes after dark with a flashlight. Slugs will often be on the soil surface, the underside of leaves, and the edges of beds.
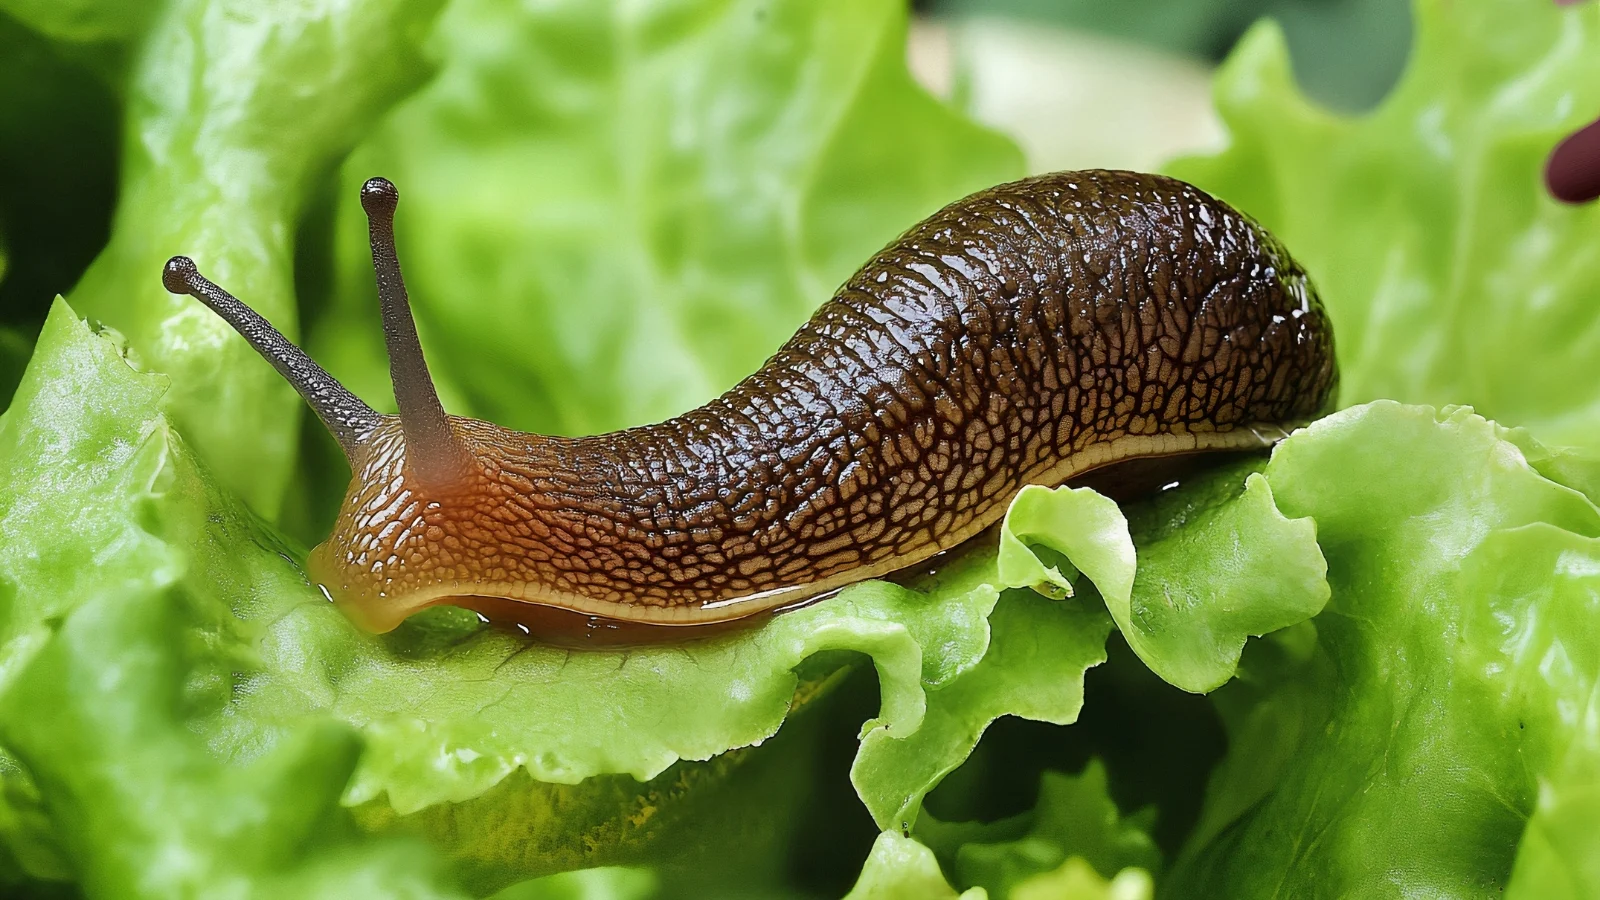
Make the bed less slug-friendly
Slugs are moisture-driven. They love shade, damp mulch, and little hiding spots. You do not have to make your garden sterile, but you can tip the odds back in your favor.
Do a quick habitat cleanup
- Pull back mulch from the base of seedlings for the first few weeks. Mulch is great later, but it can be slug cover early on.
- Clear hiding boards and debris near the bed, especially flat boards, stones, and stacked pots sitting on damp ground.
- Thin overcrowded plants so air can move through and the surface dries faster.
Slug eggs are why this matters
Slugs lay eggs in moist, sheltered spots. When you reduce hiding places and keep the soil surface from staying wet all night, you are not just stopping tonight’s feeding. You are also making it harder for the next wave to hatch right in your bed.
Watering timing: the simplest change with a big payoff
If you only do one “free” fix, do this: water in the morning instead of the evening. Evening watering keeps the surface damp all night, which is basically a welcome mat for slugs. Morning watering gives plants what they need while letting the top layer dry by nightfall.
If you run drip irrigation, keep it tight and targeted. If you hand-water, aim at the soil, not the leaves, and avoid soaking the whole bed when only the root zone needs moisture.
Night patrol: the fast, free reset
If seedlings are getting chewed down to nubs, a short burst of hand-picking can make a real dent fast. I know it is not glamorous, but it is effective.
- Go out with a flashlight 30 to 60 minutes after dark, especially after rain or a cool, damp evening.
- Check bed edges, undersides of leaves, and anywhere mulch meets soil.
- Collect and dispose of slugs according to your preference and local guidance. The key is getting them out of the bed area so they are not right back at it the next night.
Do that for 2 or 3 nights in a row and you often knock the population down enough that the other methods actually hold.
Iron-phosphate bait: my go-to when seedlings are getting hammered
When slugs are actively wiping out seedlings, you want something that works while you sleep. For most home gardens, iron-phosphate slug bait is the first product I reach for.
Why iron phosphate is the better bait choice
- It is effective on slugs and snails when used correctly.
- It is generally considered lower risk around pets and wildlife than older-style baits made with metaldehyde.
- It tends to fit a living-garden approach, since you are not blanket-spraying broad insecticides.
One important detail: check the active ingredients. Some products marketed as “iron phosphate” also include other actives, such as spinosad. That can change how you want to use it and where, so read the label like it is part of the job.
How to apply it so it actually works
- Follow the label first. As a practical habit, I like applying in the evening when slugs start moving.
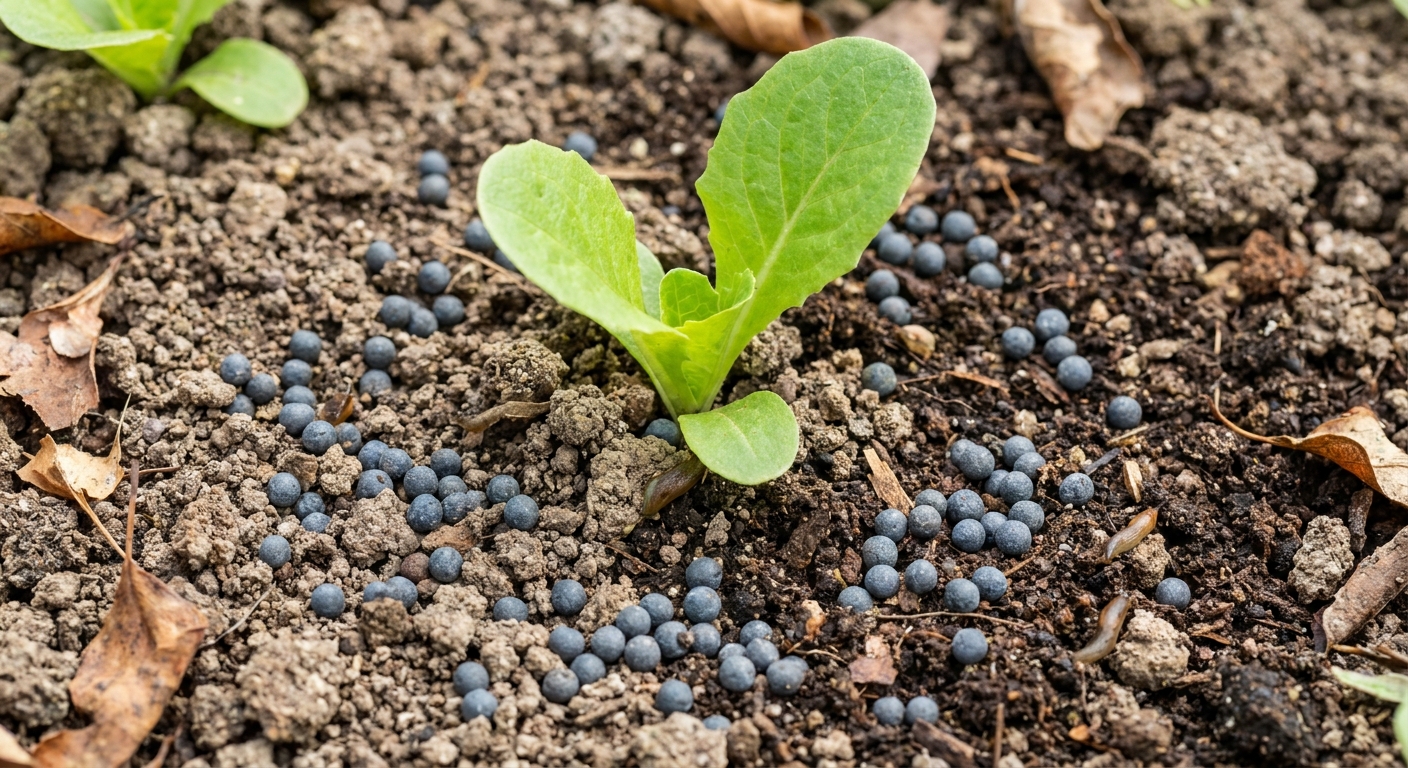
- Scatter pellets thinly around vulnerable plants and along bed edges. More is not better. A heavy pile can attract pets and wastes product.
- Reapply after heavy rain or irrigation that breaks pellets down. Also know that very wet conditions can make pellets moldy or less appealing.
- Target the hot spots like shady corners, dense groundcover edges, and the damp side of a raised bed.
Slug traps that help (and where to place them)
Traps are best as part of a one-two punch: reduce habitat, then trap the ones that are still active. In my yard, traps also show me where the slugs are traveling so I can focus bait and barriers where it counts.
Board trap
This is the thrifty one I use a lot because it costs basically nothing.
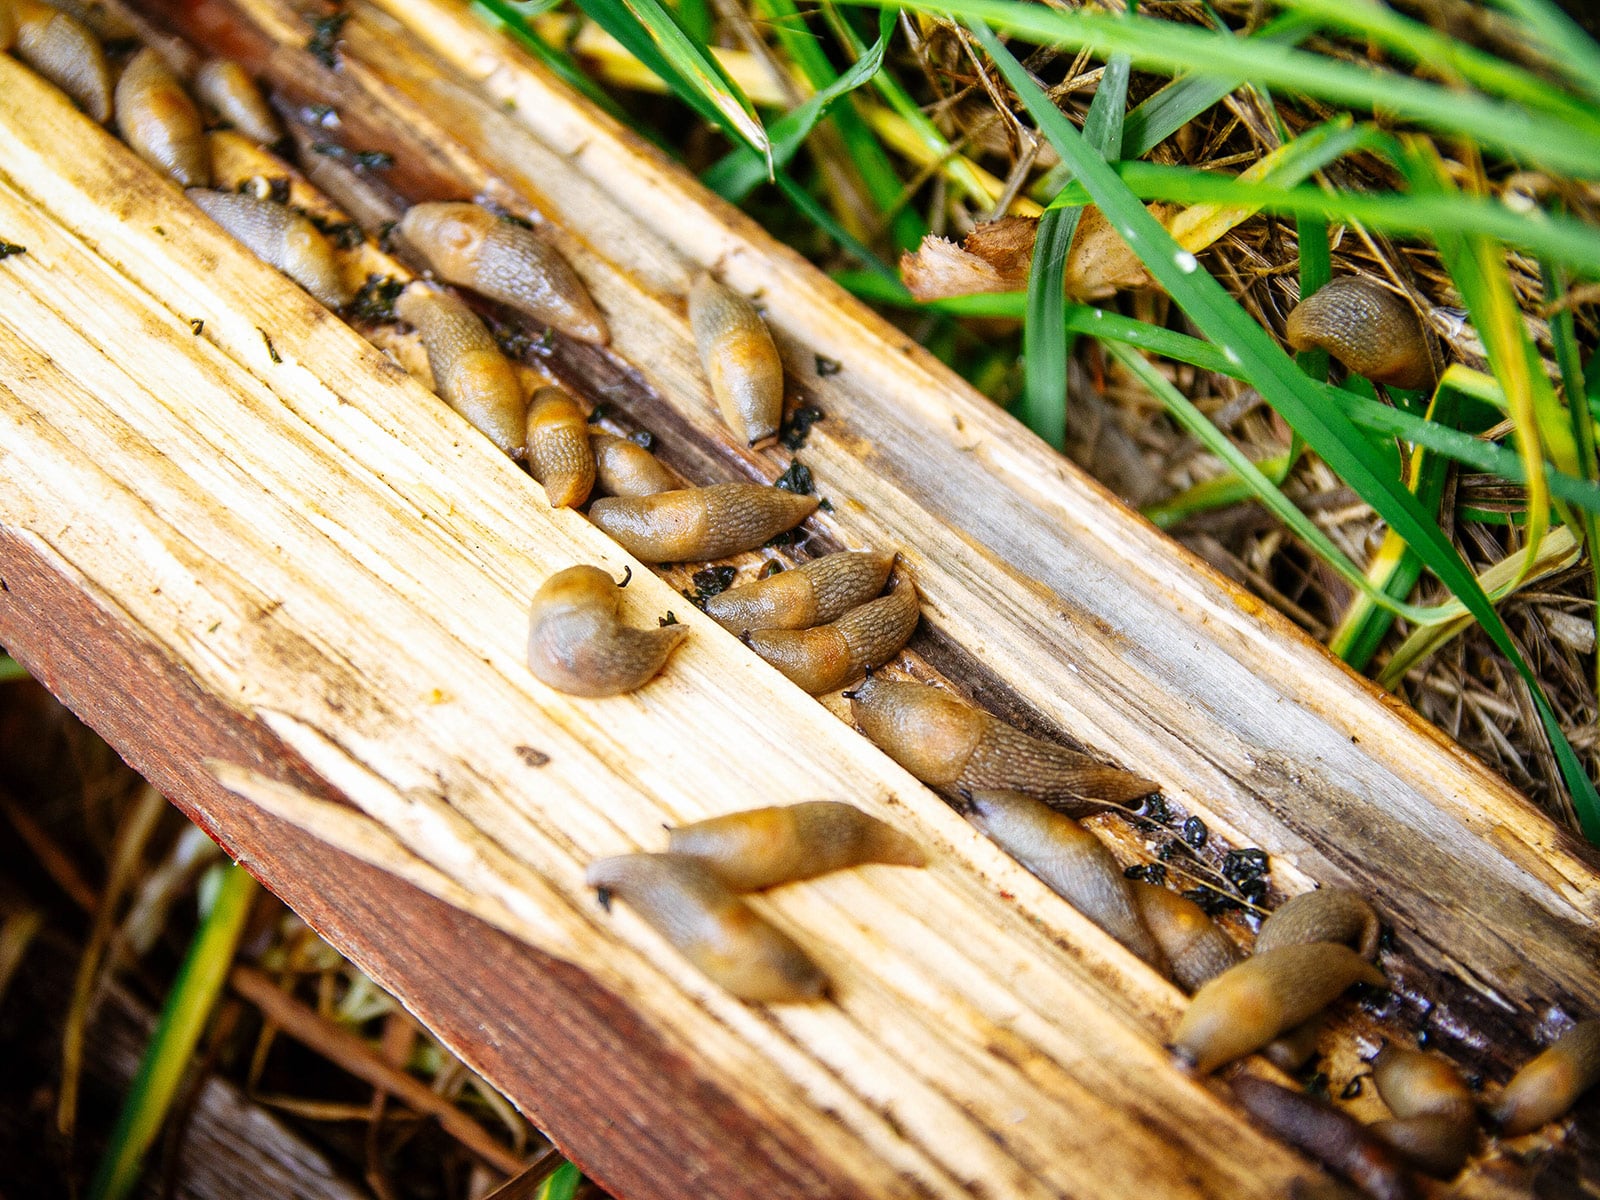
- Lay a flat board, a scrap of plywood, or a piece of damp cardboard on the soil near damaged plants.
- In the morning, lift it up. Slugs will often be tucked underneath.
- Collect and dispose of what you find according to your preference and local guidance.
Placement tip: put board traps right along the edge where mulch meets soil, or where plants meet a shaded area.
Barriers that block slugs without chemicals
Barriers work best for protecting high-value plants and new transplants. The key is making a perimeter that is hard for a slug to cross and easy for you to keep in place.
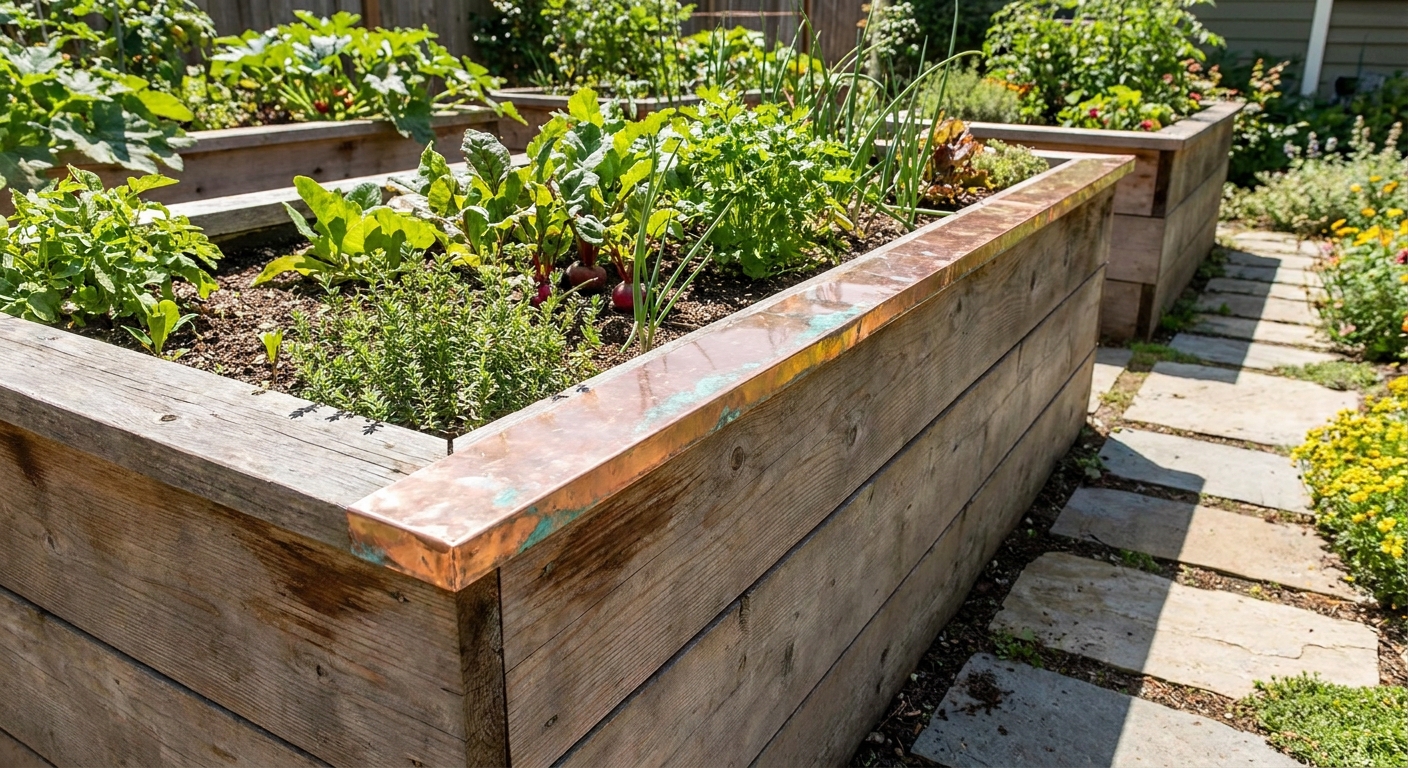
Copper barriers
Copper tape around the rim of a raised bed, pot, or a seedling collar can help deter slugs. In real gardens, performance is mixed, and it depends on installation. For it to work, it needs to be:
- Continuous with no gaps.
- Clean enough to conduct. Mud and heavy oxidation reduce effectiveness. Wipe it down as needed.
- Bridge-free. If a leaf, stem, mulch, or damp debris touches over the copper, slugs can use that like a little ramp and bypass the tape.
- Placed where they cross. On a raised bed, that is typically the outside upper rim, not down on the soil line.
What I skip (and why)
There are a lot of slug “hacks” out there. Some can work in very specific situations, but here is what I usually do not bother with:
- Beer traps: they can catch slugs, but they can also attract more from nearby. They need frequent cleaning and refilling, and they are not my favorite if pets or wildlife might drink from them.
- Diatomaceous earth: it can work when it is bone dry, but it stops being useful once it gets damp, which is exactly when slugs are most active.
- Eggshells and coffee grounds: people swear by them, but in my experience they are unreliable. If you want a “barrier,” I would rather use a real physical barrier like copper or a simple collar, then focus on moisture and hiding spots.
Pets and beneficial insects (what I do)
I am a DIY guy, not a chemist, so I keep this practical: whatever method you choose, aim for targeted control and read labels like you mean it.
If you have dogs or cats
- Avoid metaldehyde baits. They can be dangerous to pets.
- Use slug bait only as directed. Even “lower risk” does not mean “safe to snack on.” Keep pets out of treated areas during application.
- Watch for mixed-ingredient baits. Some “iron phosphate” products include other actives such as spinosad, so always check the label before you spread anything.
- Skip open pans of liquid trap mixtures where pets can drink them.
Protecting beneficial insects
- Do not broadcast broad-spectrum insecticides as a slug fix. Most insects you actually want in the garden are not the problem.
- Use bait as a perimeter tool around beds instead of scattering across the whole yard.
- Keep your garden diverse with some undisturbed areas nearby. A healthy garden ecosystem helps keep pests from becoming an endless cycle.
A simple 7-day plan
If slugs are actively chewing, you will get better results by doing a short, focused push instead of random one-off treatments.
Day 1
- Confirm slug activity at night with a flashlight.
- Pull mulch back from seedlings and clear obvious hiding spots.
Days 2 to 3
- Do a quick night patrol and hand-pick what you find.
- Set 2 to 4 board traps near damage.
- Switch watering to morning.
Days 3 to 7
- If damage continues, apply slug bait in the evening if the label allows, lightly, in targeted zones.
- Keep checking board traps each morning and reset them.
- Add a barrier like copper tape for the most vulnerable plants, and remove any bridges over it.
After a week, most gardens see a noticeable drop in new damage. If you still have heavy feeding, it usually means there is a moisture and hiding-place issue nearby that needs attention, or you are dealing with a second pest like cutworms at the same time.
FAQ
Why do I only see damage overnight?
Slugs are most active at night and on cool, damp days. During the day they hide under mulch, boards, dense foliage, and in cracks along bed edges to avoid drying out.
Do slugs live in the soil?
They spend a lot of time in and on the soil surface, especially under debris and mulch where it stays moist. You might not see them until you lift something up or go out after dark.
Will watering less solve it?
Sometimes, but it can stress your plants. The more reliable move is watering earlier so the surface dries by night. You want healthy plants and a less inviting nighttime environment.
Is iron-phosphate bait safe for pets?
Iron phosphate is widely considered a lower-risk option than metaldehyde, but it is still a pesticide product and should be handled carefully. Also, some products marketed as “iron phosphate” include other active ingredients that may change the risk profile. Follow the label, store it sealed, apply lightly, and keep pets away during application.
The 30-Second Cheat Sheet
Essential takeaways for: How to Get Rid of Slugs in Your Garden
Fast ID
- Slugs: ragged holes + shiny slime trails, worst overnight and after wet weather.
- Cutworms: seedlings cut clean at the soil line, usually no slime. Check 1 to 2 inches down for a curled caterpillar.
Best quick fixes
- Water in the morning, not evening, so the soil surface dries before night.
- Reduce hiding spots: pull mulch back from seedlings, clear boards and damp debris.
- Night patrol: a 5-minute flashlight check and hand-picking for 2 to 3 nights (especially after rain) can drop pressure fast.
- Use iron-phosphate bait in the evening, scattered lightly in targeted areas. Reapply after heavy rain per label.
- Set board traps near damage and check them in the morning.
- Add barriers: continuous copper tape around raised bed rims or pots, kept clean and gap-free. Prevent “bridges” from leaves and mulch.
Safety notes
- Avoid metaldehyde baits if you have pets.
- Read the actives: some “iron phosphate” baits also contain spinosad or other ingredients.
- Iron phosphate is generally lower risk than older baits, but still follow label directions and keep pets and kids away during application.
- Skip broad insecticides. Target slugs directly to protect beneficial insects.
My 7-day plan
- Night flashlight check, then habitat cleanup.
- Board traps for 2 to 3 mornings.
- If damage continues, iron-phosphate bait + copper barrier on the most vulnerable plants.
💡 Tip: Scroll up to read the full article for detailed, step-by-step instructions.
⬆️ Back to top
About Marcus Vance
Content Creator @ Grit & Home
Marcus Vance is a lifelong DIY enthusiast and self-taught home renovator who has spent the last decade transforming a dilapidated 1970s ranch into his family's dream home. He specializes in budget-friendly carpentry, room-by-room renovations, and demystifying power tools for beginners. Through his writing, Marcus shares practical tutorials and hard-learned lessons to help homeowners tackle their own projects with confidence.