
🚨 In a DIY emergency or rush?
Skip the details and jump straight to our 30-second cheat sheet for the most crucial info.
The first time I felt grit in our kitchen faucet, I blamed the aerator. Then I cleaned it, ran the water again, and heard that faint scratchy sound you only notice once you are looking for it. It is the kind of problem that feels small until it starts chewing up fixtures, clogging cartridges, and making your water heater miserable.
If your well water suddenly turns sandy or gritty, the cause is often at the well itself: the well is producing sand, the pump is set too low, the well is new and not fully developed, or a component downhole is failing. But grit can also come from disturbed plumbing, failing interior parts, or nearby work that shakes loose debris. The goal is to confirm what kind of grit you have, protect your plumbing immediately, then decide whether this is a simple flush and filter job or a call-the-well-company situation.
First, protect your house from damage
Before you do any detective work, take a minute to stop the grit from grinding through everything downstream. Sand is abrasive. It can scar toilet fill valves, ruin faucet cartridges, jam washing machine solenoids, and accelerate wear on a pump.
Do this right away
- Stop running water except for short tests. Avoid long showers, laundry, and dishwashers until you know what you are dealing with.
- Bypass or protect any treatment equipment if you can. Water softeners and whole-house carbon filters do not like heavy sand loads.
- Do not drain your water heater yet if the water is actively sandy. If a heater is already loaded with grit, a full drain can plug the drain valve or stir up more mess. Once you stop the incoming sand, a controlled flush can be good maintenance.
- If you have a cartridge sediment filter already installed, expect it to clog fast. Have spare cartridges on hand if possible.
Confirm it is sand, not slime or scale
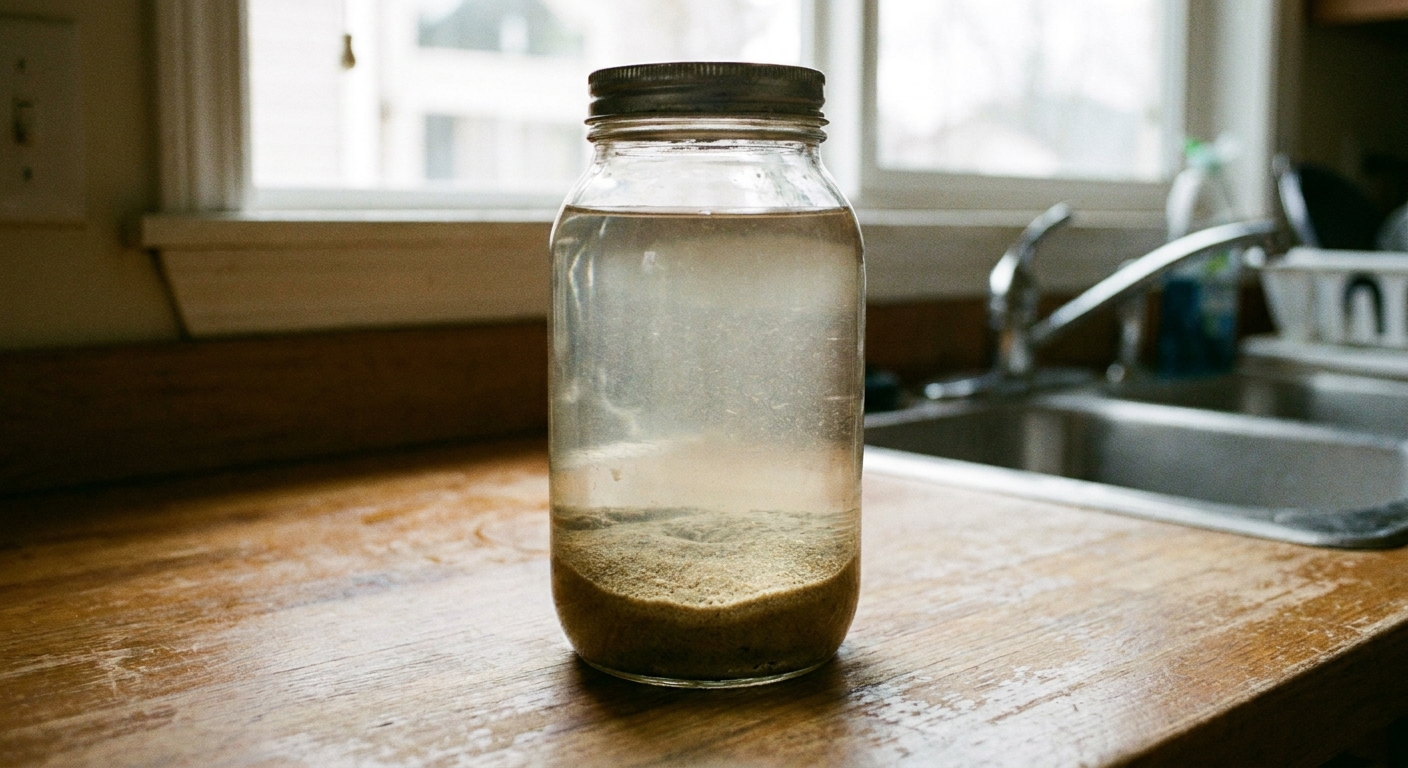
“Gritty” can mean a few different things. The easiest way to sort it out is with a clean jar test.
The jar test
- Grab a clear glass jar with a lid and rinse it out.
- Fill it from a cold water tap as close to your pressure tank as you can, often a basement hose bib or laundry sink.
- If you have treatment equipment, take a second sample after any sediment filter or softener too. Comparing the two jars is useful data, not a final answer.
- Cap it, shake it, and set it on a counter.
- Check it after 5 minutes and again after 30 minutes.
What you are looking for:
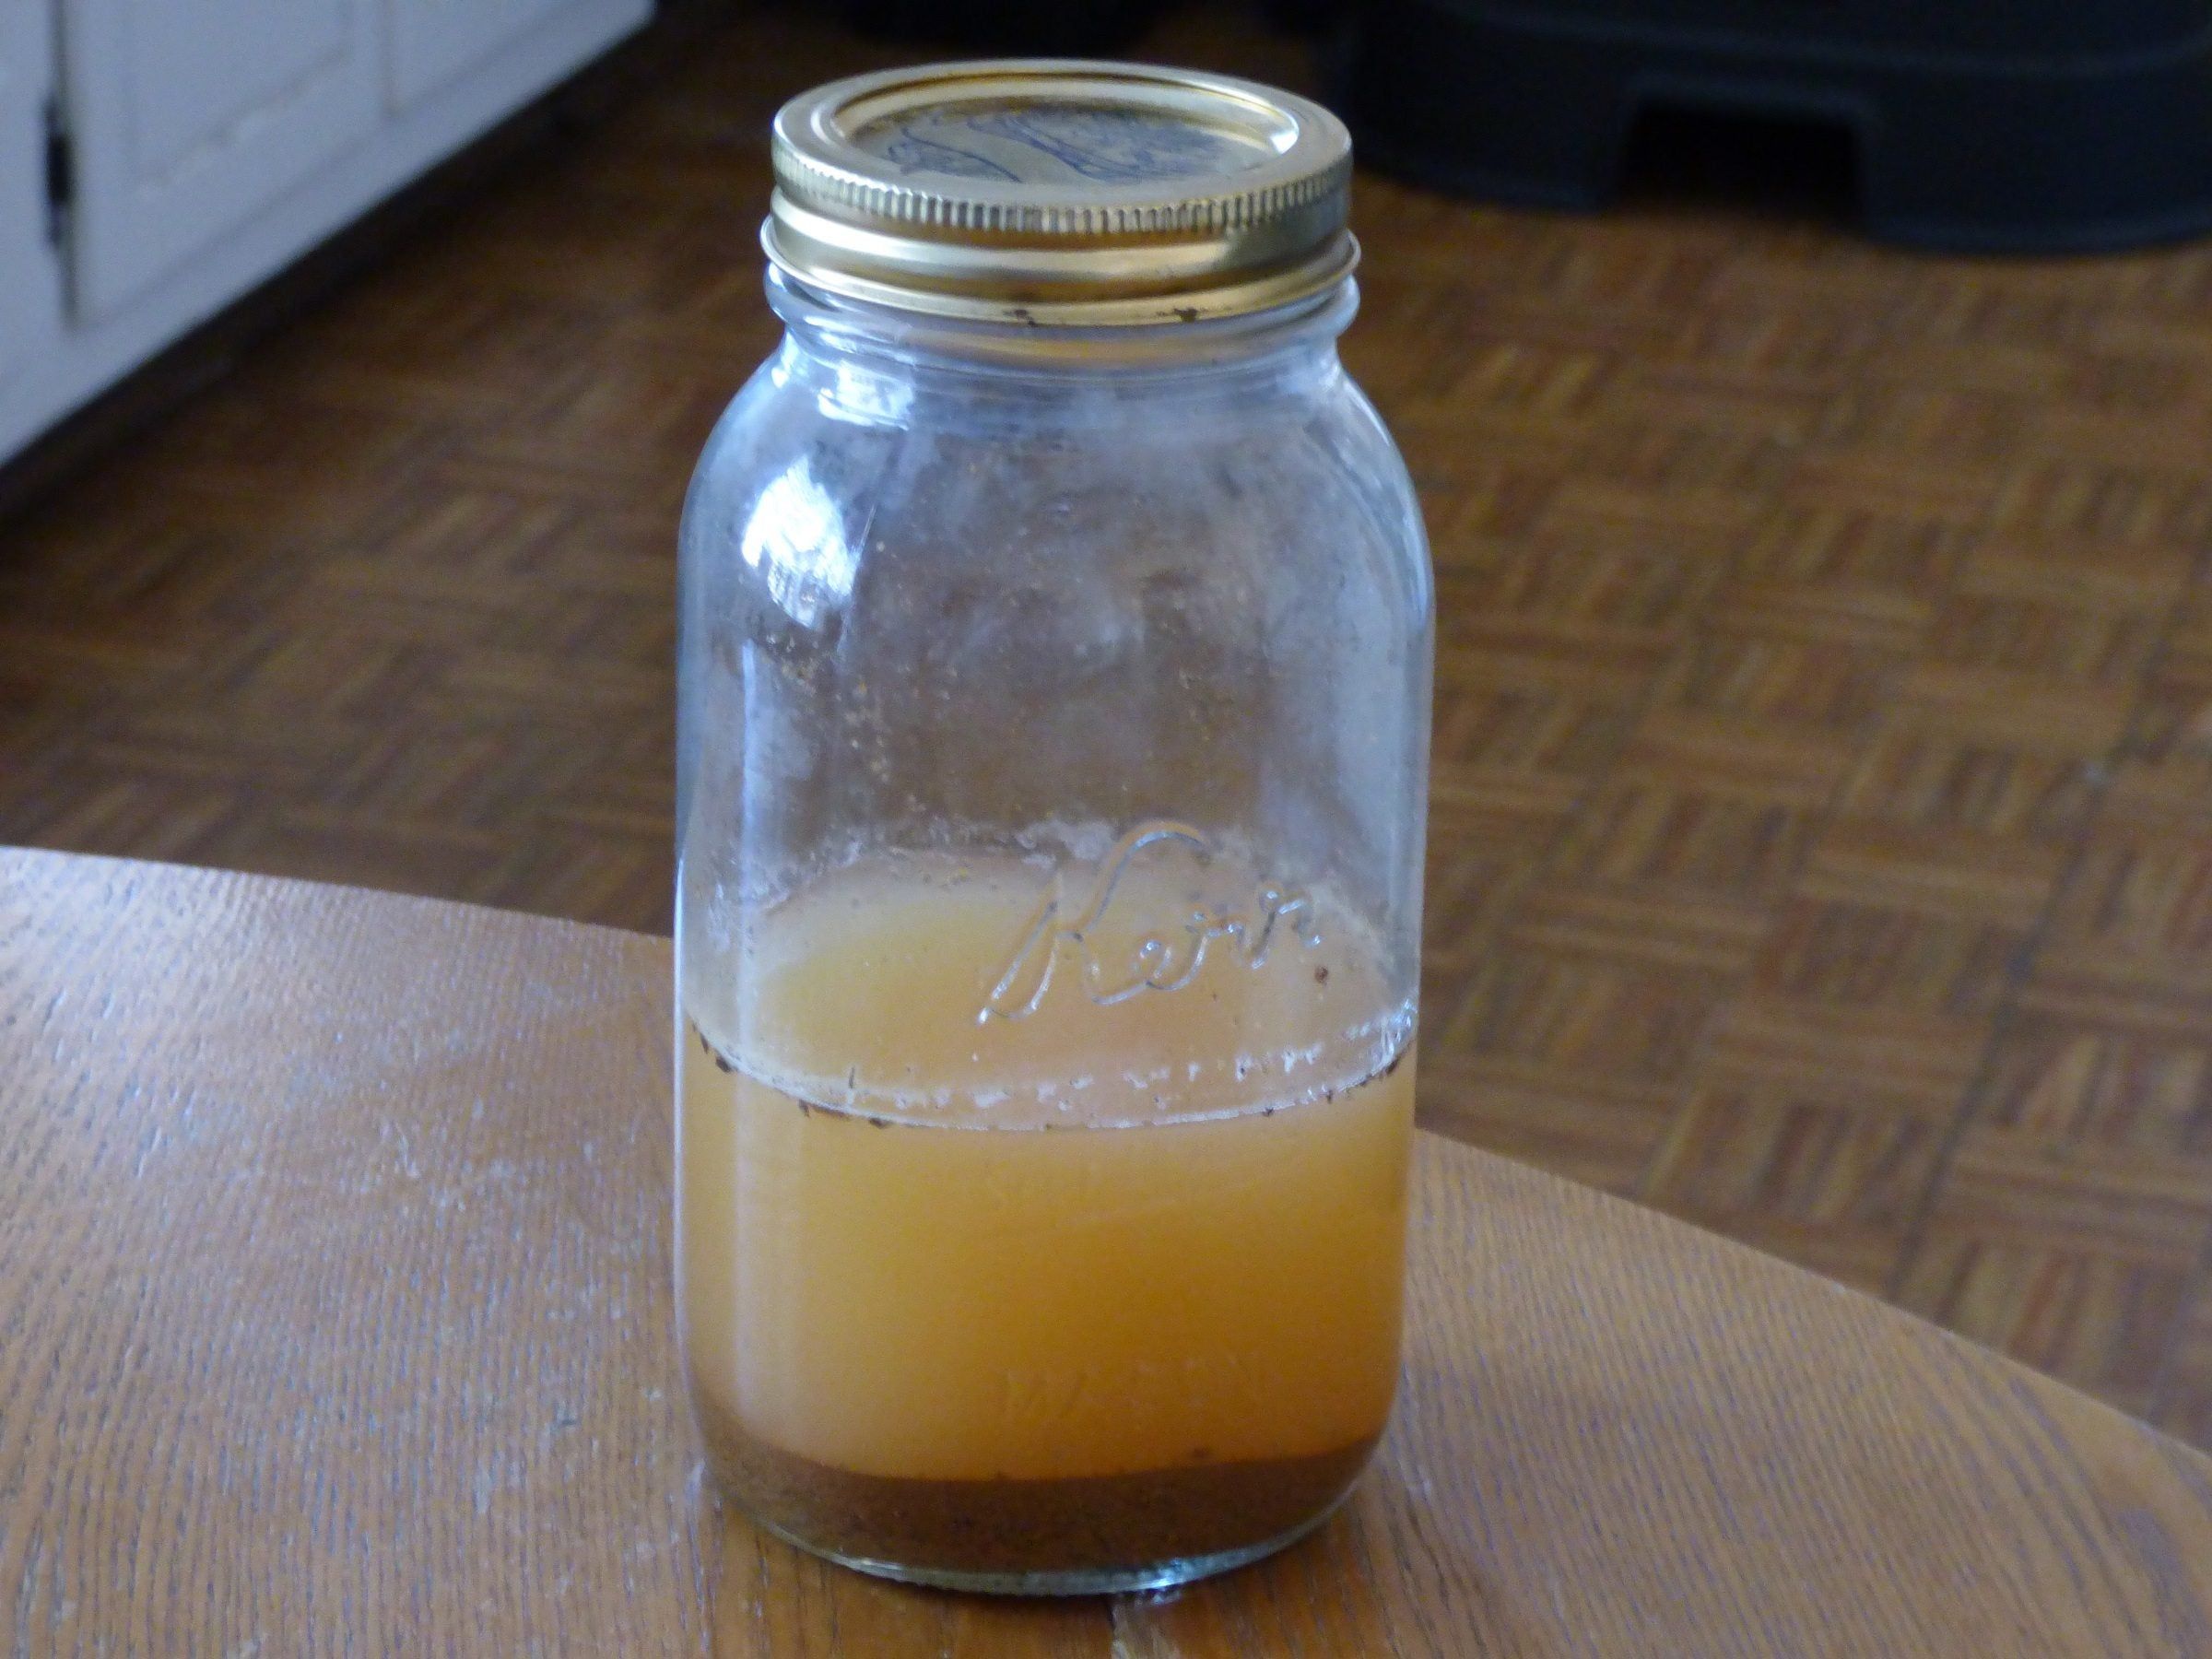
- Sand or silt: settles to the bottom as a tan, brown, or gray layer. If you rub a tiny pinch between your fingers, it feels like beach sand or fine dirt.
- Iron bacteria slime: looks stringy, gelatinous, or like brown tissue. It does not behave like clean grains of sand. It can smear instead of “grit.”
- Scale: white or off-white flecks. Often shows up more in hot water systems, kettles, and water heaters.
Hot water, cold water, or both
This is a simple split test that narrows the problem fast.
- Grit in both hot and cold: often means the issue is upstream of your water heater, meaning the well, pump, or plumbing near the pressure tank. It can also be stirred debris from recent plumbing work, so keep the timeline in mind.
- Grit mostly in hot water: suspect water heater sediment or scale breaking loose.
- Grit mostly in one faucet: start at the fixture. Many “sandy water” calls are really a clogged aerator or a failing cartridge shedding debris.
Quick fixture check
- Unscrew the faucet aerator and rinse it in a white bowl.
- If you see sand, that is data. Aerators collect whatever is already in the line.
- If the aerator is full of black rubber bits, that often points to degrading rubber parts such as supply hoses, washers, toilet flappers, or faucet and toilet seals. Less commonly, other rubber components in the system can shed too. It can feel “gritty” but it is not sand.
Common causes
1) A new well that needs development
New wells can produce fine sediment until the well is properly developed and flushed. If you just had a well drilled or major work done, some grit for a short period can be normal.
Clues: starts immediately after drilling or pump replacement. Sediment gradually improves day by day.
What helps: controlled flushing from an outdoor spigot, and in many cases the well contractor returning to develop the well properly.
2) The pump is set too deep
Submersible pumps should not sit in the mud at the bottom of the well. If the pump intake is too close to sediment, it can pull sand and silt directly into your plumbing, especially as the water level drops while the pump is running.
Clues: grit gets worse during long water runs, or after heavy use. You might also notice the water turns cloudy briefly when a big draw starts.
Typical fix: a well pro raises the pump or adjusts the intake location.
3) Screen or casing issues
In sand and gravel wells, a screen helps keep formation material out while letting water in. If that screen is damaged, corroded, or improperly sized, you can start producing sand. In other well types, sediment can still enter through defects or changing conditions. Older wells can also develop casing holes or other failures that allow sediment intrusion.
Clues: persistent sand that does not improve, sometimes paired with sudden changes after years of stable water. Filters clog constantly.
Typical fix: professional diagnosis. Depending on the well, it may be a screen repair, liner, pump adjustment, or in some cases a replacement well.
4) Overpumping a low-yield well
If a well is asked to deliver more than it can sustain, drawdown can destabilize the formation and pull fines into the well.
Clues: sand shows up during high demand periods, irrigation seasons, or after adding new high-flow fixtures. It may be worse near the end of a long pump cycle.
Typical fix: adjust pump capacity, add storage, limit flow rate, or address well yield issues with a contractor.
5) Plumbing work stirring debris
Sometimes grit is not coming from the well at all. Any plumbing work, especially cutting pipe, swapping a pressure tank, or replacing a water heater, can knock loose sediment that was already sitting in low spots.
Clues: starts right after plumbing work. Improves after a few days of normal use and aerator cleaning.
Look-alikes
Low pressure is a different problem
I want to separate two ideas that get mixed up: weak water pressure versus grit in the water. A waterlogged pressure tank, a misadjusted pressure switch, or a clogged filter can cause low pressure, but they do not create sand. Sand is usually a well production issue, a screen or casing issue, or a pump depth issue.
Iron bacteria slime
If the material feels slippery or stringy instead of gritty, it may be iron bacteria. It can foul toilets, cause odor, and create brown slime that looks like rust. It is treated differently than sand and may require shock chlorination, repeated disinfection, or an ongoing treatment plan depending on severity.
Iron and manganese staining
Brown or black staining is common on private wells and does not always involve grit. Staining can happen even when the water is clear and particle-free.
What to check at home
Here is the order I like because it keeps you from chasing your tail.
Step 1: Check the catch points
- Faucet aerators
- Shower heads
- Toilet fill valve screens (if accessible)
- Washing machine inlet screens
Clean them into a white bowl so you can see what comes out. If it is truly sand, it will look like tiny mineral grains, not black rubber crumbs.
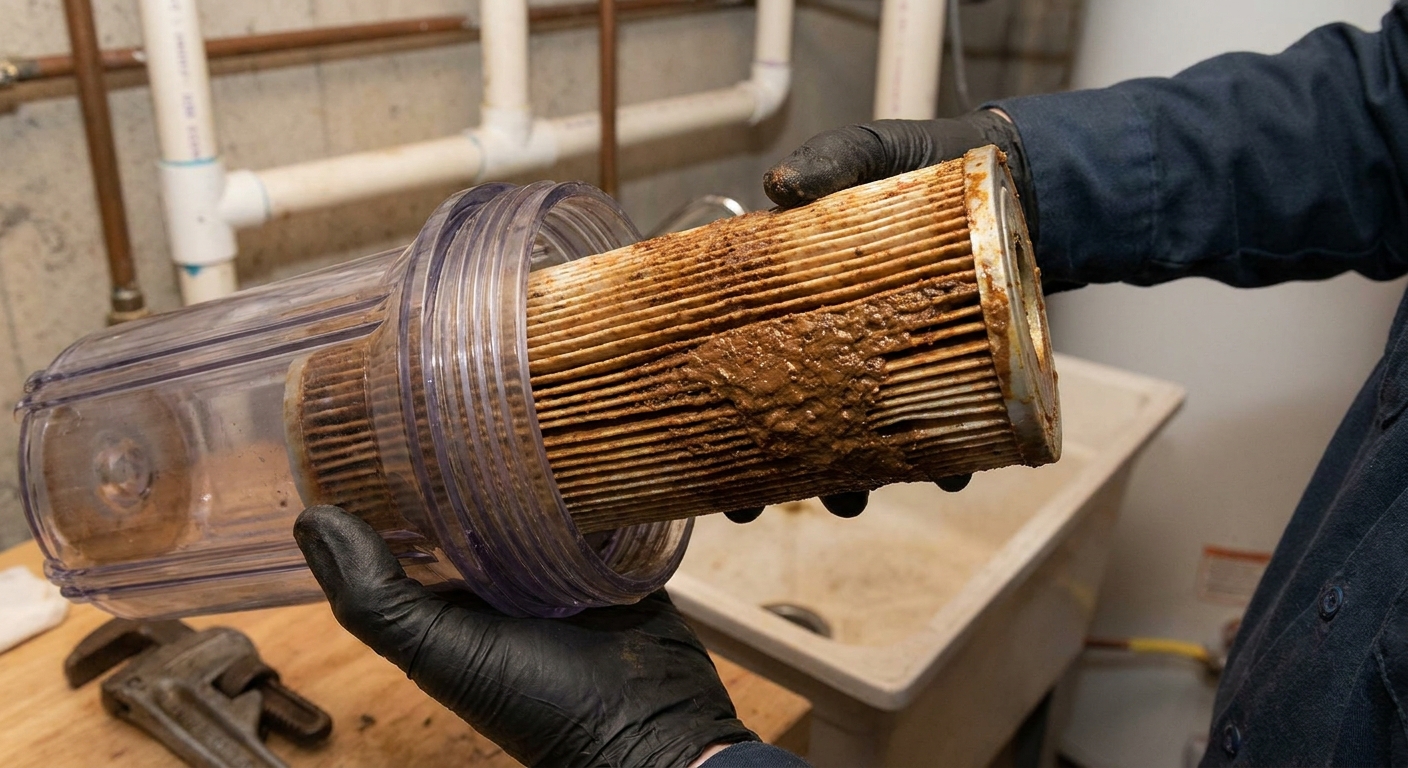
Step 2: Check any whole-house sediment filter
If you have a filter canister near the pressure tank, shut water off, relieve pressure, and inspect the cartridge. A cartridge that is packed with sand quickly is a strong sign the well is sending sediment.
Controlled flushing
If the sediment seems light and you suspect it is related to a new well or recently disturbed plumbing, a controlled flush can help. The goal is to send the grit outside, not through every faucet and appliance.
How to flush
- Pick an outdoor spigot or hose bib closest to where the water line enters the house, ideally before any filters or softeners.
- Hook up a garden hose and run it to a gravel area away from your foundation. Keep discharge away from your wellhead and avoid flooding septic systems or sensitive areas.
- Open the spigot and let it run at a moderate flow. You are flushing sediment, not stress testing the well.
- Do not leave it running unattended. Check the water in a clear cup every few minutes.
- If it clears, great. If it stays sandy, stop and move to the “call a pro” section.
Important: If you have severe sand, flushing can keep the pump running hard and can make things worse. Use this only if the sediment is light and improving.
When to call a pro
Some sand situations are not a DIY project. That is not a knock on you. It is about protecting the pump and the well itself.
- Sand is heavy or constant, not just an occasional sparkle in a jar test.
- Your sediment filter clogs in hours or a day.
- The pump short cycles, sounds strained, or you hear surging and sputtering during normal use.
- Water turns cloudy every time the pump kicks on.
- You have a new well and it never cleared after the initial break-in period.
- You suspect casing damage or other downhole issues.
- Stop and call right away if the water is so sandy you can see it immediately in a glass, or if fixtures are sputtering and clogging rapidly.
What a pro might do: measure well depth and static water level, check pump set depth, evaluate sand production, and recommend a separator, screen or casing repair, or pump adjustment.
Short-term mitigation
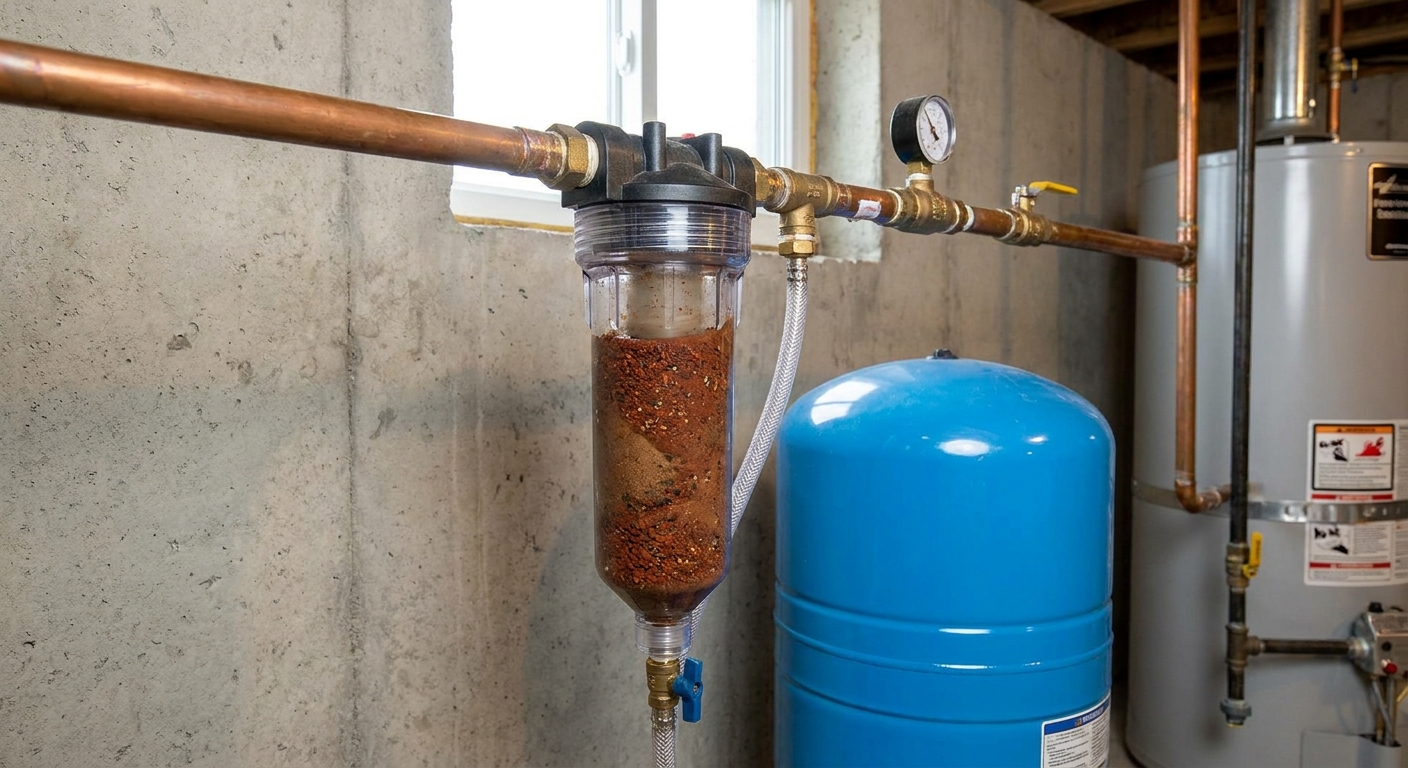
Sediment filtration
A sediment filter is often the right move to protect your home, but it is not a cure for a well that is actively pumping sand. Think of it as PPE for your plumbing.
- Spin-down sediment filter: a good first-stage catcher for heavier grit and sand.
- Pleated cartridge filter: good for finer sediment, but it clogs faster with heavy sand loads.
- Sand separator: sometimes installed ahead of finer filtration when sand is persistent.
A practical setup is often spin-down first, then a pleated cartridge in the 20 to 50 micron range, then finer only if needed. Watch pressure drop and be realistic about maintenance if the well is producing a lot of sand.
Water heater check
If sand has been running through your hot water, your water heater likely has sediment in it. Once the incoming water is under control, then it is worth flushing the heater carefully or scheduling service. If the drain valve is already clogged, forcing it can create a bigger mess.
FAQ
Is it safe to drink sandy well water?
Small amounts of inert sediment are not usually a poison, but I do not like to ignore sudden grit. Sediment can signal a change in the well or plumbing, and turbidity can be associated with higher microbial risk in some situations. If the water is suddenly changing, consider getting it tested, especially if you also notice cloudiness, odor, or color changes.
Why is my water gritty but pressure seems fine?
Because sand is more of a production and construction issue than a pressure issue. A pump can deliver normal pressure while still pulling fine sediment. That is why a pressure switch checklist does not solve a sand problem.
Can a water softener remove sand?
No. A softener is for hardness minerals dissolved in the water. Sand is physical sediment. Sand can also damage a softener valve. If you have grit, protect the softener with sediment filtration or bypass it until the issue is handled.
Will it go away on its own?
Sometimes, yes, if it is a new well or plumbing work stirred up existing sediment. If it is heavy, persistent, or getting worse, assume it will not go away without correcting pump depth, well yield, or well hardware issues.
The 30-Second Cheat Sheet
Essential takeaways for: Sandy or Gritty Well Water? What to Check
Fast diagnosis
- Do a jar test: sand and silt settle to the bottom as grains. Slimy material that smears is often iron bacteria, not sand.
- Hot and cold both gritty: often points upstream of the water heater (well, pump, or plumbing near the pressure tank), but plumbing debris can mimic sand too.
- Mostly hot water gritty: suspect water heater sediment or scale breaking loose, especially on older tanks.
Most common causes
- New well not fully developed or recently disturbed well that still needs to settle
- Pump set too low and pulling sediment off the bottom
- Damaged screen or casing issues letting sand in (more common on screened sand and gravel wells)
- Overpumping a low-yield well and pulling fines into the well
- Plumbing work or failing components stirring debris into the lines
What to do right now
- Stop running appliances and avoid long draws until you confirm the cause.
- Clean aerators and screens to prevent clogs and to see what is coming through.
- Check any sediment filter near the pressure tank. Rapid clogging strongly suggests real sand production.
- Flush to the outside only using a hose bib if sediment is light and improving. Do not leave the pump running unattended.
Call a well pro if
- Sand is heavy or constant, not improving
- Filters clog in hours or a day
- Water turns cloudy every time the pump starts
- You suspect pump depth, yield, or screen/casing damage
💡 Tip: Scroll up to read the full article for detailed, step-by-step instructions.
⬆️ Back to top
About Grit
Content Creator @ Grit & Home
Grit is Grit & Home’s little blue clay courier, delivering big questions about the place you call home. Expect practical ideas, a raised eyebrow, and a satchel full of curiosity.